This website contains affiliate links. Some products are gifted by the brand to test. As an Amazon Associate, I earn from qualifying purchases. The content on this website was created with the help of AI.
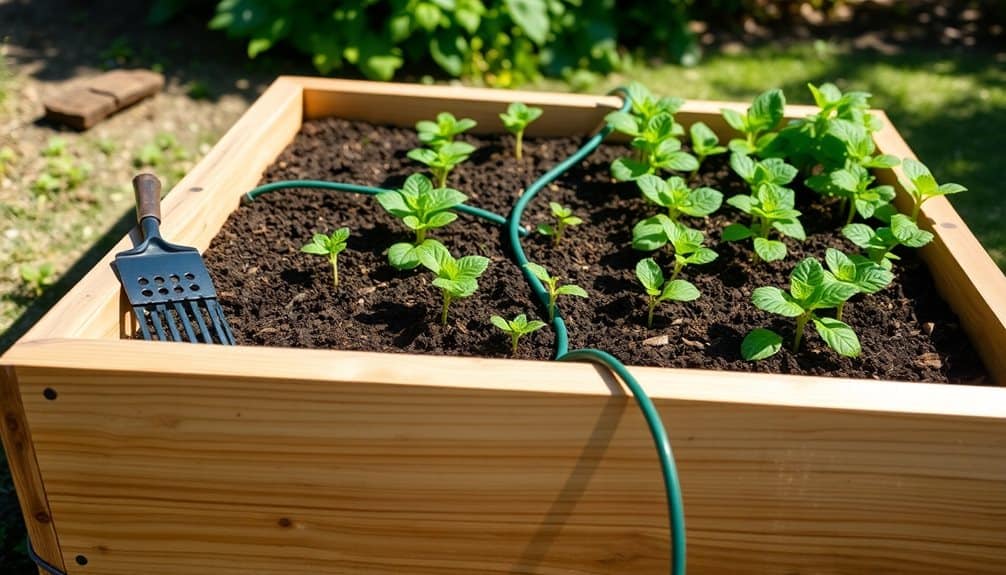
To create a successful raised bed garden, start by selecting a level location that receives 6-8 hours of daily sunlight. Build your frame using rot-resistant lumber like cedar, ensuring proper drainage with landscape fabric and a balanced soil mix (60% topsoil, 30% compost, 10% potting soil). Install an efficient irrigation system, such as drip lines or soaker hoses, before adding your growing medium. Plan your planting zones based on root depth and group plants with similar water needs together. You’ll need basic tools including a cordless drill, level, and tape measure. The key to thriving raised beds lies in the detailed preparation and systematic approach to construction.
Key Takeaways
- Choose a level, well-draining location with 6-8 hours of daily sunlight and easy access to water sources.
- Build frames using rot-resistant lumber like cedar, ensuring 90-degree corners and pre-drilled holes for stability.
- Create soil mix using 60% topsoil, 30% compost, and 10% potting soil, maintaining pH between 6.0-7.0.
- Install irrigation systems and landscape fabric before adding soil, ensuring proper drainage and weed prevention.
- Group plants by water needs and root depth, spacing appropriately for intensive planting methods.
Benefits of Raised Bed Gardens
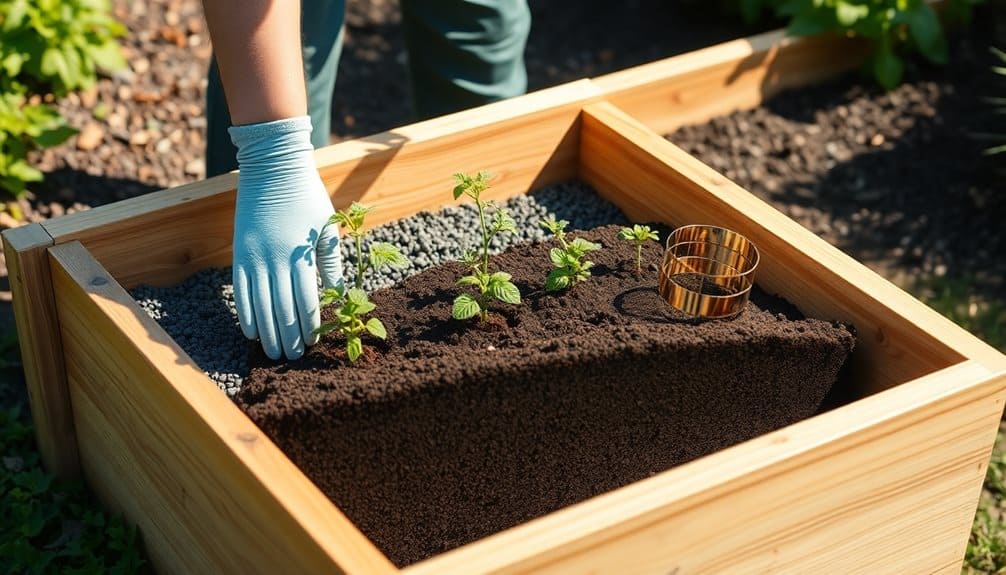
Why are gardeners increasingly turning to raised bed gardens? The advantages of elevated growing spaces extend far beyond their aesthetic appeal. You’ll achieve superior soil drainage and aeration, as the contained structure prevents compaction while allowing roots to develop efficiently. The elevated design also means less strain on your back and joints during maintenance.
These controlled environments let you customize soil composition precisely for specific crops, eliminating native soil problems like clay or sandy conditions. You’ll extend your growing season since raised beds warm up earlier in spring and drain better during wet periods. The defined spaces also make it easier to install protective covers, irrigation systems, and pest barriers.
You’ll maximize space efficiency through intensive planting techniques, as plants can be spaced closer together in the rich soil environment. Weed management becomes more manageable since you’re working with clearly defined areas and clean, fresh soil. The contained nature of raised beds also makes crop rotation and soil amendment tracking more systematic, leading to improved soil health and crop yields over time. Similar to modern greenhouses, raised beds can be equipped with UV-resistant panels to protect sensitive plants while maintaining optimal growing conditions.
Choosing the Perfect Location
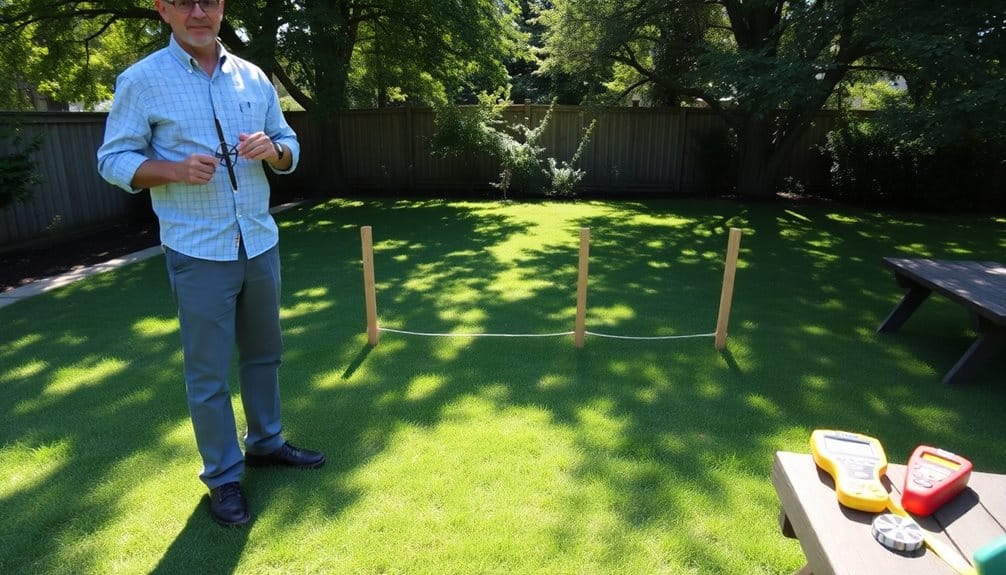
Now that you understand the advantages of raised bed gardens, selecting the ideal location will determine their success. You’ll need to evaluate several critical factors to maximize your garden’s productivity and longevity.
First, assess the sunlight patterns in your yard. Most vegetables require 6-8 hours of direct sunlight daily, so observe potential locations throughout the day. Don’t forget to take into account seasonal sun angles and shadows cast by buildings or trees. The site should be level or only slightly sloped, with good drainage to prevent water pooling around your beds.
Reflect on accessibility factors: you’ll want easy access to a water source, and paths wide enough to maneuver wheelbarrows and tools. Position beds where you can reach the center from both sides, typically 4 feet wide or less. Keep beds away from large tree roots that might compete for nutrients and water.
Wind exposure also matters – strong winds can damage plants and increase water evaporation. If you’re in a windy area, plan to either install windbreaks or position beds near existing structures that provide natural protection while maintaining adequate airflow. For optimal maintenance access and wheelchair accessibility, ensure pathway spacing of 4-5 feet between your raised garden beds.
Essential Materials and Tools
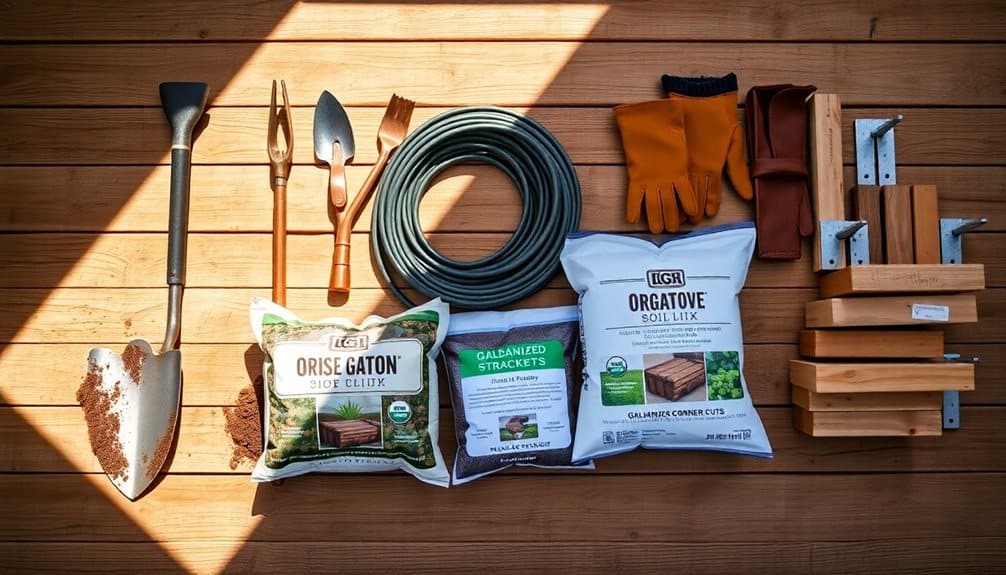
Building a successful raised bed garden requires a core set of materials and tools that serve distinct purposes. You’ll need rot-resistant lumber like cedar or redwood for the bed frame, galvanized steel screws, and heavy-duty construction brackets for assembly. For soil preparation, acquire a quality soil mixture combining topsoil, compost, and peat moss in a 40-40-20 ratio.
Essential tools include a cordless drill for construction, a level to guarantee proper bed alignment, and a tape measure for precise dimensions. You’ll also need a pointed shovel for soil mixing, a garden fork for turning compost, and pruning shears for plant maintenance. Don’t forget a soil pH meter to monitor growing conditions and a trowel for transplanting seedlings.
For irrigation, collect soaker hoses or drip systems, moisture meters, and mulching materials like straw or wood chips. If you’re planning year-round growing, gather season extenders such as row covers, hoops, and greenhouse-grade plastic. Finally, secure landscape fabric for the bed’s bottom to prevent weed growth while maintaining proper drainage and soil health. Choose high-quality landscape fabric to ensure long-lasting weed suppression and optimal garden performance.
Building Your Raised Beds

With proper planning and site preparation, constructing your raised beds becomes a straightforward process that maximizes growing success. Position your frame on level ground, ensuring each corner forms a 90-degree angle. If you’re using wooden boards, pre-drill holes to prevent splitting, and connect corners using galvanized screws or brackets for durability.
Start by laying the first level of boards, checking for levelness as you proceed. For beds taller than 12 inches, add support posts at each corner and midway along the sides to prevent bowing under soil pressure. When using cedar or other rot-resistant woods, position a layer of hardware cloth at the bottom to deter burrowing pests while maintaining drainage.
Install your irrigation system before filling with soil. Position soaker hoses or drip lines strategically, securing them to prevent movement. Layer your growing medium starting with coarse material for drainage, followed by your soil mix. Leave 2-3 inches of space at the top to accommodate mulch and prevent overflow during watering. Test the soil’s settling by watering thoroughly and adding more medium if significant compaction occurs. Similar to UV protection covers used in greenhouses, consider adding a portable cover to extend your growing season and protect plants from harsh weather.
Selecting the Right Soil Mix

Inside your raised beds, soil quality directly determines growing success. You’ll need to create a balanced mix that provides essential nutrients, proper drainage, and ideal structure for root development. The ideal mixture consists of 60% topsoil, 30% compost, and 10% potting soil or coconut coir.
Select topsoil that’s screened and weed-free, preferably from a reputable supplier. Your compost should be fully decomposed and include diverse organic materials like leaf mold, aged manure, and kitchen scraps. This combination guarantees both immediate and slow-release nutrients while promoting beneficial microbial activity.
For enhanced drainage and aeration, incorporate perlite or coarse sand at 5-10% of total volume. You’ll want to maintain a pH between 6.0 and 7.0 for most vegetables. Test your soil mix before planting and adjust with lime to raise pH or sulfur to lower it. Add organic fertilizers like blood meal or bone meal to supplement specific nutrient needs.
Don’t use regular garden soil alone, as it’s typically too dense and may contain pathogens or weed seeds. Replace or amend 20-30% of your soil mix annually to maintain ideal growing conditions. Regular application of soil amendments throughout the growing season helps maintain optimal nutrient levels and soil structure.
Planning Your Garden Layout
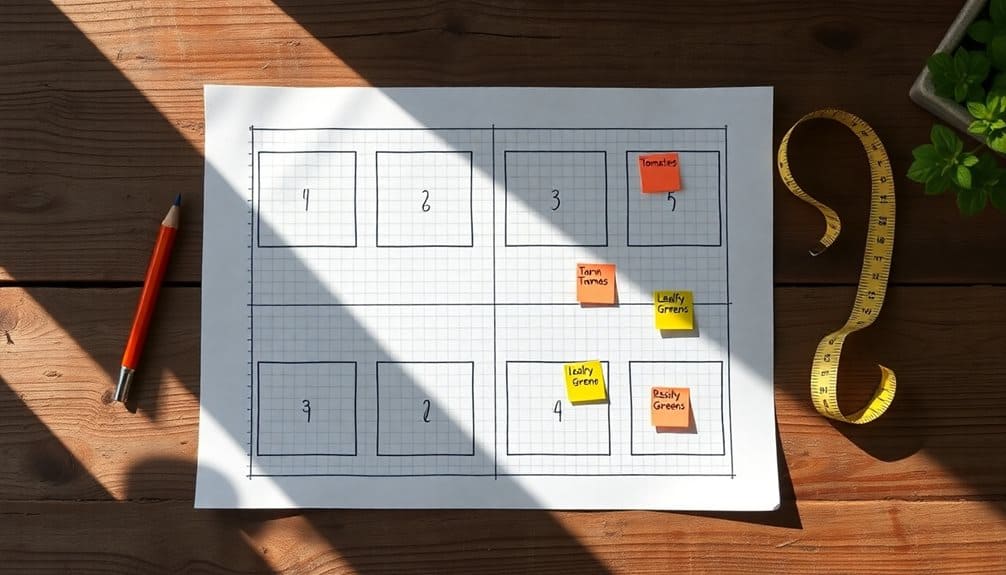
Successful raised bed gardening depends on strategic layout planning before you break ground. You’ll need to position your beds where they’ll receive 6-8 hours of direct sunlight daily, with the longest sides facing south to maximize sun exposure. Allow 2-3 feet of pathway space between beds for easy access and maintenance.
When designing your layout, consider companion planting relationships. Place tall crops like tomatoes and pole beans on the north side to prevent shading shorter plants. Group plants with similar water and nutrient needs together to optimize resource management. You’ll want to create zones within each bed based on root depth: shallow-rooted crops like lettuce, medium-depth vegetables like peppers, and deep-rooted plants like tomatoes.
Map your garden on graph paper using a 1-inch = 1-foot scale, indicating plant spacing and succession planting schedules. Factor in vertical growing spaces for climbing plants and trellises. Don’t forget to include irrigation systems in your plan – drip lines or soaker hoses should reach all planted areas efficiently. Consider installing permanent markers or grid systems to maintain organized planting patterns year after year.
Best Plants for Raised Beds
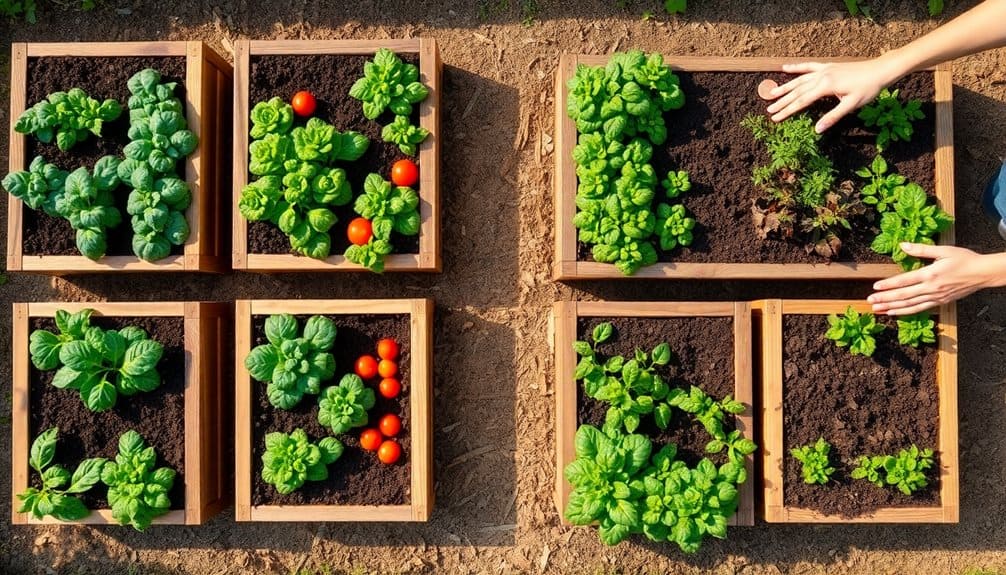
Versatility makes raised bed gardens ideal for growing a wide range of edible and ornamental plants. The controlled environment and superior soil conditions allow you to cultivate high-value crops that require ideal drainage and rich organic matter.
Root vegetables thrive in raised beds due to the loose, uncompacted soil structure. You’ll find carrots, parsnips, and radishes grow straight and develop properly without obstruction. Leafy greens such as spinach, kale, and Swiss chard benefit from the excellent moisture retention and nutrient availability.
For maximum space efficiency, consider these intensive planting combinations:
- Vertical crops (tomatoes, pole beans) with shallow-rooted herbs
- Deep-rooted vegetables (carrots) alongside compact greens (lettuce)
- Succession planting of fast-growing crops (radishes, microgreens)
- Companion planting pairs (basil with tomatoes, marigolds with vegetables)
Mediterranean herbs like rosemary, thyme, and sage flourish in raised beds’ well-draining conditions. If you’re growing flowers, choose compact varieties such as zinnias, cosmos, and dwarf sunflowers that won’t overshadow neighboring plants. Remember to rotate your crops annually to maintain soil health and prevent pest problems.
Irrigation and Water Management

Proper water management stands at the heart of a thriving raised bed garden. Since raised beds drain faster than ground-level gardens, you’ll need to monitor soil moisture carefully and establish consistent watering practices. Install a drip irrigation system or soaker hoses to deliver water directly to plant roots, minimizing water waste and preventing leaf diseases.
You’ll want to water deeply but less frequently to encourage deep root growth. Check soil moisture by inserting your finger 2-3 inches into the soil; if it feels dry at that depth, it’s time to water. Different plants have varying water needs, so group those with similar requirements together. During peak growing season, most raised beds require 1-2 inches of water per week.
Consider installing a rain gauge and moisture meter to track water levels accurately. Add 2-3 inches of organic mulch to reduce evaporation and maintain consistent soil moisture. If you’re using automated irrigation, set timers for early morning to minimize evaporation loss. In drought-prone areas, you might want to install a rainwater harvesting system to guarantee a sustainable water supply for your raised beds.
Seasonal Maintenance Tips
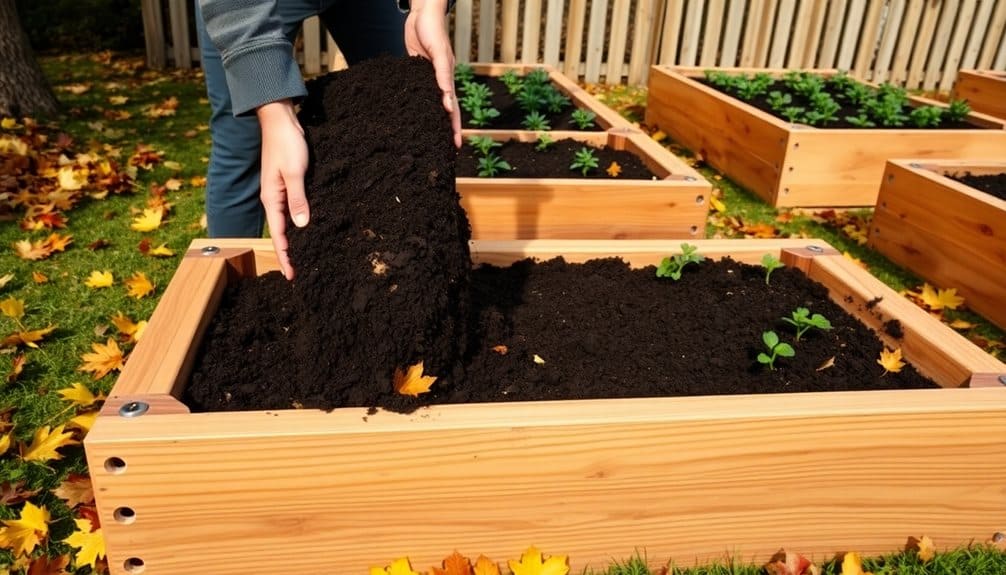
Each season brings unique maintenance tasks that keep your raised bed garden productive and healthy throughout the year. In spring, you’ll need to prepare your beds by removing winter debris, adding fresh compost, and testing soil pH levels. It’s also essential to repair any winter damage to the bed’s structure and refresh your mulch layer.
Summer maintenance focuses on consistent weed management, monitoring plant health, and maintaining proper moisture levels. You’ll need to prune diseased foliage and support heavy-fruiting plants with stakes or cages. During fall, prepare your beds for winter by:
- Removing spent plants and adding them to your compost pile
- Planting cover crops to protect soil structure
- Adding a thick layer of organic mulch for winter protection
- Testing and amending soil based on seasonal crop requirements
Winter isn’t idle time – protect your beds with row covers or cold frames if you’re growing cold-hardy crops. If your beds are dormant, monitor them for structural issues caused by freeze-thaw cycles. You’ll also want to maintain proper drainage to prevent water-logging, which can damage bed materials and soil structure during winter months.
Common Troubleshooting Solutions

Successful raised bed gardening often involves addressing three primary challenges: pest infestations, soil imbalances, and drainage issues. When you encounter destructive insects, implement integrated pest management by introducing beneficial insects like ladybugs and praying mantises. You can also protect plants using row covers or companion planting with pest-deterrent species like marigolds and nasturtiums.
For soil imbalances, regularly test your soil’s pH and nutrient levels using a reliable testing kit. If you find deficiencies, amend the soil with organic materials: add lime to increase pH, sulfur to decrease it, and specific organic fertilizers to address nutrient gaps. Maintain ideal soil structure by incorporating compost and avoiding over-tilling.
To resolve drainage problems, first confirm your bed has adequate holes in the bottom for water escape. If water pools on the surface, mix in coarse sand or perlite to improve soil structure. You’ll need to adjust your watering schedule based on seasonal changes and rainfall patterns. Install a drip irrigation system with a timer to maintain consistent moisture levels, and add mulch to prevent water evaporation and soil compaction.
Frequently Asked Questions
How Deep Should Soil Be for Different Types of Vegetables?
Did you know that 80% of vegetable roots develop in the top 12 inches of soil? For most leafy greens and herbs, you’ll need 4-6 inches of soil depth. Root vegetables like carrots and beets require 12-14 inches. Tomatoes, peppers, and eggplants thrive in 18-24 inches. Potatoes need 18-20 inches. Deep-rooted crops like asparagus and artichokes demand 24-36 inches for ideal growth.
Can Treated Lumber Affect the Safety of My Edible Plants?
You’ll want to avoid pressure-treated lumber containing chromated copper arsenate (CCA) for your edible garden beds, as these chemicals can leach into soil and be absorbed by plants. Instead, choose naturally rot-resistant woods like cedar or redwood, or opt for newer treatment methods using ACQ (alkaline copper quaternary) or borate-based preservatives. You can also line your beds with heavy plastic to create a barrier between soil and treated wood.
Should I Remove Existing Grass Before Building Raised Beds?
Like your old flip phone, that grass has got to go! You’ll want to remove existing grass before building raised beds to prevent unwanted vegetation from growing up through your soil. Either strip the sod manually, use a sod cutter, or employ sheet mulching with cardboard to naturally kill the grass. This step prevents nutrient competition and guarantees your cultivated plants have ideal growing conditions.
How Long Do Raised Bed Materials Typically Last Before Needing Replacement?
You’ll find that material longevity varies considerably. Cedar and redwood beds typically last 10-15 years, while untreated pine may only survive 5-7 years. Composite lumber can extend 20+ years, though it’s pricier. Metal beds, particularly galvanized steel, can last 20-30 years with proper drainage. Concrete blocks are most durable, often lasting 50+ years. Regular maintenance, proper drainage, and climate conditions will impact these timeframes.
Can I Build Raised Beds Directly Against My House Foundation?
While raised beds can beautify your home’s exterior, building them against your foundation isn’t recommended. The constant moisture can damage your foundation’s waterproofing and create water intrusion issues. Keep beds at least 6-12 inches away from walls to allow proper air circulation, prevent termite pathways, and protect your home’s structural integrity. This gap also helps prevent soil from staining your siding and enables easier maintenance access.

