This website contains affiliate links. Some products are gifted by the brand to test. As an Amazon Associate, I earn from qualifying purchases. The content on this website was created with the help of AI.
Building your DIY coffee table starts with gathering essential tools: a 60-tooth circular saw, cordless drill, and protective gear. You’ll need kiln-dried lumber including 2x4s for legs, 1x4s for aprons, and 1x6s for the 48″ x 24″ tabletop. Cut components precisely, then frame the tabletop using 1×2″ hardwood strips with mitered corners. Sand progressively through 80-320 grit, paying special attention to end grain. Assemble the base with mortise joints and 2½-inch wood screws at 90-degree angles. Finish with three coats of polyurethane at 4-5 mils thickness. The following detailed steps will transform these materials into professional-grade furniture.
Key Takeaways
- Gather essential tools including a circular saw, cordless drill, and safety gear, plus kiln-dried lumber and hardware for construction.
- Start with careful measurements and cuts, ensuring tabletop dimensions of 48″ x 24″ and uniform 16″ leg lengths.
- Sand all wood pieces progressively through different grits, from 80 to 220, paying special attention to end grains.
- Construct the frame using wood glue and brad nails, then attach legs at 90-degree angles using corner braces.
- Apply multiple coats of polyurethane finish, starting with a diluted first coat, and allow 72 hours for complete curing.
Gather Tools and Materials

Before beginning construction, you’ll need a circular saw with a 60-tooth blade, a cordless drill with 1/8″ and 3/16″ drill bits, a straightedge guide, and a pocket hole jig. You’ll also require a measuring tape, carpenter’s square, wood glue, 1-1/4″ pocket hole screws, and 120-grit sandpaper. For safety, verify you have protective eyewear, work gloves, and a dust mask.
For the table materials, select 8-foot lengths of kiln-dried lumber: two 2x4s for the legs, three 1x4s for the aprons, and four 1x6s for the tabletop. Choose straight boards with minimal knots and warping. You’ll need exterior-grade wood glue for strong joints and eight 3/8″ threaded inserts for the leg attachments.
Purchase additional hardware including four adjustable leveling feet with 3/8″-16 threads, sixteen #8 x 1-1/4″ wood screws for the tabletop attachment, and four metal L-brackets for reinforcement. For the finish, you’ll need pre-stain wood conditioner, your chosen wood stain, and water-based polyurethane for protection. Calculate a 10% material surplus for any potential mistakes or adjustments. Like professional-grade cold-rolled steel cabinets, solid wood furniture requires proper material selection for maximum durability and longevity.
Measure and Cut Wood
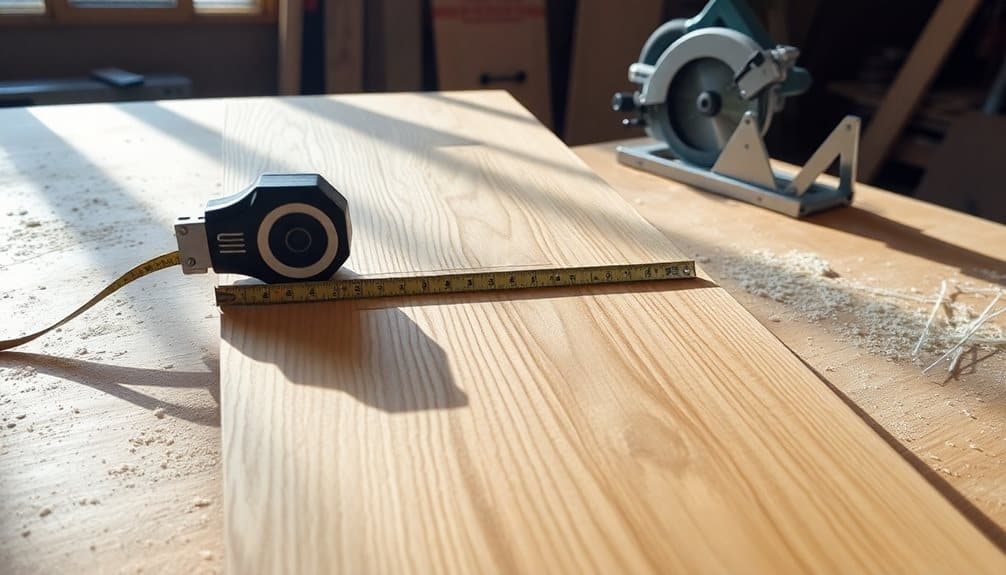
Start your cutting process by marking precise measurements on your lumber pieces using a carpenter’s square and pencil. For the tabletop, measure and mark 48″ x 24″ on your 1″ thick hardwood board. Mark 16″ lengths for the four. Just like with a potting bench workspace, having accurate measurements ensures your furniture pieces will fit together properly.
Frame the Table Top
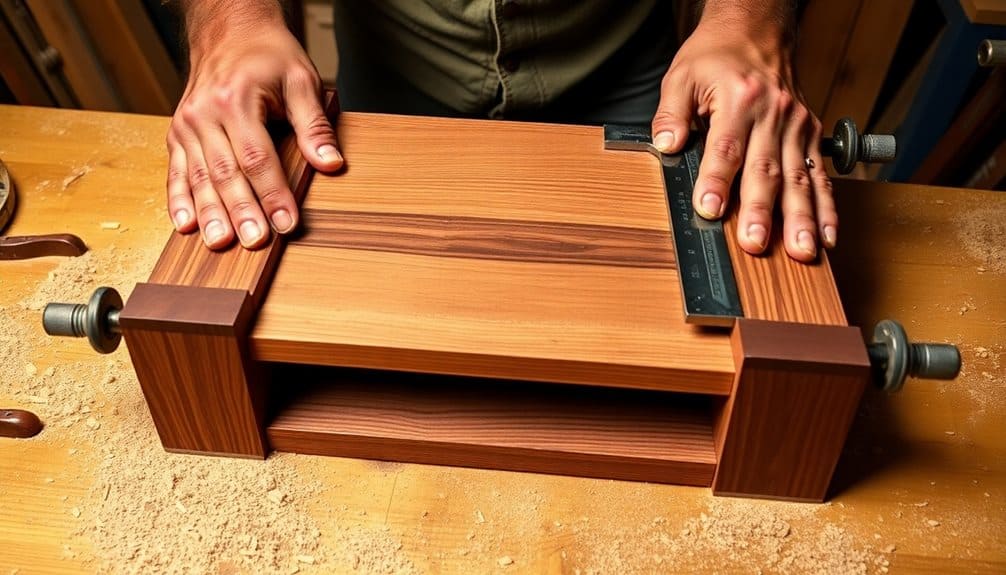
With your cut pieces ready, frame the tabletop by positioning four 1×2″ hardwood strips along the perimeter of your main board. Apply wood glue in a continuous 1/8″ bead along the inner edge of each strip, ensuring complete coverage. Position the strips flush with the top surface, allowing a 1/16″ overhang on the bottom edge for expansion.
Secure the frame using 1-1/4″ brad nails every 6 inches, pre-drilling with a 1/16″ bit to prevent splitting. At the corners, create 45-degree miter joints using a miter saw set to precisely 45 degrees. Apply glue to both mating surfaces and join them together. Reinforce each corner with two 2″ corner brackets, countersinking the screws 1/8″ below the surface.
Check for square using a carpenter’s square and measure diagonally from corner to corner – both measurements should be identical. Clean any excess glue immediately with a damp cloth. Allow the assembly to cure for 24 hours, maintaining even pressure with bar clamps set to 40-50 pounds of pressure. Once cured, sand the frame edges flush with 120-grit sandpaper. For maximum structural integrity, ensure the frame can support at least 150 pounds of weight like standard wall-mounted tool racks.
Sand and Prep Surfaces
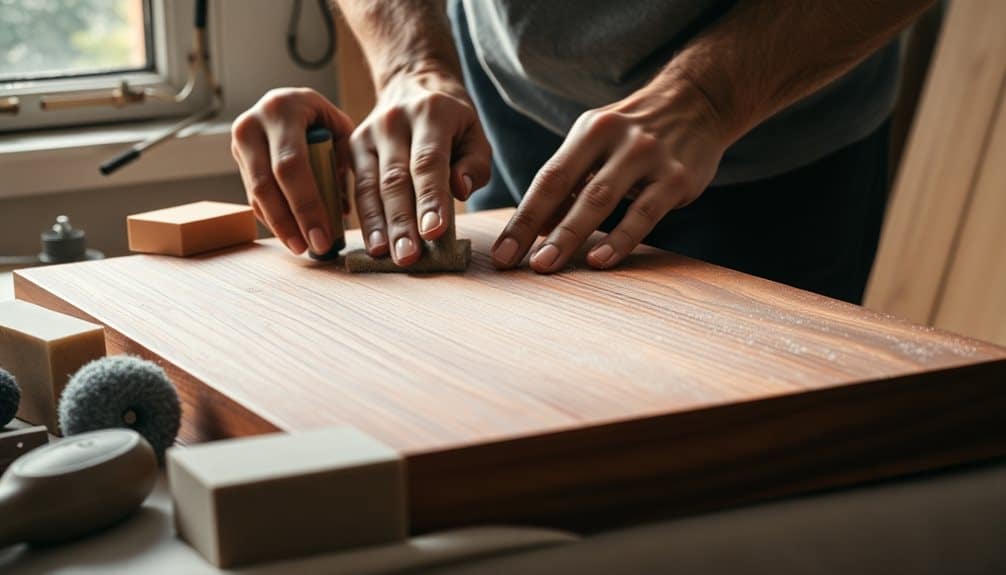
Thorough surface preparation forms the foundation for a professional finish. Begin with 80-grit sandpaper on an orbital sander to remove any mill marks, glue residue, or surface inconsistencies from your wooden components. Work systematically across the grain, then with the grain to eliminate cross-scratching patterns.
Progress through increasingly finer grits: 120, 150, and finish with 220-grit for ideal smoothness. Pay special attention to end grain areas, which require additional sanding due to their more absorbent nature. Remove all dust between grits using a tack cloth or compressed air at 40 PSI.
For edges and joinery intersections, use a sanding block at 45-degree angles to prevent rounding over. Inspect mortise and tenon joints, ensuring 1/32-inch clearance for wood movement. Chamfer all exposed edges at 1/8 inch to prevent splintering. Test surface smoothness by misting with water – any raising grain indicates need for additional sanding.
Vacuum thoroughly and wipe surfaces with mineral spirits to reveal any remaining imperfections. Allow 30 minutes drying time before final inspection under direct lighting at 45-degree angles to spot any remaining flaws. Similar to maintaining compost temperatures between 130-160°F, precise attention to detail during sanding ensures optimal results in your finished piece.
Assemble the Table Base

Solid assembly of the table base demands precise component alignment and proper joint sequencing. Begin by laying out the 4×4 leg posts at precise 90-degree angles, ensuring they’re positioned 24 inches apart on center. You’ll need to insert the 1×4 support rails into the pre-cut mortises, applying wood glue to each joint surface.
Position the corner braces at 45-degree angles, securing them with 2½-inch wood screws through the pre-drilled pilot holes. Install the lateral support beams parallel to each other at 16-inch intervals, using half-lap joints where they intersect. You’ll want to check for square using a carpenter’s square at each corner junction.
Secure the top rail frame using dovetail joints at the corners, ensuring a 3/8-inch setback from the outer edges. Install the leveling feet by drilling 3/8-inch holes into the bottom of each leg post, then thread the adjustable feet into the T-nuts you’ve hammered into place. Check for stability by placing the base on a level surface and adjusting each foot until you’ve achieved perfect equilibrium. For maximum durability comparable to carbon steel storage, consider reinforcing each joint with metal brackets that can support up to 300 pounds of weight.
Attach Top to Base
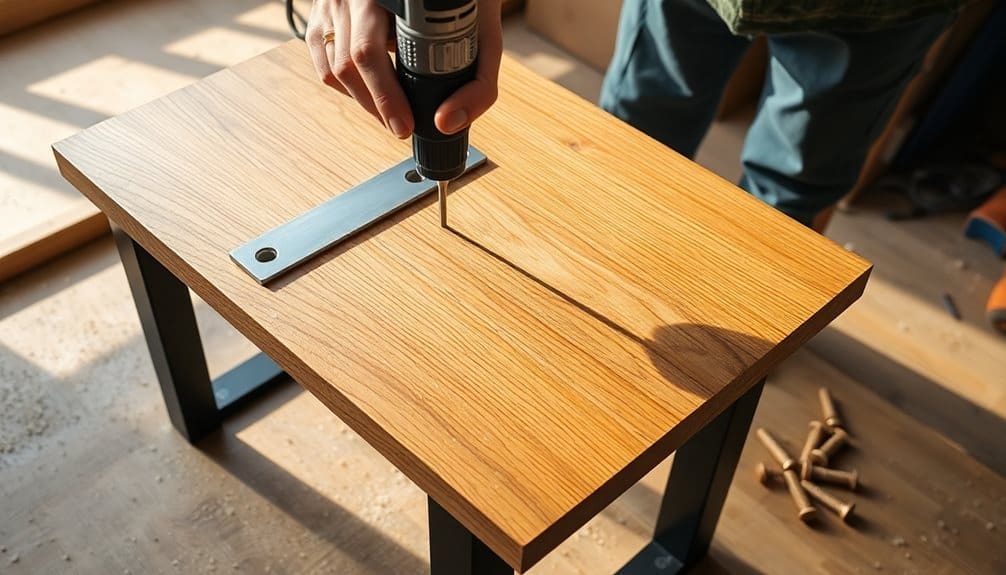
Every secure table top connection begins with precise positioning of the 1×6 mounting cleats, spaced 4 inches inward from the base perimeter. Pre-drill 1/8-inch pilot holes through the cleats at 6-inch intervals, countersinking each to accommodate #8 wood screws. Position the cleats perpendicular to the table top’s wood grain direction.
Flip your table top face-down onto a padded surface, then center the base assembly over it. The base’s outer edges should maintain equal distances from all sides of the top, typically 1.5 inches. Mark the cleat positions with a carpenter’s pencil, then apply wood glue in a continuous 1/8-inch bead along each cleat’s surface.
Lower the base onto the marked positions and clamp firmly. Drive 2-inch #8 screws through your pilot holes, working from the center outward to prevent wood splitting. Install figure-eight fasteners at each corner, recessing them 1/16 inch into both the cleats and table top. These allow for seasonal wood movement while maintaining structural integrity. Let the assembly cure for 24 hours before flipping upright.
Apply Your Finish

Preparing your coffee table’s surface for finishing requires methodical sanding with progressively finer grits – 120, 180, and finally 220. Vacuum between grits and wipe with tack cloth to remove all dust particles. Pay special attention to end grain, which requires additional sanding to achieve ideal smoothness.
Apply pre-stain wood conditioner using a 2-inch natural bristle brush, allowing it to penetrate for 15 minutes before wiping excess. Once dry, apply your chosen stain in thin, even coats using long strokes parallel to the wood grain. Let each coat dry for 24 hours in a well-ventilated area at 70°F with 50-70% humidity.
For the topcoat, apply water-based polyurethane using a foam brush. Start with a 1:1 diluted coat, then add 2-3 full-strength coats, sanding with 320-grit between applications. Maintain a wet edge while applying to prevent lap marks. For ideal durability, allow 72 hours of cure time before placing items on the surface. The final coat should measure 4-5 mils thick for maximum protection against daily wear and moisture penetration.
Frequently Asked Questions
How Long Should I Let the Finished Coffee Table Cure Before Use?
You’ll need to allow your coffee table’s finish to cure for 24-72 hours minimum, depending on your selected finish type. Polyurethane requires 24-48 hours, while oil-based finishes need 72 hours. For ideal hardness, you’ll want to wait 30 days for complete molecular cross-linking. Keep the ambient temperature at 70°F (21°C) and relative humidity at 50-55% during curing.
What’s the Ideal Height for a Coffee Table in Relation to Seating?
Picture your sofa’s seat cushion at 18 inches high
How Much Weight Can a DIY Coffee Table Typically Support?
A properly constructed DIY coffee table can support 100-150 pounds when you’ve used mortise-and-tenon or dowel joints with structural hardwoods like oak or maple. You’ll need 2×4″ support beams at 16″ intervals, reinforced with corner brackets. For maximum load capacity, incorporate a torsion box design using 3/4″ plywood and guarantee your legs are fastened with 3/8″ lag bolts into threaded inserts.
Should I Use Wood Glue in Addition to Screws for Better Stability?
You’ll achieve superior joint strength by combining wood glue with mechanical fasteners. Quality PVA wood glue creates bonds stronger than the wood itself, reaching up to 3,600 PSI in tensile strength. When paired with #8 wood screws at 2-inch intervals, you’re creating a dual-security system. Apply glue generously to mating surfaces, clamp for 30 minutes, then drive screws for maximum structural integrity.
Can I Build This Coffee Table Without a Power Saw?
You can construct a coffee table without a power saw, though it’ll impact your precision. Request 45-degree miter cuts and dimensional lumber sizing at your local hardware store. For crosscuts, you’ll need a quality handsaw (preferably a 12-point cross-cut saw) and a miter box to maintain accurate 90-degree angles. Consider Japanese pull saws for cleaner, more controlled cuts through 1×4 and 2×4 stock.


