This website contains affiliate links. Some products are gifted by the brand to test. As an Amazon Associate, I earn from qualifying purchases. The content on this website was created with the help of AI.
You'll love these five quick DIY gifts that transform everyday items into heartfelt presents in under an hour. Create a personalized photo memory box with decoupage techniques, or whip up friendship bracelets in just five minutes using colorful embroidery floss. Pack a Mason jar with layered cookie ingredients for a sweet treat, or design a unique pressed flower phone case that captures nature's beauty. For tea lovers, assemble a custom blend kit with dried herbs and fruits in labeled jars. These creative projects don't just save time and money – they'll show your thoughtfulness in ways store-bought gifts never could.
Key Takeaways
- Five-minute friendship bracelets require only embroidery floss and basic braiding skills to create personalized accessories quickly.
- Mason jar cookie mixes take just 20 minutes to assemble and make thoughtful gifts with layered ingredients and recipe cards.
- Personalized tea blend kits can be assembled in under an hour using dried ingredients and decorated glass jars.
- Pressed flower phone cases create unique accessories in 45 minutes using clear cases and botanical elements.
- Photo memory boxes transform plain wooden containers into personalized keepsakes within an hour using decoupage techniques.
Customized Photo Memory Box
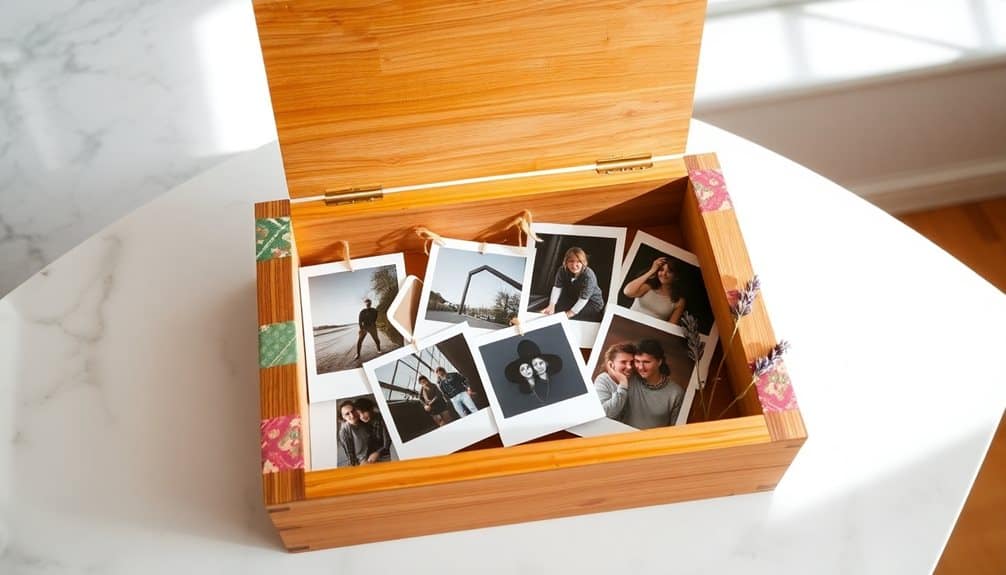
Three essential items are all you'll need to create this heartwarming photo memory box: a wooden box with a lid, your favorite printed photos, and decoupage glue. Start by cleaning the box's surface with a damp cloth and letting it dry completely. While you're waiting, trim your photos to fit the box's sides and top, leaving a small border around the edges.
Apply a thin layer of decoupage glue to the box's surface using a foam brush, then carefully position your first photo. Smooth out any air bubbles with a credit card, working from the center outward. Continue this process for each side of the box, including the lid. Once all photos are placed, apply two more thin coats of glue over the entire surface, letting each layer dry for 15 minutes.
For extra personalization, you can add small decorative elements like ribbons, vintage buttons, or letter stickers between glue layers. The final result is a one-of-a-kind keepsake that's perfect for storing treasured mementos. Your recipient will love both the thoughtful presentation and the practical storage space this customized gift provides.
Five-Minute Friendship Bracelets
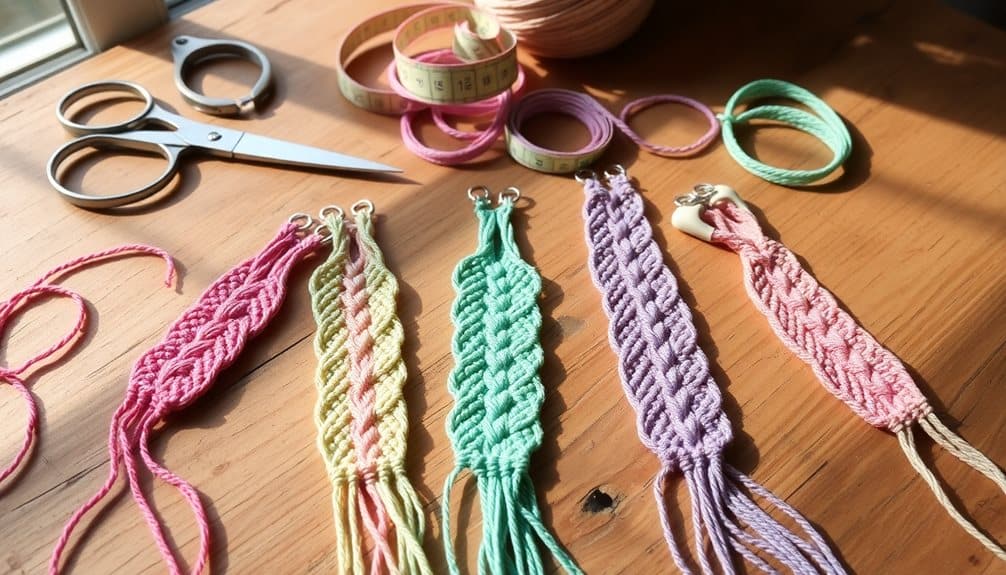
While photo boxes make wonderful keepsakes, sometimes you'll want a gift that's wearable and quick to create. These five-minute friendship bracelets are the perfect solution when you're short on time but want to give something personal and stylish.
You'll need embroidery floss in two or three colors, scissors, and tape or a safety pin. Start by cutting three 24-inch lengths of floss and knotting them together at one end. Secure the knot to a flat surface with tape or pin it to your knee. Separate the strands and begin braiding them tightly, keeping tension consistent throughout the process.
For added flair, try incorporating beads as you braid or use metallic thread as one of your strands. Once you've braided the desired length, tie off the end with a secure knot. Create a sliding closure by folding the bracelet in half and tying another knot about an inch from the ends, leaving two small loops. This adjustable design guarantees a perfect fit for any wrist size.
These bracelets are so quick to make, you can create matching sets for friend groups or customize color combinations for each recipient's style preferences.
Mason Jar Cookie Mix
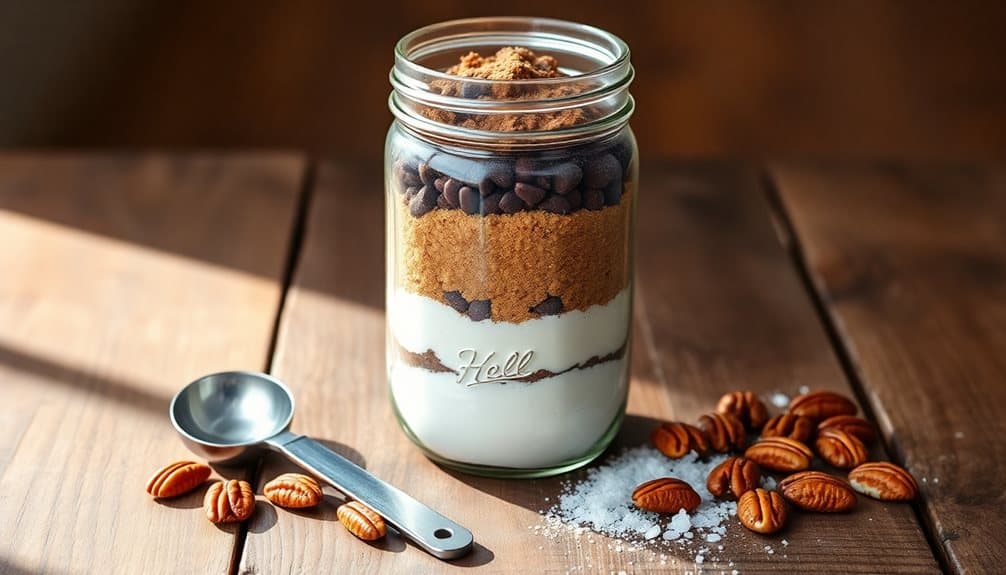
Looking for a thoughtful homemade gift that's both beautiful and delicious? A Mason jar cookie mix combines the charm of handmade presents with the joy of baking. You'll need just 20 minutes to create this Pinterest-worthy gift that'll make anyone smile.
Start with a clean, quart-sized Mason jar and layer your dry cookie ingredients in a visually appealing pattern. Mix your favorite cookie recipe's dry components – flour, sugar, cocoa powder, or chocolate chips – and carefully spoon them into the jar, creating distinct stripes. Don't forget to pack each layer firmly before adding the next one.
For presentation, cut a 6-inch circle of festive fabric to cover the lid, secure it with a rubber band, and tie a ribbon around the jar's neck. Attach a handwritten recipe card with clear instructions for adding wet ingredients and baking directions. You can personalize each jar by using different fabric patterns or ribbon colors.
Pro tip: To prevent ingredients from mixing during transport, layer heavier items like chocolate chips and nuts at the bottom, and place flour and sugar toward the top. One jar typically yields 2-3 dozen cookies.
Pressed Flower Phone Case
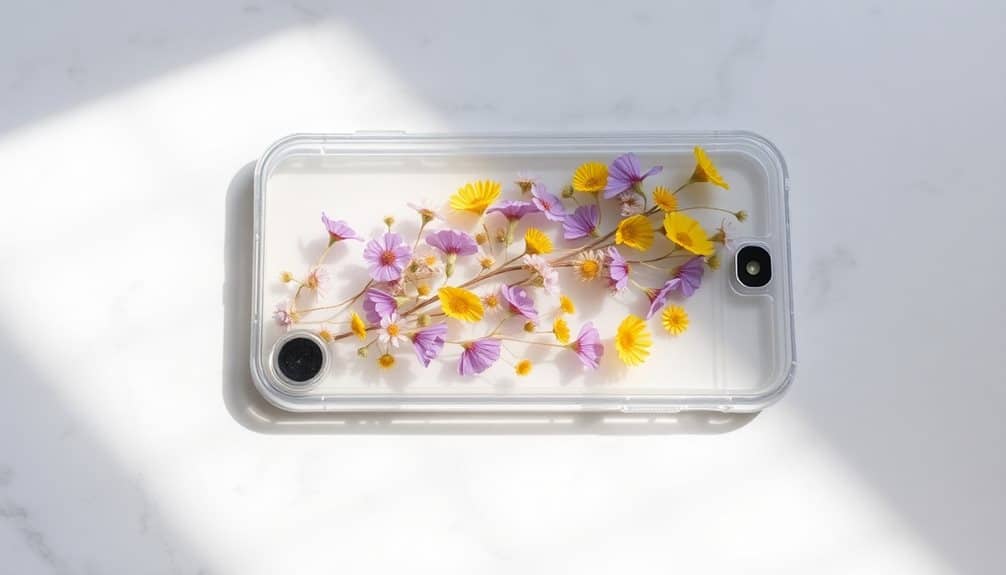
Nature lovers can transform their ordinary phone case into a stunning botanical masterpiece with pressed flowers. This personalized project takes just 45 minutes and requires a clear phone case, pressed flowers, mod podge, and a small brush.
Start by cleaning your clear phone case thoroughly with rubbing alcohol to remove any oils or dirt. While it's drying, arrange your pressed flowers on a piece of paper that's cut to match your phone case's size. You'll want to experiment with different layouts until you find the perfect design. Once you're happy with the arrangement, carefully transfer the flowers one by one onto your phone case using tweezers.
Apply a thin layer of mod podge over the flowers using gentle brush strokes. Don't worry – it'll dry completely clear! Let this first layer dry for 15 minutes, then add a second coat for extra protection. After 30 minutes of drying time, your case will be ready to use. The flowers will stay vibrant and protected behind their clear seal, giving you a unique accessory that brings a touch of nature to your everyday tech.
Personalized Tea Blend Kit
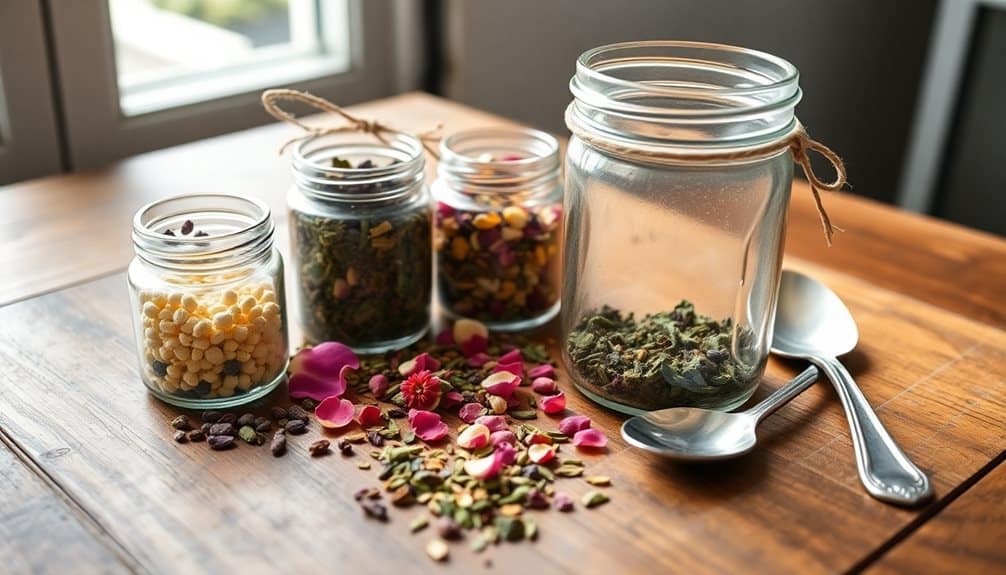
Tea enthusiasts will adore this thoughtful DIY blend kit that lets them experience custom flavors in every cup. You'll need small glass jars, labels, dried herbs, dried fruits, and loose-leaf tea varieties as your base ingredients. Popular options include chamomile, lavender, peppermint, dried orange peel, rose petals, and green or black tea leaves.
Start by cleaning and drying your jars thoroughly. Fill each one with different ingredients, making sure they're completely dry to prevent mold. Create simple instruction cards listing various blend combinations – for example, "1 tsp black tea + ½ tsp dried orange + ¼ tsp cinnamon" for a spiced citrus blend. You can include 3-4 tried-and-tested recipes that you've personally enjoyed.
Label each jar clearly and arrange them in a decorative box or basket. Don't forget to include measuring spoons, empty tea bags, and a small notebook for your recipient to record their favorite combinations. For an extra touch, add a handwritten note explaining the properties of each ingredient – like lavender for relaxation or peppermint for digestion. The entire kit takes about 45 minutes to assemble, including drying time for any handwritten elements.
Frequently Asked Questions
Can I Substitute Plastic Containers for Mason Jars in Gift Projects?
Yes, you can use plastic containers instead of mason jars! They're lightweight, shatterproof, and often cheaper. However, keep in mind that plastic won't seal as tightly as glass, and it might not look as charming or vintage-inspired. If you're making food gifts, choose BPA-free containers rated for food storage. For crafts and non-food items, any clean plastic container will work – just jazz it up with ribbons and decorative touches!
How Long Do Homemade DIY Gifts Typically Last Before Deteriorating?
Did you know that properly stored homemade gifts can last up to 5 years? The longevity of your DIY gifts depends largely on their materials and storage conditions. Fabric items will last 2-3 years when protected from sunlight, while preserved foods typically stay fresh for 12-18 months. You'll get the best results by storing your creations in cool, dry places and using quality materials from the start.
What's the Average Cost Range for Making Multiple DIY Gifts?
You'll find that DIY gifts typically range from $5-25 per item, though you can save considerably when making multiple gifts at once through bulk materials. If you're crafting for 5-10 people, expect to spend $50-150 total. Your costs will vary based on your chosen projects – fabric crafts and wood items tend to cost more, while paper crafts and baked goods are usually more budget-friendly.
Are These Projects Suitable for Children to Make Independently?
Ever wonder what makes a DIY project kid-friendly? While crafting can be fun for children, you'll want to supervise these projects as they involve tools like scissors, hot glue guns, and sharp objects. You can modify some steps to make them safer – let your kids handle the decorating and coloring while you manage the cutting and assembly. They'll still feel proud of their creative contribution without risking their safety.
How Should I Package These DIY Gifts for Shipping?
Package your handmade gifts with plenty of bubble wrap or tissue paper, making sure to cushion all sides. You'll want to use a sturdy box that's slightly larger than your item – double-walled cardboard works great! For fragile items, try the double-box method: wrap your gift, place it in a smaller box, then nest that inside a larger one with padding between them. Don't forget to mark packages as "Fragile" when needed.

