This website contains affiliate links. Some products are gifted by the brand to test. As an Amazon Associate, I earn from qualifying purchases. The content on this website was created with the help of AI.
You’ll transform your cable chaos into an organized system through seven professional techniques. Start with a thorough cable audit to document and test each connection. Label both ends of cables using a standardized naming system and durable materials. Select appropriate tools like cable ties, sleeves, and J-channel trays for effective management. Group similar cables together while maintaining proper separation between power and data lines. Conceal cables using strategic routing and dedicated cable stations. Implement regular inspections to catch wear early. Create a maintenance log to track issues. These foundational steps lead to mastering advanced cable management strategies.
Key Takeaways
- Label both ends of cables using a standardized naming system and durable tags for quick identification and troubleshooting.
- Maintain minimum 6-inch separation between power and data cables to prevent signal interference and ensure optimal performance.
- Use cable ties, sleeves, and J-channel trays to bundle similar cables together and create organized pathways.
- Conduct regular inspections to check for damage, test connections, and document maintenance needs in a detailed log.
- Create dedicated cable stations with centralized power strips, organizing cables by function and destination for simplified management.
Start With a Cable Audit
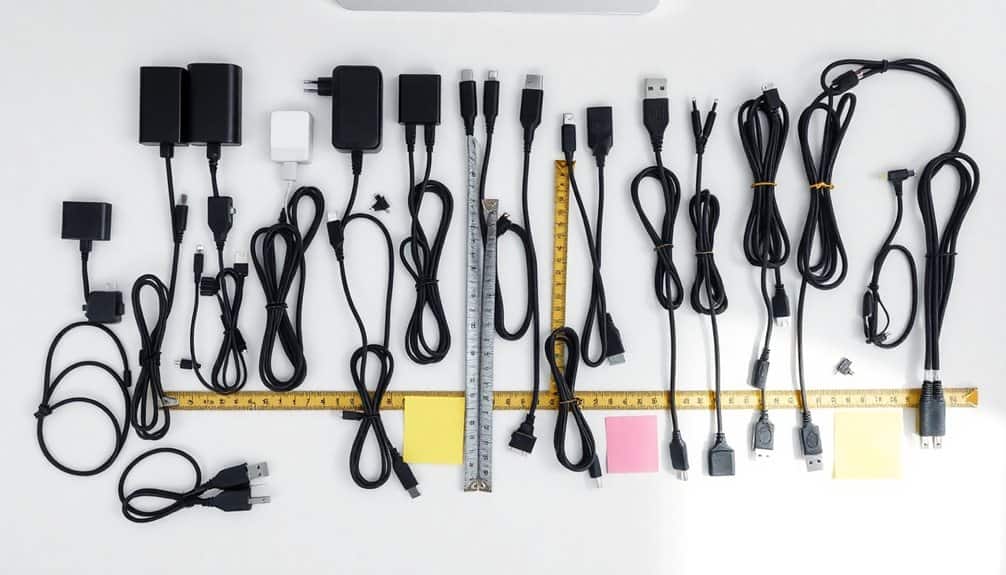
A thorough cable audit forms the foundation of any successful organization project. Begin by unplugging and laying out every cable in your workspace or home entertainment system. Create a spreadsheet to document each cable’s type, length, current function, and condition. You’ll want to identify both active cables that are in use and dormant ones that aren’t serving any purpose.
During your audit, test each cable’s functionality using appropriate devices or multimeters. Note any fraying, bent connectors, or signs of wear that might require replacement. Sort your cables into categories: power cables, audio/video connections, network cables, and peripheral devices. Don’t forget to measure the required length for each cable’s intended placement – this will help you determine if you need shorter alternatives to reduce cable clutter.
Label each cable you plan to keep with its specific function and destination points. Dispose of damaged cables properly and set aside any duplicates you don’t need. If you’re managing a complex setup, consider creating a simple diagram showing where each cable runs. This documentation will prove invaluable when you need to troubleshoot or modify your setup later.
Label Everything
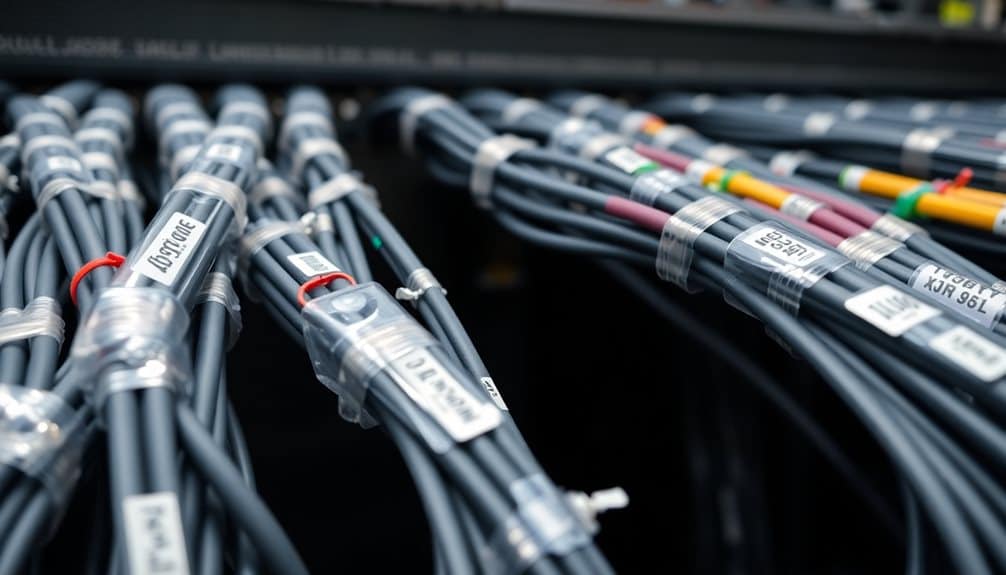
Once you’ve completed your cable audit, proper labeling becomes the cornerstone of maintaining an organized system. You’ll need to create clear, consistent labels for both ends of every cable, indicating its purpose, destination, and connected device. Use a label maker rather than handwritten tags to guarantee legibility and durability.
When creating labels, adopt a standardized naming convention. Include essential information such as device name, port number, and cable type (e.g., “Router-Port3-Ethernet” or “Monitor2-HDMI”). For power cables, specify the device and wattage requirements. If you’re managing multiple areas or rooms, incorporate location identifiers into your labeling scheme.
Apply labels approximately two inches from each connector end, making certain they’re visible when cables are installed. Choose labels that can withstand temperature changes and won’t peel off easily. For temporary setups, use removable labels or velcro cable ties with write-on tabs. Don’t forget to document your labeling system in a spreadsheet or diagram, including any color coding or special identifiers you’ve implemented. This documentation will prove invaluable during future modifications or troubleshooting sessions.
Choose the Right Tools

The right cable management tools make all the difference between a chaotic mess and a professionally organized setup. You’ll need cable ties in various sizes, ranging from small 4-inch ties for thin cables to 12-inch ties for bundling larger groups. Velcro straps offer reusability and flexibility when you need to make frequent changes to your setup.
Invest in a quality cable sleeve system that includes split-loom tubing for backbone runs and braided sleeves for visible cables. Cable raceways or channels mounted to walls and desks conceal cables while maintaining accessibility. For desk organization, get J-channel cable trays that mount under your workspace, keeping cables elevated and hidden from view.
Don’t forget essential tools like a wire stripper, cable tester, and precision scissors for clean cuts. A label maker with durable vinyl labels guarantees your organization system stays intact. Consider cable clips with adhesive backs for routing individual cables along specific paths. For network installations, add a punch-down tool and cable fishing rods to your toolkit. These professional-grade tools will help you create and maintain an organized cable management system that’s built to last. A cable management box provides an elegant solution to hide power strips and excess cord length while maintaining easy access to your devices.
Group Similar Cables Together
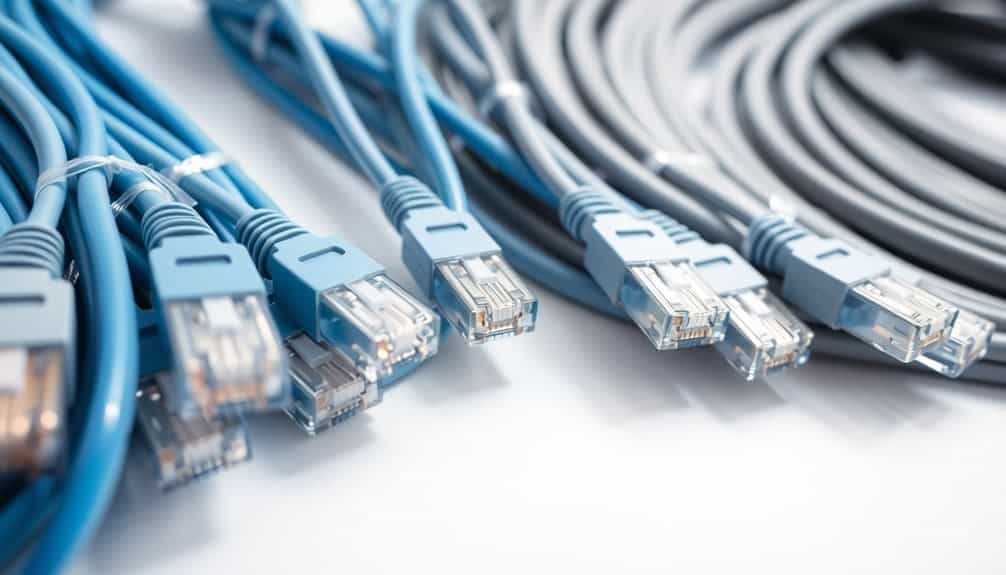
With your tools ready, start by categorizing cables based on their function and destination points. Separate power cables from data cables, and further divide them into subcategories like network cables, audio/video connections, and peripheral devices. You’ll want to create distinct bundles for each group to prevent signal interference and simplify troubleshooting.
When grouping your cables, maintain a minimum distance of 6 inches between power cables and data cables to reduce electromagnetic interference. For network cables, keep Cat5e, Cat6, and fiber optics in separate bundles to optimize performance. If you’re dealing with audio/video equipment, group HDMI cables together, keeping them away from power cables and fluorescent lighting that might degrade signal quality.
Create a logical flow by mapping out where each bundle will run. Position frequently accessed cables, like USB and charging cables, where they’re easily reachable. For permanent installations, consider using color-coded zip ties or labels to identify each bundle’s function. This system will help you quickly locate specific cables when you need to make changes or perform maintenance.
Hide Cables in Plain Sight

Mastering the art of concealment transforms unsightly cables into nearly invisible elements of your space. You’ll need to assess your room’s architectural features and furniture placement to identify natural hiding spots that won’t compromise functionality or accessibility.
Start by running cables along baseboards using adhesive cable clips or raceways that match your wall color. You can paint these channels to blend seamlessly with your décor. For desk setups, utilize the furniture’s design by threading cables through pre-drilled holes or adding grommets to create custom pathways. Mount power strips under your desk or behind furniture to centralize connections while keeping them hidden.
Consider using cord covers that double as decorative elements, such as faux wood grain channels or metallic cable tubes that complement your room’s aesthetic. For wall-mounted TVs or monitors, install in-wall cable management systems to completely conceal wires within the drywall. If you’re dealing with floor-crossing cables, invest in flat cable covers that you can place under rugs or runners. Remember to maintain enough slack in your cables to prevent tension while ensuring they remain tucked away and organized.
Create Designated Cable Stations
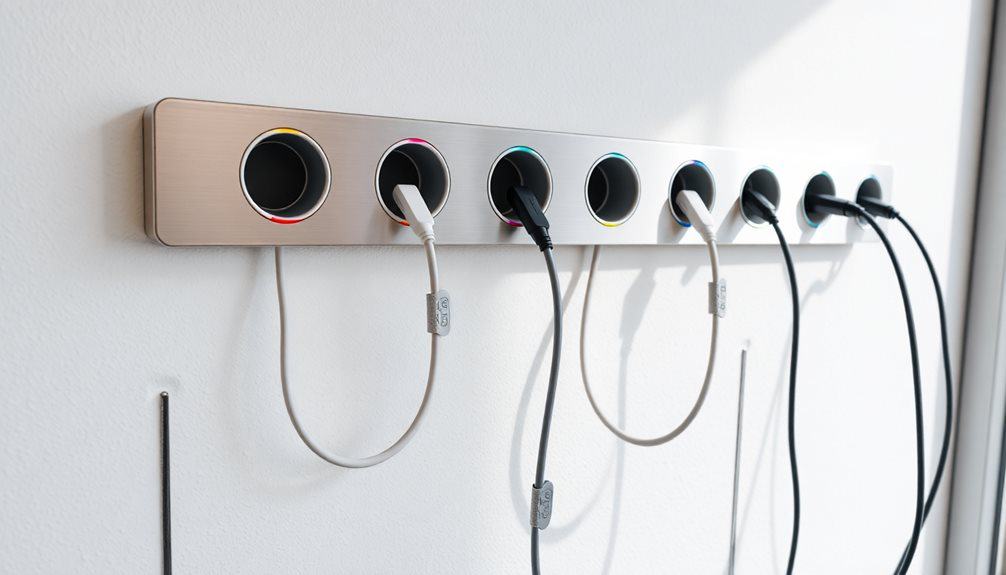
Setting up dedicated cable stations transforms chaotic wire management into an organized system that enhances both functionality and accessibility. You’ll need to identify key areas where your devices cluster, such as your desk, entertainment center, or charging zone. Install power strips or surge protectors at these stations to create centralized connection points.
Mount cable management boxes near each station to house excess cord length and power bricks. These boxes should be large enough to accommodate your needs but compact enough to remain inconspicuous. You’ll want to position them within easy reach for maintenance while keeping them hidden from everyday view.
Label each cable station clearly with its designated purpose and the devices it serves. Create a connection diagram that you can reference when troubleshooting or reconfiguring your setup. Install cable clips or J-channels on the underside of surfaces to guide wires from devices to their respective stations. Remember to leave enough slack in the cables for device movement and maintenance, but avoid excessive loose cording that could become tangled. Position your stations strategically to minimize cable runs and reduce crossing patterns between different device clusters.
Maintain Regular Cable Inspections
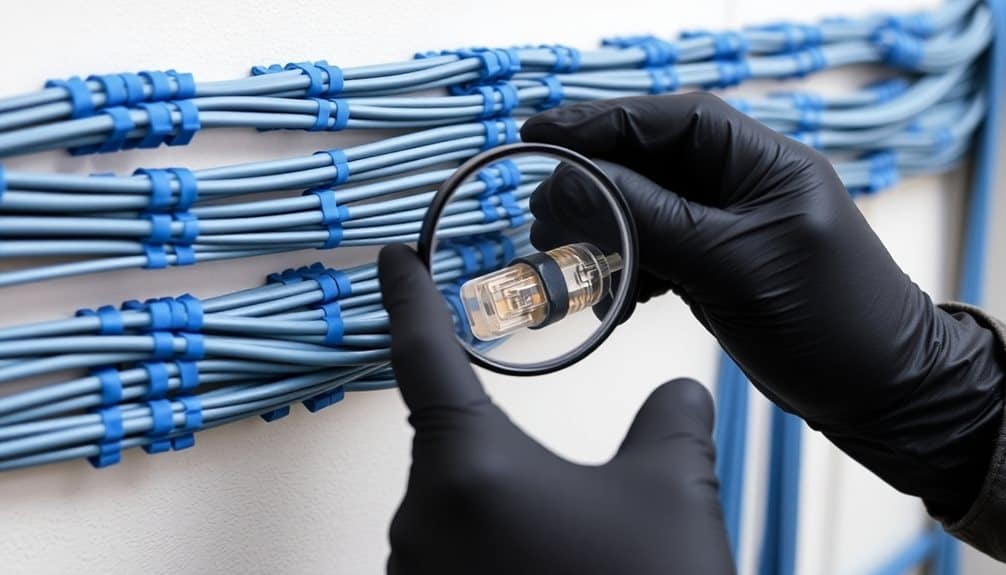
Regular cable inspections safeguard your organized system while preventing potential hazards and equipment failures. You’ll need to establish a consistent inspection schedule, typically monthly or quarterly, depending on your setup’s complexity and usage frequency.
During inspections, check for signs of wear, including fraying, kinks, or exposed wiring. Test each connection point to confirm it’s secure and functioning properly. You’ll want to verify that cable ties aren’t overtightened, as this can damage cable insulation over time. Document any issues you find in a maintenance log, noting the date, location, and nature of problems.
Pay special attention to high-traffic areas where cables experience frequent movement or stress. Look for proper strain relief at connection points and confirm cables aren’t being pinched by furniture or equipment. Check that labels remain legible and firmly attached. If you’ve used cable wraps or sleeves, examine them for degradation or loosening.
Replace damaged cables immediately rather than attempting repairs. When you spot early warning signs like intermittent connectivity or visible wear, don’t wait for complete failure—schedule replacements proactively. This preventive approach maintains system reliability and extends the life of your equipment.
Frequently Asked Questions
Can I Use Colored Electrical Tape Instead of Cable Labels?
While you might be tempted to cut corners, using electrical tape isn’t the best way to go. Though colored tape can work temporarily, it often peels off, leaves sticky residue, and becomes brittle over time. You’ll find proper cable labels are more durable, offer clearer identification, and maintain their integrity longer. They’re also designed specifically for cable management, ensuring your wiring stays professionally organized.
How Often Should I Replace My Power Cables and Charging Cords?
You’ll need to replace your power cables and charging cords when you notice physical damage, performance issues, or every 3-5 years with regular use. Check for fraying, exposed wires, bent connectors, or intermittent charging. High-quality cables typically last longer than cheap alternatives. If you’re using cables in high-stress environments or frequently bending them, you should inspect them monthly and replace them more frequently.
What’s the Maximum Safe Length for Extension Cords in Home Offices?
“An ounce of prevention is worth a pound of cure” rings true when it comes to extension cord safety. You’ll want to keep your cords under 100 feet for peak performance in a home office. For standard 16-gauge cords, stick to 50 feet max, while 14-gauge cords can stretch to 75 feet. If you’re using power-hungry equipment like printers or heaters, you’ll need 12-gauge cords, which can safely run up to 100 feet.
Are Wireless Charging Stations Better for Reducing Cable Clutter?
Wireless charging stations can reduce cable clutter, but they aren’t always the most efficient solution. You’ll get slower charging speeds compared to wired connections, typically 5-15W vs. 25W+ for wired charging. You’ll also need precise device placement for ideal charging, and multiple devices might require larger pads. Consider your specific needs, as a single wireless charger still requires its own power cable.
Should I Cover Exposed Cables With Heat Shrink Tubing or Cable Sleeves?
Like choosing between a shield and armor for protection, both heat shrink tubing and cable sleeves offer unique benefits. You’ll want heat shrink tubing when you need a permanent, water-resistant solution that creates a tight seal around individual cables. Cable sleeves work better for bundling multiple cables together and offer easier access if you’ll need to add or remove wires later. Consider your specific needs and environment when making your choice.


