This website contains affiliate links. Some products are gifted by the brand to test. As an Amazon Associate, I earn from qualifying purchases. The content on this website was created with the help of AI.
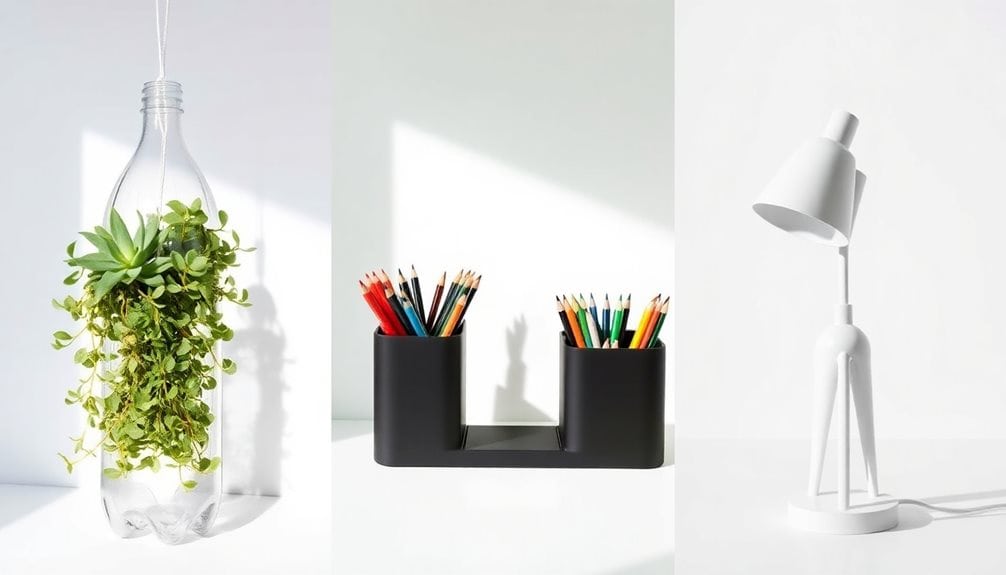
Transform your empty plastic bottles into three eco-friendly DIY projects that’ll reduce waste while enhancing your home. You can create a self-watering planter perfect for herbs and small vegetables using a 2-liter soda bottle and simple wicking system. Turn bottles into hanging storage solutions by cutting them horizontally and adding sturdy rope hangers – ideal for organizing small items throughout your home. For ambient lighting, convert glass bottles into unique pendant lights with basic hardware and LED bulbs. These sustainable projects offer practical solutions that’ll save you money while helping the environment. Let’s explore each creative transformation step-by-step.
Key Takeaways
- Create a self-watering planter by cutting a soda bottle horizontally and using cotton fabric to wick water from reservoir.
- Transform bottles into hanging storage containers by cutting them horizontally and adding rope loops for mounting.
- Convert bottles into decorative planters by painting them, adding drainage holes, and filling with soil and plants.
- Upcycle plastic bottles into organizers by cutting horizontally and mounting them sideways on walls for supplies storage.
- Make eco-friendly bird feeders by cutting windows in bottles’ sides and adding perches from wooden dowels.
Self-Watering Soda Bottle Planter
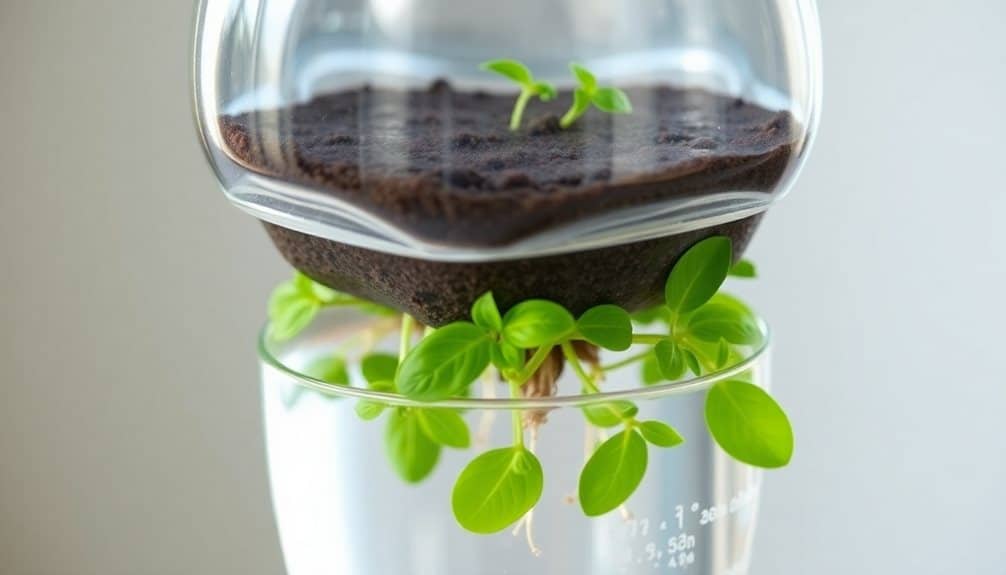
While store-bought planters can be expensive and wasteful, you can create an efficient self-watering planter from a recycled 2-liter soda bottle. This eco-friendly project requires minimal materials and helps reduce plastic waste while providing an ideal growing environment for your plants.
Start by thoroughly cleaning your bottle and removing the label. Cut the bottle horizontally about one-third from the bottom, creating two sections. Drill or punch several small holes in the bottle cap for drainage. In the upper section, make 3-4 small holes around the cut edge. Turn the top section upside down and insert it into the bottom portion, creating a reservoir.
Cut a strip of cotton fabric or use a thick cotton string to serve as the wick. Thread it through the bottle cap, leaving enough length to reach the water reservoir. Fill the bottom section with water and the top with potting soil. The wick will draw water up to your plant’s roots as needed, creating a self-regulating watering system that’s perfect for herbs, small vegetables, or houseplants. You’ll only need to refill the reservoir every 1-2 weeks, depending on your plant’s water needs.
Hanging Storage Solution
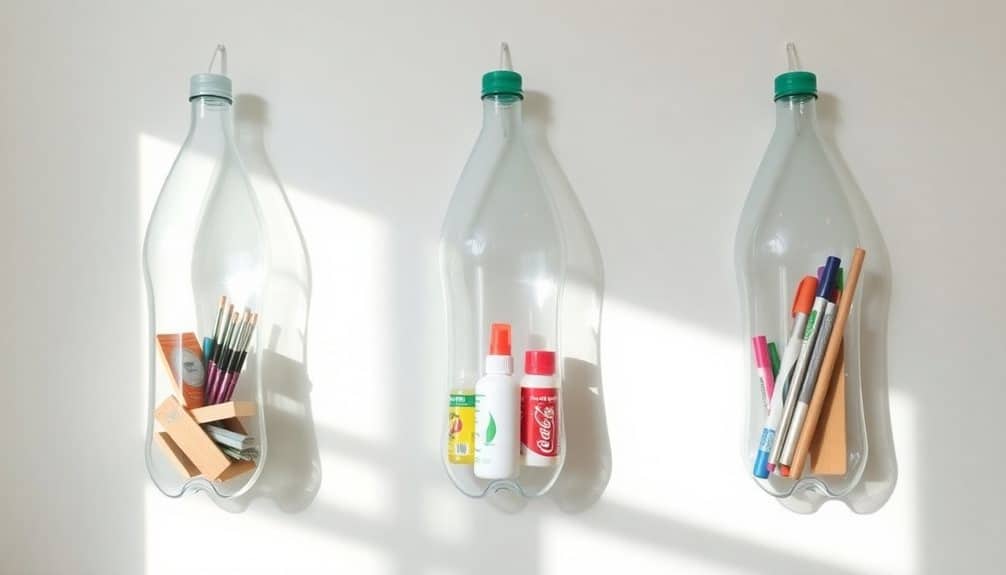
Are you looking to maximize storage space while reducing clutter and waste? Transform your empty plastic bottles into practical hanging storage containers that’ll help organize small items while giving these containers a second life before recycling.
Start by thoroughly cleaning 2-liter bottles and removing all labels. Using sharp scissors, cut the bottle horizontally about 8 inches from the bottom, creating a deep container. Sand any rough edges for safety. Make two small holes on opposite sides near the cut edge for hanging. Thread sturdy twine or rope through the holes, creating a secure loop for hanging.
You can customize these containers by spray painting them with plastic-specific paint or covering them with fabric using non-toxic adhesive. Install them in your bathroom for toiletries, craft room for supplies, or garage for hardware storage. Connect multiple containers vertically to create a tiered storage system by cutting additional holes in the bottom of each container and linking them with short lengths of rope.
This solution keeps plastic out of landfills while providing practical storage that’s both water-resistant and easily replaceable when the containers eventually wear out. Similar to commercial high-density plastics, these DIY containers resist moisture and maintain their shape under normal storage loads.
DIY Decorative Pendant Light
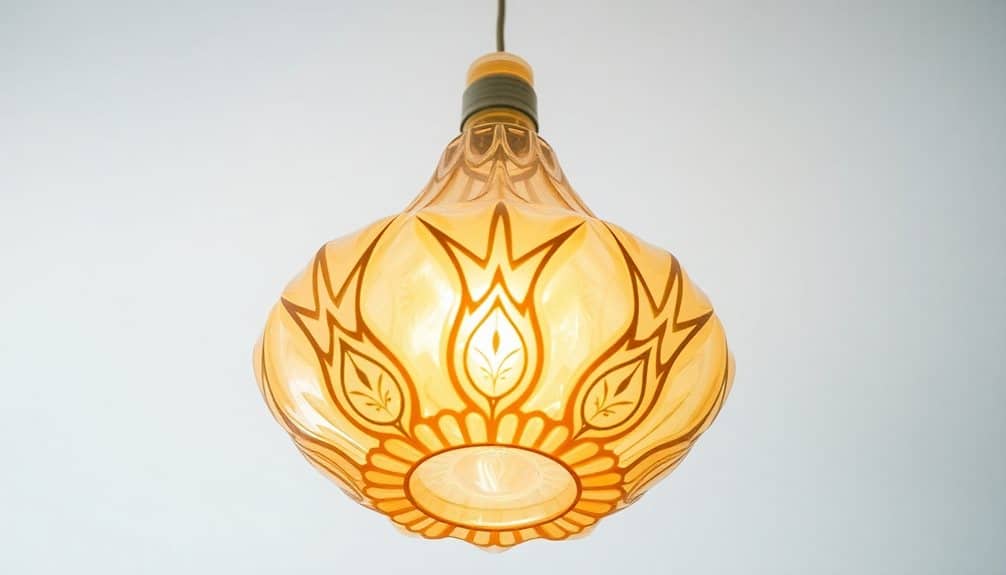
Transform empty glass bottles and jars into stunning pendant lights that add character to any room while keeping these items out of the waste stream. You’ll need a glass bottle or jar, a pendant light kit, a glass drill bit, wire strippers, and safety equipment including goggles and gloves.
Start by thoroughly cleaning your chosen glass container and removing any labels. Put on your safety gear, then drill a hole in the bottom of the bottle using the glass drill bit and steady pressure. Thread the pendant light cord through the hole, leaving enough length for hanging. Strip the wire ends and connect them to your light fixture according to the kit’s instructions.
Choose strategic placement for your upcycled light fixture – they work particularly well over kitchen islands, dining tables, or in clusters at varying heights. For added sustainability, opt for LED bulbs, which use less energy and last longer than traditional ones. You can customize your pendant by painting the glass with transparent glass paint, frosting it with etching cream, or wrapping it with reclaimed twine. This project diverts waste from landfills while creating functional art that illuminates your space in an eco-friendly way. Using LED grow lights can save up to 80% on electricity costs compared to traditional lighting options.
Frequently Asked Questions
How Long Do Plastic Bottles Last Before Degrading When Used Outdoors?
When you leave plastic bottles outdoors, they can last 450-1000 years before fully degrading, causing serious environmental harm. UV rays will gradually make them brittle and break them into harmful microplastics within 5-10 years. You’ll notice they start yellowing and cracking much sooner. It’s best to avoid using plastic bottles outdoors – instead, opt for durable alternatives like stainless steel or glass.
Can Colored Plastic Bottles Affect Plant Growth in Self-Watering Planters?
Purposefully picking proper plastic colors can impact your plants’ growth. While clear bottles are your best choice, colored plastics can filter and block specific light wavelengths your plants need. If you’re using colored bottles for self-watering planters, you’ll want to paint the bottle portion below soil level, keeping the exposed parts clear or white to guarantee ideal light transmission and healthy plant development.
What Types of Plastic Bottles Are Unsafe for DIY Projects?
You’ll want to avoid using bottles that contained harsh chemicals, pesticides, or automotive products, as they can leach harmful residues. Don’t reuse single-use PET (#1) bottles for long-term projects, as they break down over time. Steer clear of PVC (#3) and polystyrene (#6) plastics, which can release toxic chemicals. Instead, opt for HDPE (#2) or PP (#5) bottles that previously held food or beverages.
Does Heating Plastic Bottles for Crafts Release Harmful Chemicals?
You might be risking more than just a craft project when heating plastic bottles. When exposed to heat, many plastics release toxic chemicals like BPA and phthalates into the air you breathe. Instead, try upcycling plastic bottles using cold techniques: cutting, folding, or assembling. If you must heat plastic, choose safer alternatives like HDPE (recycling code #2) or stick to eco-friendly materials like glass or metal.
Are There Special Cleaning Methods Needed Before Reusing Bottles for Projects?
You’ll want to thoroughly clean your bottles before starting any upcycling project. First, remove all labels and adhesive residue using warm water and natural soap or vinegar. Then sanitize by filling the bottle with a mixture of one part vinegar to three parts hot water – let it sit for 15 minutes. Rinse well and allow to dry completely. Avoid using harsh chemicals that might leave harmful residues.

