This website contains affiliate links. Some products are gifted by the brand to test. As an Amazon Associate, I earn from qualifying purchases. The content on this website was created with the help of AI.
You can start composting food scraps today with a simple outdoor pile or indoor bin system. Keep a 3:1 ratio of brown materials (dried leaves, paper) to green materials (food scraps, coffee grounds) for ideal decomposition. Add your daily fruit and vegetable scraps, but avoid meat, dairy, and oils which can attract pests. Turn your pile every few days to incorporate oxygen, and maintain moisture like a wrung-out sponge. When your compost looks dark and crumbly with an earthy smell, it’s ready to enrich your garden soil. There’s much more to discover about this rewarding way to reduce waste and create natural fertilizer.
Key Takeaways
- Start with a small container in your kitchen to collect fruit and vegetable scraps, coffee grounds, and eggshells daily.
- Maintain a 3:1 ratio of brown materials (dried leaves, paper) to green materials (food scraps) for optimal decomposition.
- Avoid meat, dairy, oils, and fats in your compost as these attract pests and create unpleasant odors.
- Keep compost pile as moist as a wrung-out sponge and turn materials every 1-2 weeks for proper oxygen flow.
- Choose between indoor methods like vermicomposting for small spaces or outdoor piles/tumblers for larger volumes of scraps.
Why Start Composting Now
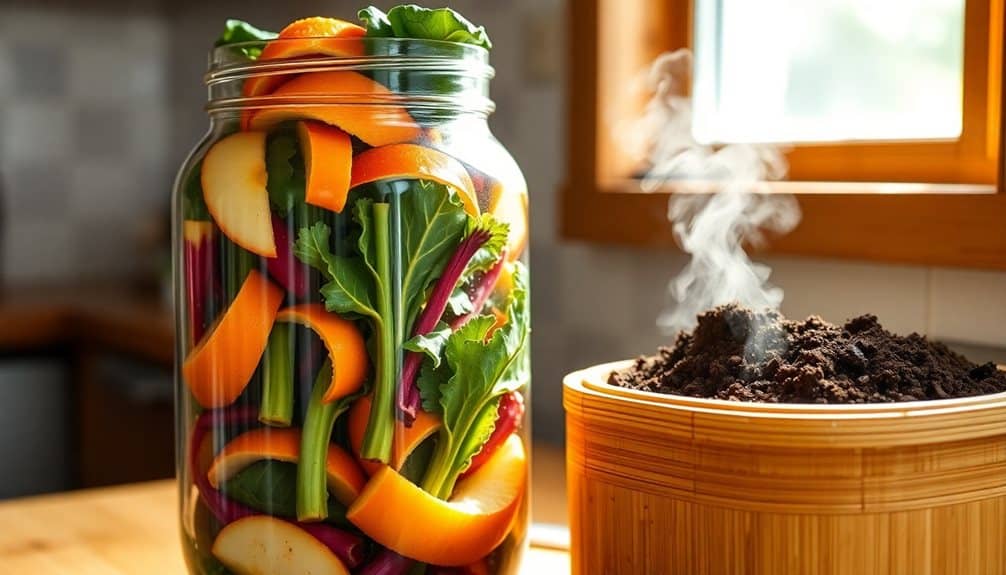
With landfills reaching capacity and climate concerns mounting, there’s never been a better time to start composting your food scraps. When you send organic waste to landfills, it decomposes without oxygen, producing methane – a greenhouse gas 25 times more potent than carbon dioxide. By composting at home, you’ll reduce these harmful emissions while creating nutrient-rich soil for your garden.
You’ll notice immediate benefits when you start composting. Your kitchen trash will produce less odor and won’t need to be taken out as frequently, since food waste typically makes up 30% of household garbage. You’ll also save money on store-bought fertilizers and soil amendments, as compost provides everything your plants need to thrive.
The environmental impact extends beyond your home. By composting, you’re helping extend the life of local landfills, reducing garbage collection costs for your community, and decreasing the carbon footprint of waste transportation. Plus, the rich compost you create helps soil retain moisture, reducing water usage and promoting healthier plant growth. It’s a simple daily action that creates lasting positive change for our planet. Using bokashi bran in your composting system can accelerate the fermentation process and break down food waste more efficiently.
Essential Tools and Equipment
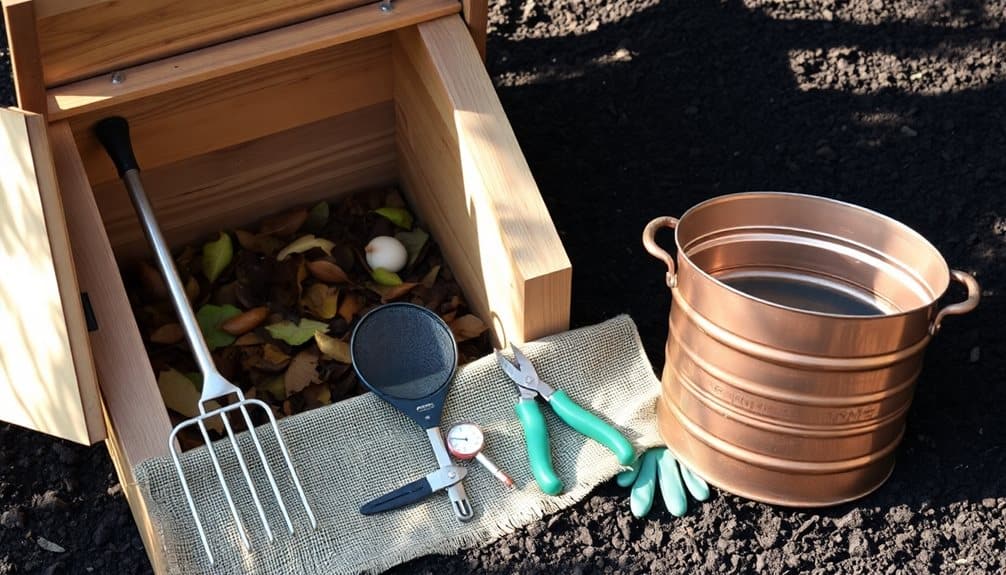
Getting started with composting requires just a few basic tools to guarantee success. You’ll need a kitchen counter bin for collecting daily food scraps, a larger outdoor compost bin or tumbler, and a garden fork or compost aerator tool for turning the pile. Choose a countertop container with a tight-fitting lid and activated charcoal filter to prevent odors and fruit flies.
For outdoor composting, select either a stationary bin made of recycled plastic or wood, or a rotating tumbler that makes turning easier. Your bin should have adequate ventilation holes and a secure lid to keep pests out while allowing proper airflow. If you’re using a traditional pile system, you’ll want a pitchfork or specialized compost turner to mix materials. Proper aeration tools help speed up decomposition and prevent unwanted odors.
Additional helpful tools include a spray bottle for maintaining moisture levels, pruning shears for cutting larger scraps into smaller pieces, and a thermometer to monitor the pile’s temperature. Don’t forget to keep a pair of gardening gloves nearby for handling materials. While you can start composting with minimal equipment, these basic tools will help you maintain an efficient, odor-free composting system that breaks down waste effectively.
What to Compost
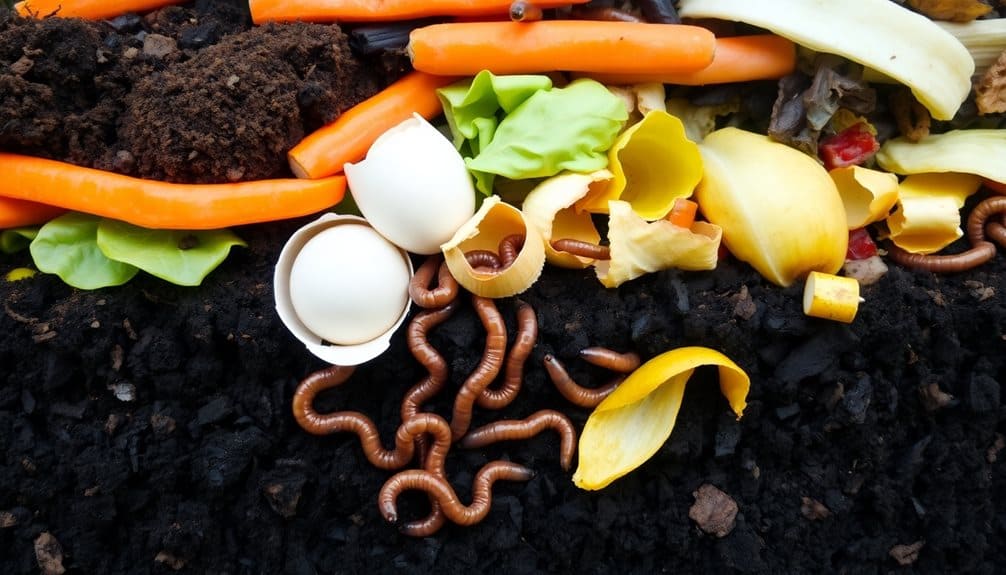
Successful composting starts with knowing which kitchen and yard materials make the best ingredients for your pile. You’ll want to maintain a balance between “green” nitrogen-rich materials and “brown” carbon-rich materials. The greens provide protein for the microorganisms that break down your compost, while browns add bulk and allow air to flow through the pile.
From your kitchen, you can compost fruit and vegetable scraps, coffee grounds, tea bags, eggshells, and stale bread. Your yard can provide fallen leaves, grass clippings, small twigs, and plant trimmings. Remember to chop larger items into smaller pieces to speed up decomposition.
- Never compost meat, dairy, or oily foods as they attract pests and create unpleasant odors
- Add citrus peels sparingly as their acidity can slow down the composting process
- Keep diseased plants out of your pile to prevent spreading plant pathogens
When in doubt about whether something’s compostable, remember this rule: if it was once living and isn’t greasy or disease-ridden, it’s probably safe to compost. You can also check your local composting guidelines for specific recommendations. Using a kitchen compost bin with activated charcoal filters can help eliminate unwanted odors while collecting food scraps.
What Not to Compost

Proper composting safety requires knowing which items can harm your pile or create health hazards. Never add meat, fish, dairy products, or oils to your compost, as these attract pests and produce unpleasant odors. Bones and fatty foods can also slow down decomposition and create unsanitary conditions.
Don’t include pet waste or cat litter, as these may contain harmful pathogens that can survive the composting process. Avoid adding diseased plants, as the spores can persist and spread to your garden later. You’ll also want to keep out chemically treated wood products, colored or glossy paper, and synthetic materials like plastic or metal.
Certain plant materials aren’t suitable for composting either. Don’t add black walnut leaves or twigs, as they contain chemicals toxic to plants. Avoid charcoal ash, which can be harmful to plant growth. Skip citrus peels and onions in large quantities, as they can kill beneficial composting organisms. You shouldn’t include bread products or grains, which often lead to mold growth and attract rodents. By keeping these materials out of your compost, you’ll maintain a healthy, productive pile. Indoor composting bins typically lack the ideal temperature range of 140-160°F needed for proper decomposition of challenging materials.
Choosing Your Composting Method
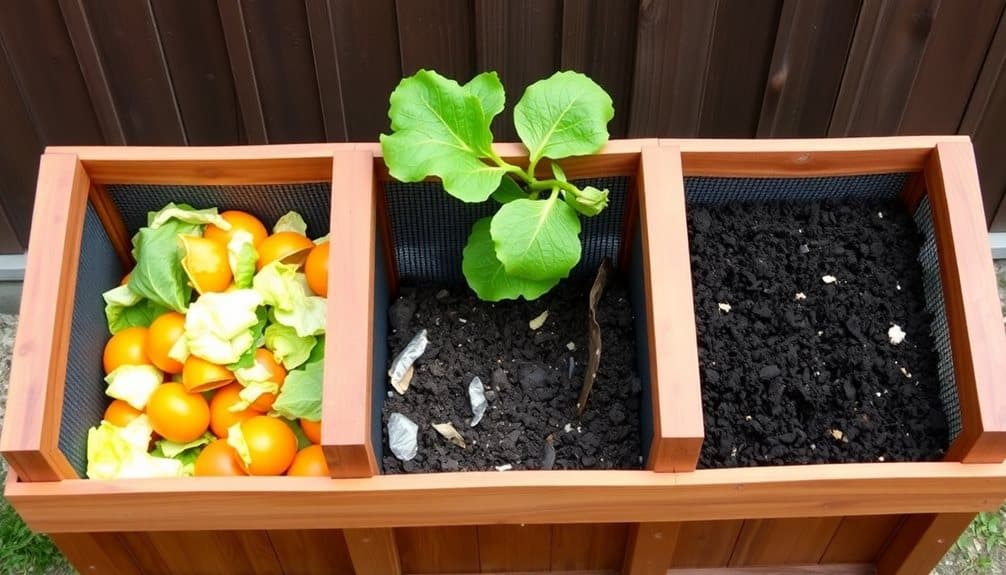
Several effective composting methods exist to match your space, time, and effort constraints. You’ll need to evaluate factors like available space, local climate, and how much food waste your household generates before selecting the right approach for your situation.
- Traditional Outdoor Pile: If you’ve got a backyard, you can create a simple pile or use a bin system. This method works well for larger volumes and allows you to compost yard waste alongside kitchen scraps. You’ll need to turn the pile regularly and maintain proper moisture levels.
- Tumbler System: These elevated, rotating containers make turning your compost easy while keeping pests away. They’re ideal for medium-sized households and work well in suburban settings where you want a tidier appearance than an open pile.
- Bokashi or Vermicomposting: For apartment dwellers or those with limited outdoor space, these indoor methods offer viable solutions. Bokashi uses beneficial microbes to ferment waste, while vermicomposting employs worms to break down scraps. Both systems are compact and can process food waste year-round, regardless of outdoor temperatures.
Whatever method you choose, using a waterproof tarp cover will help maintain optimal moisture levels and protect your compost from excessive rainfall.
Building Your First Compost Pile
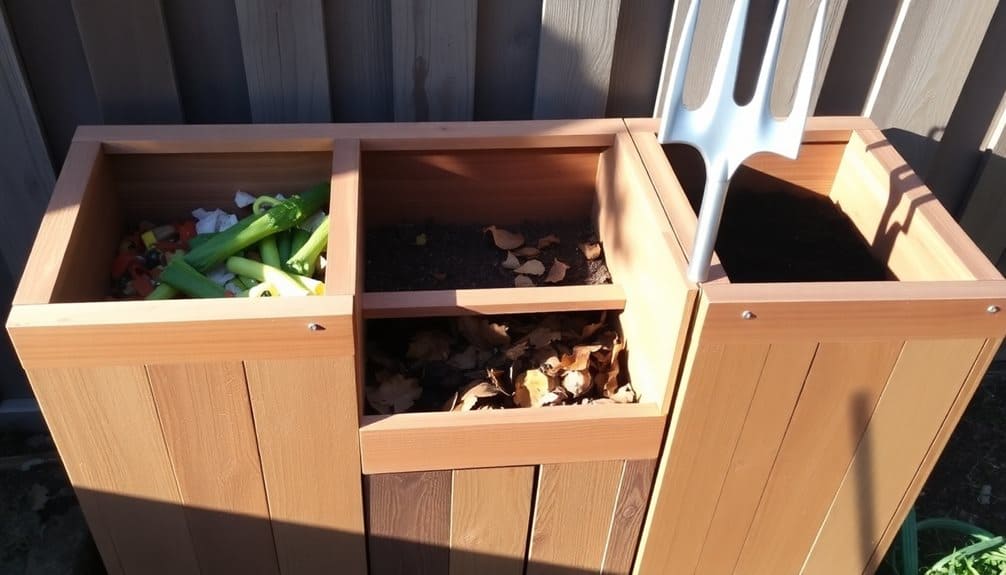
Getting started with your first compost pile doesn’t require complex equipment or expert knowledge. You’ll need to select a dry, shaded spot in your yard and gather both “green” materials (nitrogen-rich) and “brown” materials (carbon-rich) to create the right balance. Your green materials include fruit and vegetable scraps, coffee grounds, and fresh grass clippings, while brown materials consist of dried leaves, straw, and shredded paper.
Start by laying down a 4-inch layer of coarse brown materials like twigs or straw to guarantee proper drainage. Add your green materials in 2-3 inch layers, followed by brown materials in similar proportions. Aim for a ratio of roughly 3:1 brown to green materials. Sprinkle each layer with water until it’s as moist as a wrung-out sponge, but not saturated.
Keep building your pile until it reaches about 3 feet high and wide. Turn the pile every few days using a pitchfork or shovel to incorporate oxygen, which speeds up decomposition. Your pile should feel warm in the center, indicating that beneficial microorganisms are breaking down the materials into rich compost.
Maintaining the Right Balance
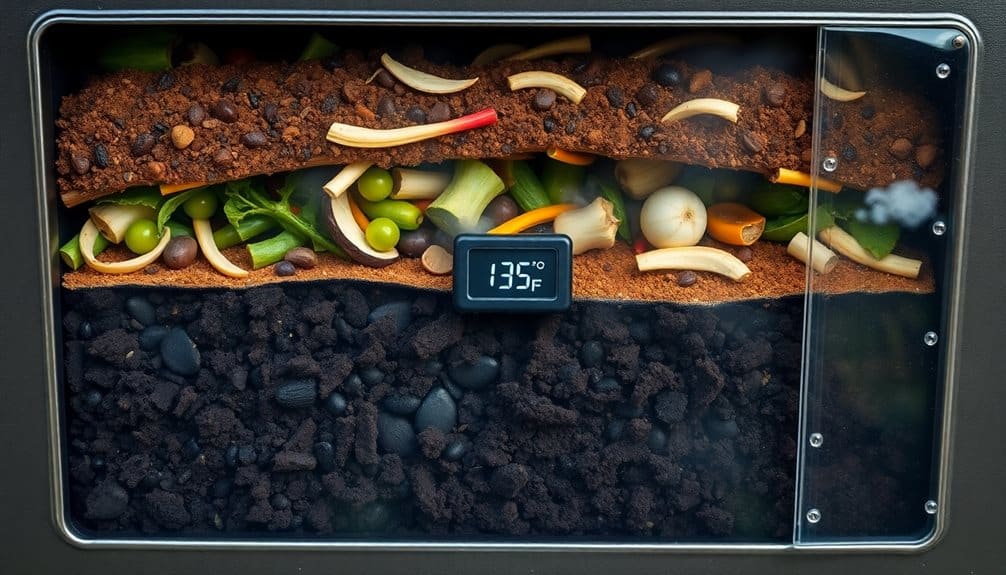
Successful composting depends on maintaining an ideal mix of ingredients and conditions throughout the decomposition process. You’ll need to balance “green” materials (nitrogen-rich) with “brown” materials (carbon-rich) in your compost pile. The ideal ratio is roughly 3:1 brown to green materials, which helps create the perfect environment for decomposition.
To maintain proper balance in your compost, monitor these key factors:
- Moisture levels should feel like a wrung-out sponge – damp but not soaking wet. If it’s too dry, add water; if too wet, mix in dry brown materials
- Temperature should reach 130-150°F in the center of your pile, indicating active decomposition. Use a compost thermometer to track this
- Oxygen flow requires turning your pile every 1-2 weeks using a pitchfork or compost aerator
When you notice your pile isn’t decomposing properly, adjust these elements accordingly. If there’s an unpleasant odor, you likely have too many green materials. If decomposition is slow, you probably need more greens or moisture. Regular monitoring and adjustments will help you maintain the right balance for effective composting.
Common Problems and Solutions

Composting challenges can discourage even experienced gardeners, but most issues have straightforward solutions. If your pile smells like rotten eggs, it’s likely too wet and lacking oxygen. Add dry brown materials like leaves or shredded paper, and turn the pile to increase airflow. When you notice a strong ammonia odor, you’ve got too much nitrogen – mix in more carbon-rich materials to restore balance.
If decomposition seems slow, your pile might be too dry or lack nitrogen. Sprinkle water until it feels like a wrung-out sponge, and add green materials like grass clippings. Pests becoming a nuisance? You’re probably composting meat, dairy, or oils – remove these items and bury food scraps deeper in the pile.
White, gray, or blue mold isn’t harmful; it’s actually helping break down materials. However, if you see large patches of black mold, your pile’s too wet. A pile that’s not heating up needs more nitrogen and proper moisture levels. Remember to chop materials into smaller pieces to speed up decomposition and maintain a good mix of greens and browns.
Using Your Finished Compost

A rich, dark compost signals it’s ready for use in your garden when it smells earthy and looks like crumbly soil. You’ll want to sift out any large pieces that haven’t fully decomposed and return them to your active compost pile. Your finished compost can now enrich your garden in multiple ways to boost plant health and soil quality.
Mix your compost into garden beds before planting to improve soil structure and add essential nutrients. For established plants, you can apply it as a 2-3 inch layer of mulch around their base, being careful not to let it touch the stems. You’ll also find it useful as a nutrient-rich addition to potting soil, using about one part compost to three parts regular soil.
- Use as a lawn top dressing by spreading a thin layer across your grass to improve soil health
- Create compost tea by steeping finished compost in water for a natural liquid fertilizer
- Add to houseplant soil to provide slow-release nutrients and improve moisture retention
Store any excess compost in a dry, covered location until you’re ready to use it in your next gardening project.
Frequently Asked Questions
Can I Compost in an Apartment With Limited Outdoor Space?
Yes, you can compost in your apartment using indoor methods. Try a compact vermicomposting bin with red worms under your sink or on a balcony – it’s odorless when maintained properly. Or use a bokashi bin, which ferments food waste in an airtight container. If you don’t have any outdoor space, check if your city offers food scrap collection services or if local community gardens accept compost materials.
How Long Does It Take for Food Scraps to Become Usable Compost?
You’ll typically need 2-6 months for food scraps to transform into usable compost, though this timeline varies based on several factors. If you’re actively managing your pile by turning it regularly, maintaining proper moisture, and balancing green-to-brown materials, you’ll see faster results. Hot composting can yield finished compost in as little as 6-8 weeks, while cold composting might take up to a year.
Will My Compost Pile Attract Unwanted Wildlife to My Yard?
Your compost pile can attract wildlife if it’s not properly managed. To prevent unwanted visitors, don’t add meat, dairy, oils, or cooked foods to your pile. Instead, stick to fruit and vegetable scraps, coffee grounds, and yard waste. Keep your pile enclosed in a secure bin with a tight-fitting lid, turn it regularly, and bury fresh scraps under existing compost to minimize odors that attract animals.
Does Composting Reduce My Home’s Carbon Footprint?
As sure as the sun rises, composting greatly reduces your carbon footprint. When you compost instead of sending food waste to landfills, you’re preventing methane emissions – a greenhouse gas 25 times more potent than carbon dioxide. You’ll cut down on garbage truck transportation emissions, and your homemade compost eliminates the need for chemical fertilizers, whose production creates substantial carbon emissions. It’s a win-win for your garden and the planet.
Can I Add Compost to My Garden During the Growing Season?
You can add compost to your garden throughout the growing season as a nutrient-rich top dressing or mulch. Spread a thin layer (1/2 to 1 inch) around your plants, keeping it away from stems to prevent rot. For established plants, you’ll want to work it gently into the top soil. This slow-release fertilizer method provides continuous nourishment to your plants while improving soil structure.

