This website contains affiliate links. Some products are gifted by the brand to test. As an Amazon Associate, I earn from qualifying purchases. The content on this website was created with the help of AI.
To organize your craft supplies like a pro, start by sorting and purging items into clear categories while discarding anything unusable. Next, establish dedicated zones in your workspace for different supply types and active projects. Choose appropriate storage solutions, such as clear containers with dividers for small items and adjustable shelving for larger tools. Label everything systematically using a consistent method, including container contents and locations. Finally, maintain your organization through regular tidying sessions and monthly system evaluations. These fundamental steps will transform your creative space, and there’s even more you can do to optimize your craft room’s efficiency.
Key Takeaways
- Gather and sort all craft supplies into clear categories, removing damaged or unused items to streamline your collection.
- Create dedicated zones in your workspace for different supply types and functions, keeping frequently used items easily accessible.
- Select appropriate storage solutions like clear containers and adjustable shelving based on item sizes and available space.
- Implement a standardized labeling system with essential information on containers for quick identification of supplies.
- Maintain organization through regular tidying sessions and monthly evaluations to ensure the system remains effective.
Sort and Purge Your Supplies

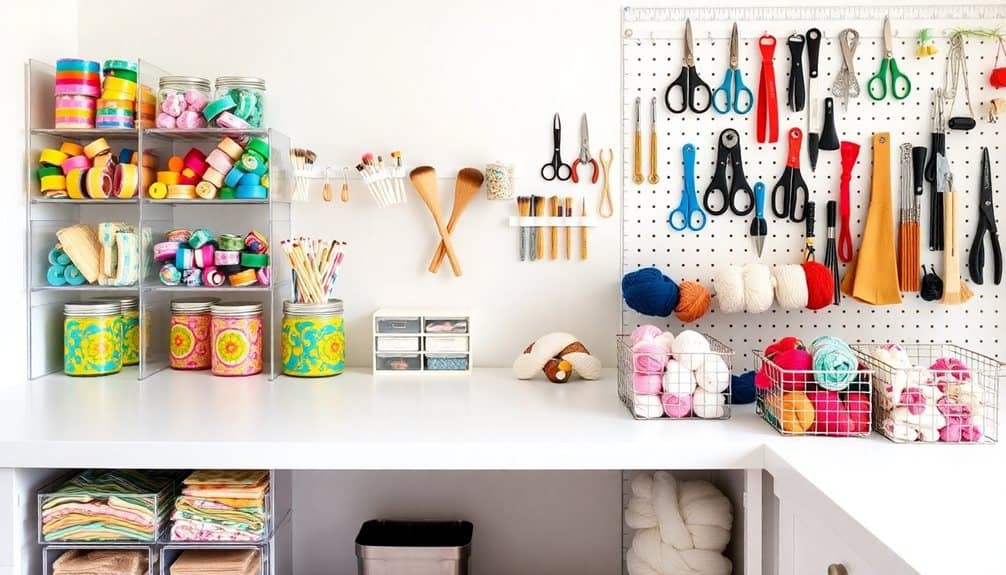
Before diving into organization, you’ll need to gather all your craft supplies in one place and sort them into categories. Create designated spaces for different types of materials like paper products, adhesives, cutting tools, and decorative elements. Don’t forget to check storage spaces, drawers, and boxes throughout your home to confirm you’ve collected everything.
Once you’ve sorted your supplies, it’s time to purge items you no longer need. Remove dried-out markers, broken tools, and materials you haven’t used in over a year. Test your adhesives, markers, and paints to verify they’re still functional. Dispose of any items that have deteriorated or lost their effectiveness.
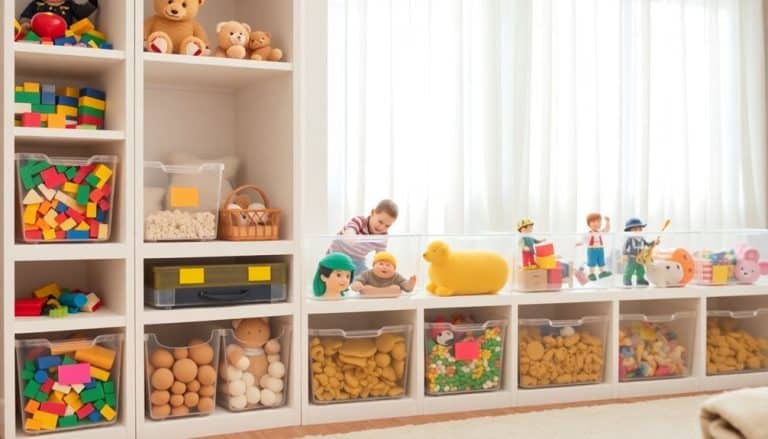
Be honest about which supplies truly serve your current crafting needs. Consider donating usable items that don’t align with your current projects to schools, community centers, or fellow crafters. Set aside duplicate items and determine if you really need multiple versions of the same tool. Keep only the highest quality versions of similar items to maximize your storage space and maintain an efficient workflow.
Using transparent compartments for organization will save you significant time by allowing quick identification of supplies during your creative process.
Create Dedicated Storage Zones
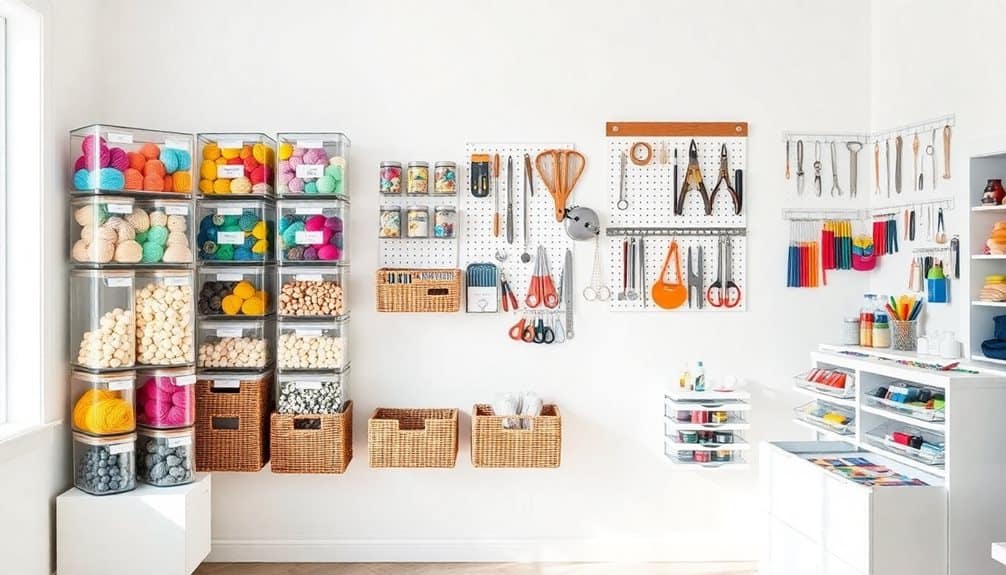
Storage zones form the backbone of an organized craft space, allowing you to maximize efficiency and maintain order. Start by dividing your space into distinct functional areas based on how you use your supplies. Create zones for frequently used items, project-specific materials, and seasonal supplies.
Designate a primary workspace zone that contains your essential tools and everyday materials within arm’s reach. Position your cutting station, painting area, or sewing machine here, depending on your primary craft focus. Establish secondary zones for specialty tools and materials you don’t need as often.
Set up a project-in-progress zone where you can safely store unfinished work without it getting damaged or lost. Include a separate zone for bulk materials and backup supplies, keeping them accessible but out of your immediate workspace. Don’t forget to create a packaging and shipping zone if you sell your crafts.
Label each zone clearly and use consistent storage solutions within them – clear bins for small items, vertical storage for papers and fabrics, and drawer systems for tools. Remember to leave room for growth within each zone while maintaining clear boundaries between different areas.
Choose the Right Storage Solutions
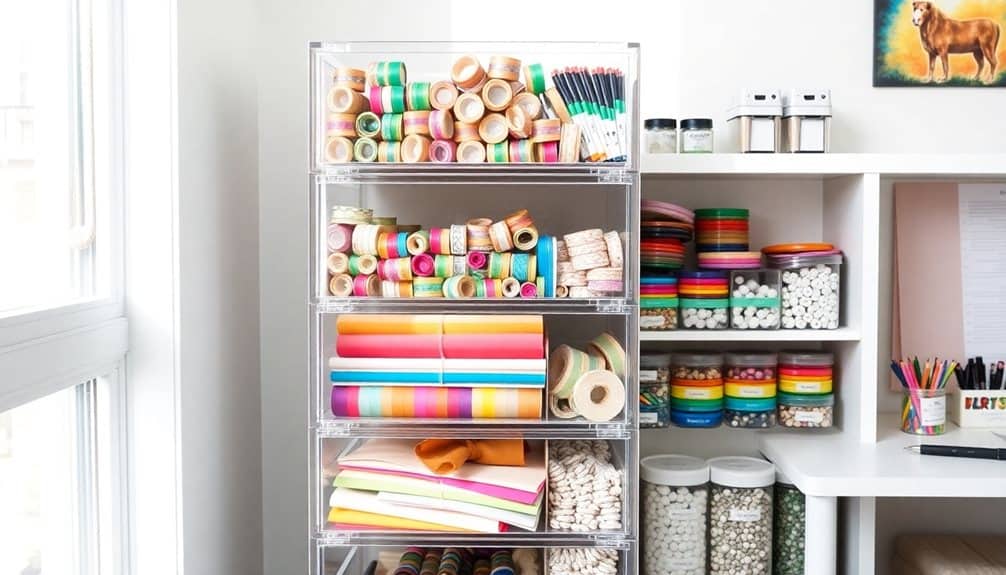
Once you’ve mapped out your storage zones, selecting appropriate containers and organizers will determine how effectively you can maintain your craft supply system. Start by measuring your available space and listing the specific items you’ll store in each zone. This will help you choose storage solutions that maximize vertical and horizontal space while keeping supplies accessible.
For small items like beads, buttons, and pins, opt for clear, stackable containers with dividers. Look for ones that lock securely to prevent spills. Medium-sized supplies such as fabric, yarn, and paper stock need deeper bins or drawers that protect materials from dust and light damage. Consider using magazine holders or vertical file organizers for paper and vinyl sheets.
Install adjustable shelving units to accommodate larger tools and equipment. Add pull-out drawers or rolling carts beneath worktables for frequently used items. Don’t forget to label everything clearly – invest in a label maker or use consistent handwritten tags. Choose containers that you can easily clean, move, and reconfigure as your craft supply needs change. Remember that transparent storage options make it simpler to locate items quickly and monitor inventory levels. For maximum organization efficiency, consider expandable organizers that can adapt to different drawer dimensions as your craft collection grows.
Label Everything Clearly
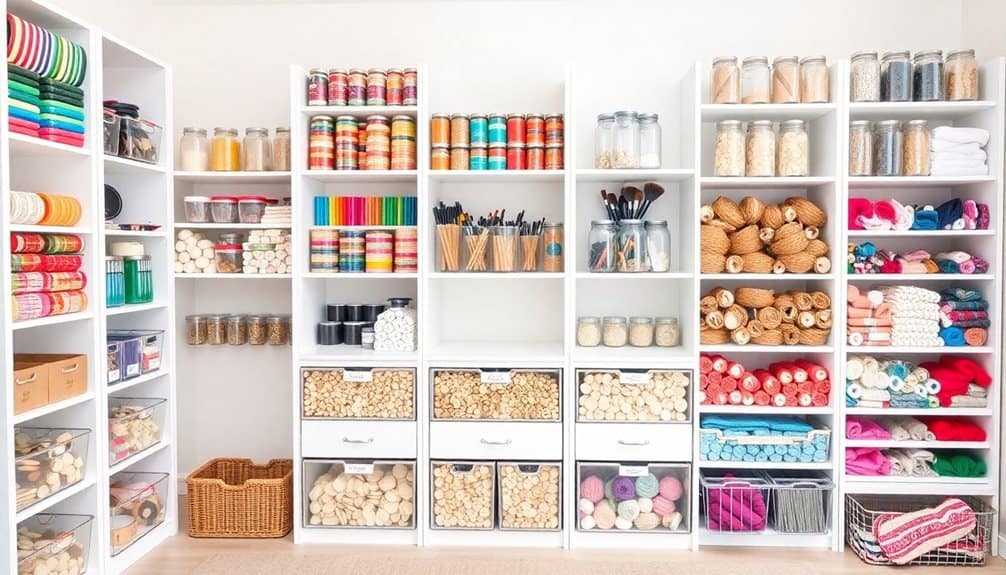
Consistently labeling your craft supplies forms the backbone of an organized storage system. Without clear labels, even the most elaborate storage solutions can quickly descend into chaos. You’ll need to implement a standardized labeling system that works across all your storage containers, drawers, and bins.
Start by investing in a quality label maker or creating professional-looking printed labels for consistency. Include essential information such as the item name, color, size, or quantity when applicable. For fabric storage, note the fabric type, yardage, and care instructions. If you’re storing paints, list the brand, color code, and finish type.
Don’t forget to label both the front and top of storage containers for easy identification from multiple angles. For clear containers, place labels in the same position consistently. Create category labels for shelf edges and drawer fronts to establish zones within your craft space. When storing items in multiple containers, use numbering systems (1/3, 2/3, 3/3) to keep sets together. Update labels immediately when you reorganize or repurpose containers to maintain system accuracy. Consider using color-coding for different craft categories to add another layer of visual organization.
Maintain Your Organization System
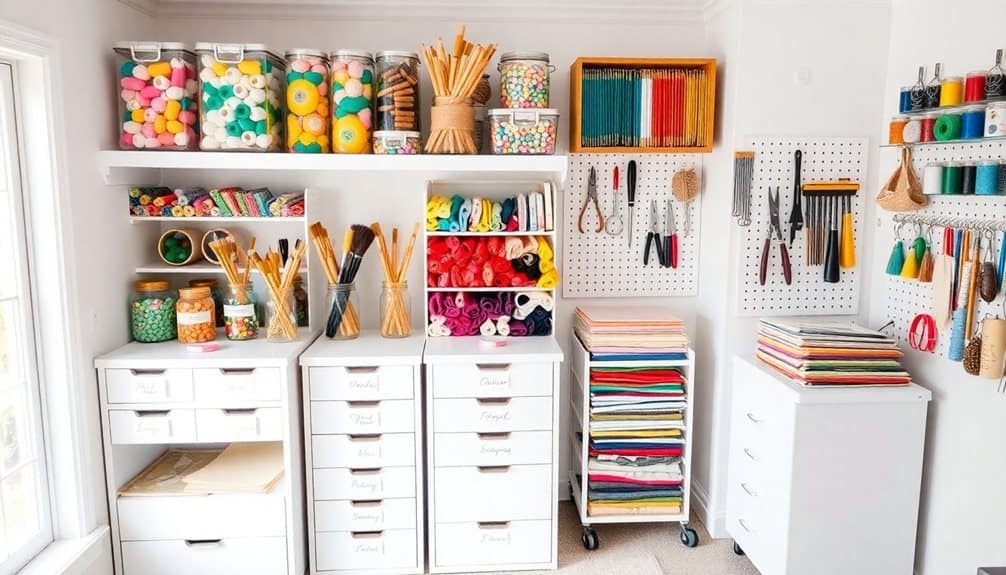
After establishing your craft supply organization system, you’ll need to dedicate regular time to maintaining it. Schedule weekly 15-minute tidying sessions to return items to their designated spots and monthly hour-long maintenance checks to assess your system’s effectiveness.
During weekly sessions, focus on clearing workspace surfaces, returning supplies to labeled containers, and disposing of any scraps or waste. Check for items that have strayed from their assigned locations and return them promptly. Don’t let temporary storage spots become permanent dumping grounds.
Monthly maintenance should include evaluating your categories and zones. If you notice supplies consistently ending up in the wrong places, consider whether your current organization makes practical sense. Adjust container sizes based on your actual usage patterns, and replace worn labels or containers as needed.
Keep track of inventory during these checks. Note which supplies need replenishing and which haven’t been used in months. This helps prevent overbuying and identifies items you can donate or sell. If you’ve acquired new types of supplies, integrate them thoughtfully into your existing system rather than creating temporary solutions.
Consider using stylish drawer organizers in your craft space to maximize vertical storage while keeping frequently used items easily accessible.
Frequently Asked Questions
How Do I Prevent My Craft Supplies From Fading or Deteriorating?
Store your craft supplies in airtight containers away from direct sunlight and UV exposure. You’ll want to maintain consistent room temperature (65-75°F) and moderate humidity levels (45-55%). Keep paper products flat to prevent warping, and use acid-free storage materials whenever possible. Don’t forget to label everything with purchase dates so you can track their shelf life. Consider using silica gel packets to prevent moisture damage.
What’s the Ideal Room Temperature and Humidity for Storing Craft Materials?
Did you know that just a 10% increase in humidity can reduce the lifespan of your craft supplies by up to 50%? You’ll want to maintain your craft room between 65-75°F (18-24°C) with a relative humidity of 45-50%. Install a dehumidifier in damp areas and use a digital hygrometer to monitor conditions. Keep your materials away from heating vents, direct sunlight, and exterior walls to maintain stable conditions.
How Often Should I Rotate or Check My Stored Craft Supplies?
You’ll want to check your stored craft supplies at least once every three months. For items like paints, glues, and markers, inspect them monthly to verify they haven’t dried out. Check paper products and fabrics every six weeks for signs of moisture or pests. Roll your ribbons, yarns, and threads quarterly to prevent permanent creases. Don’t forget to test adhesives and liquid supplies before major projects.
Which Craft Supplies Should Never Be Stored Together?
You’ll need to keep several craft supplies separate to prevent damage or safety hazards. Don’t store adhesives near heat-sensitive items like photos or foam. Keep flammable materials like spray paint and solvents away from paper products. Separate metal items from delicate fabrics to avoid rust transfer. Store sharp tools apart from soft materials, and keep water-based products away from moisture-sensitive supplies like glitter and specialty papers.
How Can I Track Supply Costs and Inventory for Tax Purposes?
You’ll need a dedicated spreadsheet or inventory management app to track your craft supplies effectively. Keep all receipts and create separate categories for materials, tools, and finished products. Update your inventory counts monthly, noting both purchases and usage. Document the cost of supplies when bought and their current value. For tax purposes, maintain a running total of business-related expenses and capital investments throughout the year.

