This website contains affiliate links. Some products are gifted by the brand to test. As an Amazon Associate, I earn from qualifying purchases. The content on this website was created with the help of AI.
You’ll maximize your outdoor gear storage by combining vertical and horizontal solutions. Start with wall-mounted systems for bikes and kayaks, then add magnetic strips for tools and hanging nets for sports equipment. Install modular garage units and weather-resistant lockers for larger items, while utilizing under-stair spaces and corners with storage towers. Don’t forget overhead options – ceiling pulleys can handle bulky seasonal gear. Organize items in clear, rotating bins and add multi-purpose storage benches near entrances. These smart storage strategies will protect your gear while keeping everything accessible, and there’s plenty more to discover about optimizing your space.
Key Takeaways
- Wall-mounted storage systems with hooks and pulleys maximize vertical space while keeping bikes, kayaks, and sports equipment organized and accessible.
- Modular garage units with adjustable shelving and bins provide customizable storage solutions that adapt to changing equipment needs.
- Multi-purpose storage benches offer hidden compartments for gear while doubling as seating near entrances or activity areas.
- Seasonal rotation systems using clear, labeled bins help organize equipment by season and protect gear during off-season storage.
- Underutilized spaces like corners and under-stair areas can be transformed with specialized storage solutions for efficient gear organization.
Wall-Mounted Bike Storage Systems

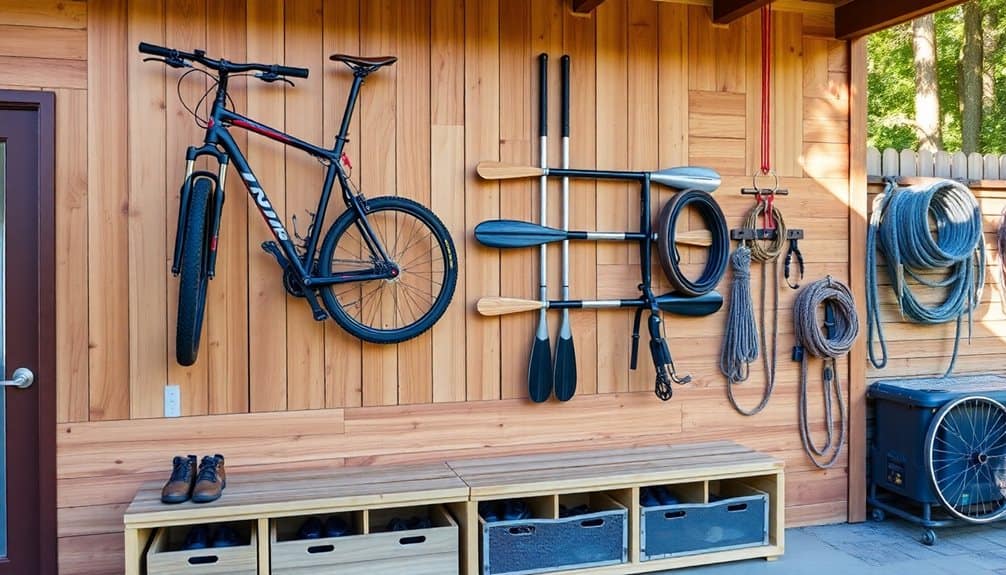
A cyclist’s most practical storage solution often lies in wall-mounted bike storage systems. These systems come in various configurations, from simple hooks to sophisticated pulley mechanisms, allowing you to maximize vertical space while keeping your bikes secure and accessible.
For single bikes, consider installing a basic wall mount with rubber-coated hooks that grip your bike’s top tube. You’ll want to position these mounts at least 6 feet high to maintain proper clearance underneath. If you’re storing multiple bikes, vertical racks with adjustable arms can accommodate different frame sizes and styles while minimizing wall space usage.
When selecting your mounting system, factor in your bike’s weight and your wall’s construction. For drywall installations, always anchor into studs or use heavy-duty wall anchors rated for your bike’s weight. You’ll need to leave about 24 inches of clearance from the wall to accommodate your bike’s handlebars and pedals.
For added protection, install rubber wall bumpers where your bike’s wheels make contact. This prevents tire marks and maintains your wall’s finish. Remember to position your storage system away from direct sunlight and moisture sources to protect both your bike and mounting hardware. Similar to smart hose storage solutions, proper bike storage helps prevent tangles and keeps your garage organized.
Vertical Kayak Storage Racks
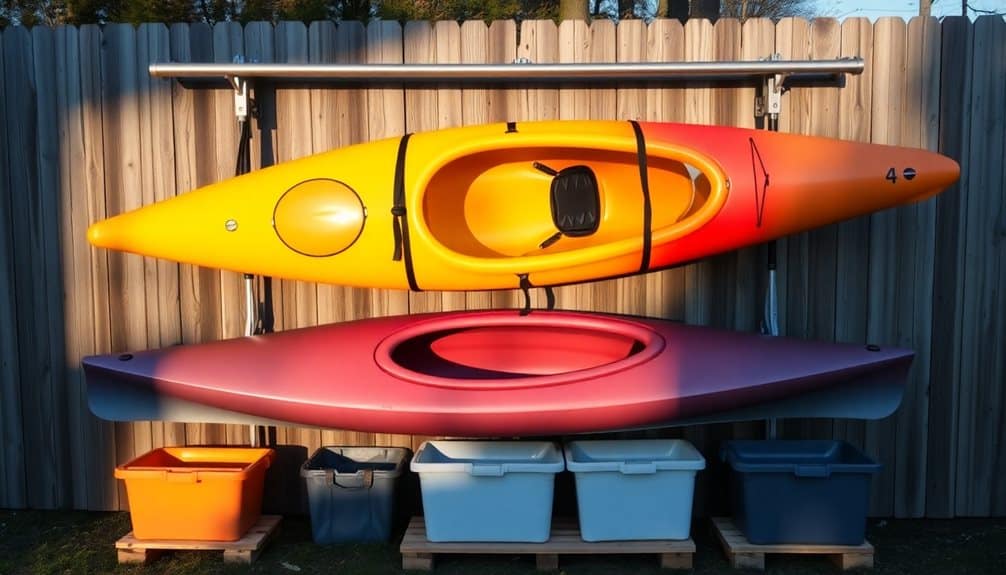
Vertical kayak storage racks provide an elegant solution for storing your watercraft while maximizing floor space in your garage or storage area. You’ll find two main types: wall-mounted systems and freestanding racks, both designed to keep your kayaks secure and easily accessible.
For wall-mounted options, you’ll need sturdy J-hooks or padded cradles that attach directly to wall studs. Space these supports 36-48 inches apart to properly distribute your kayak’s weight. Install multiple sets at different heights to accommodate several boats, maintaining 24-30 inches of clearance between each level.
Freestanding vertical racks offer more flexibility and don’t require wall modifications. Look for models with a stable base, adjustable arms, and rust-resistant materials. Many systems can hold 2-4 kayaks and include foam padding to protect your boats’ hulls. You’ll want to position these racks away from direct sunlight and guarantee there’s enough ceiling clearance for your longest kayak.
Don’t forget to incorporate straps or security cables to prevent tipping, especially in wall-mounted systems. Place your heaviest kayaks on the bottom level of freestanding racks to maintain stability and make loading easier.
Ceiling Pulley Storage Solutions

When space is at a premium, ceiling pulley systems offer an efficient way to store bulky outdoor gear overhead while keeping it easily accessible. These mechanical systems let you hoist equipment up and out of the way, maximizing your garage or storage area’s vertical space. You’ll need to verify your ceiling joists can support the weight and install proper mounting hardware for safety. Garage storage racks can significantly increase the usable square footage in any home by utilizing overhead space.
To get the most from your ceiling pulley system, focus on storing lightweight but bulky items that you don’t need daily access to. The ideal setup includes safety locks and a smooth pulley mechanism that won’t damage your gear. You’ll want to position the system where you’ve got clear floor space for lowering items.
- Mount your pulleys directly into ceiling joists, using heavy-duty lag bolts
- Install rubber-coated hooks or straps to protect gear from damage
- Add safety locks to prevent accidental release
- Label your ropes and create a clear lifting zone beneath
Consider storing kayaks, canoes, paddleboards, or bikes with your pulley system. You’ll want to test the system with a lighter load first, then gradually increase the weight to verify everything’s working properly.
Modular Garage Storage Units
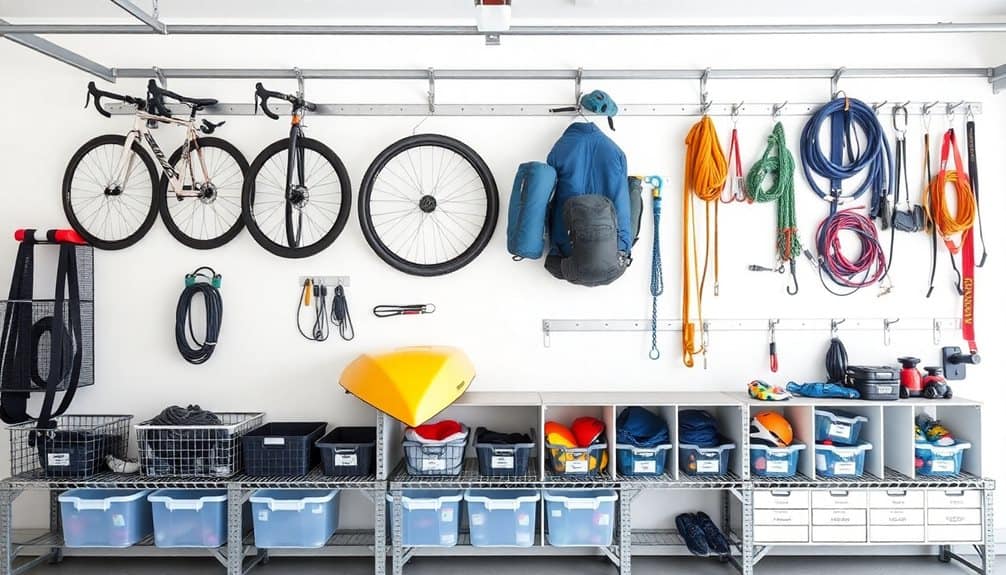
Modular storage units transform your garage into a customizable storage powerhouse by letting you mix and match components as your needs change. You’ll find various configurations available, from stackable bins and adjustable shelving to rolling cabinets and specialized sports equipment racks. These systems typically integrate seamlessly, allowing you to expand horizontally or vertically as space permits.
Start by selecting a base system that matches your garage’s dimensions. You’ll want to choose units with weight capacities appropriate for your gear – lightweight shelves for camping equipment and heavy-duty options for tools and bikes. Look for units with adjustable shelf heights, removable bins, and lockable drawers to maximize versatility.
Consider weather-resistant materials like powder-coated steel or high-grade plastic, especially if your garage experiences temperature fluctuations. Install wall-mounted tracks that let you reconfigure components without drilling new holes. Don’t forget to incorporate specialized attachments like hook systems for fishing rods, ski racks, or kayak mounts. Label each component clearly and group similar items together. With modular units, you can easily adapt your storage layout seasonally, keeping winter gear accessible during cold months and summer equipment within reach when temperatures rise.
Heavy-duty shelving units with boltless assembly systems can be set up in just 10-15 minutes without requiring specialized tools.
Weather-Resistant Outdoor Storage Lockers
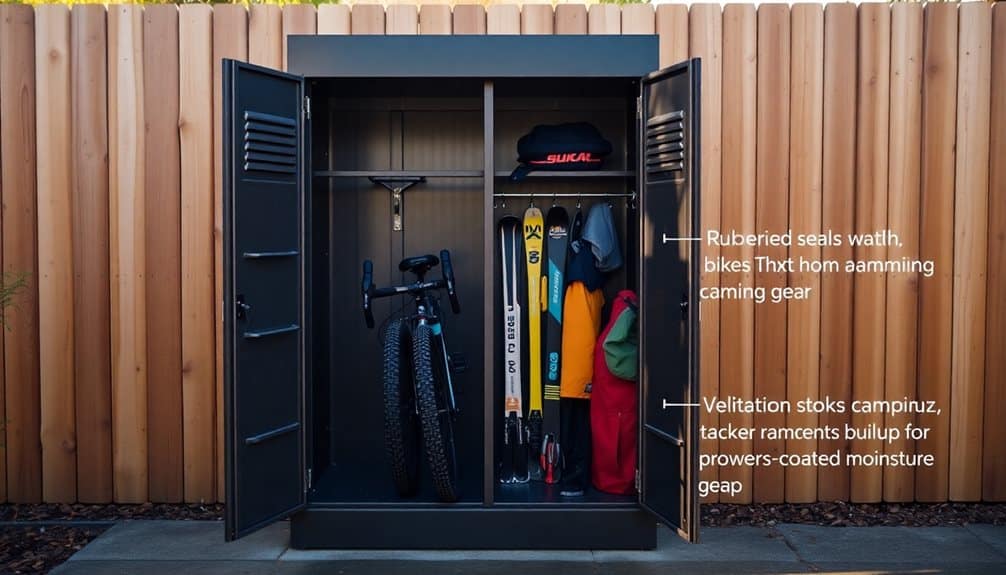
Designed to withstand nature’s elements, weather-resistant outdoor storage lockers provide a secure solution for keeping gear protected outside your home. These heavy-duty units are built with reinforced materials like powder-coated metal, high-grade plastic, or treated wood to resist rust, rot, and UV damage. You’ll find them particularly useful for storing seasonal items, sports equipment, and gardening tools when garage space is limited.
When selecting a weather-resistant storage locker, consider these essential features for maximum protection and convenience:
- Multi-point locking systems with weather-sealed doors to prevent moisture infiltration and unauthorized access
- Elevated bases or built-in floor panels to keep contents dry and protected from ground moisture
- Ventilation systems that prevent condensation while maintaining weatherproof integrity
- Modular designs that allow for expansion or reconfiguration as your storage needs change
You’ll want to position your storage locker on a level surface, ideally on a concrete pad or deck, with enough clearance for door operation. For best performance, regularly check the seals and hinges, and treat any scratches promptly to maintain the unit’s weather resistance. These outdoor storage solutions should include airtight seal features with rubber gaskets to ensure maximum protection against humidity and moisture.
Pegboard Organization Systems

A pegboard organization system transforms vertical wall space into a highly efficient storage solution for your outdoor gear. You’ll maximize accessibility while keeping items visible and neatly arranged. Install your pegboard directly onto wall studs or mount it on furring strips to create space for hook insertion.
Select hooks and accessories based on your specific gear. J-hooks work well for climbing ropes and extension cords, while straight pegs accommodate tools and smaller items. Add specialized holders for bikes, kayak paddles, and camping equipment. You’ll want to incorporate baskets and bins for items that don’t hang easily, like camping stoves or first-aid supplies.
Plan your layout methodically by grouping similar items together. Position frequently used gear at eye level and heavier items near the bottom. You can outline equipment shadows on the board to maintain organization and quickly identify missing pieces. Consider installing multiple pegboard panels to create zones for different activities: climbing gear in one section, camping equipment in another.
Label your zones clearly and leave room for expansion. You’ll find it’s easy to reconfigure your setup as your gear collection grows or seasonal needs change. For maximum stability and safety, ensure your pegboard system can handle a 600-pound capacity when properly mounted to wall studs.
Under-Stair Storage Solutions

Often overlooked, the space beneath your stairs offers valuable storage potential for outdoor gear and equipment. By transforming this unused area into a functional storage solution, you’ll maximize your home’s storage capacity while keeping outdoor items organized and easily accessible.
To create an efficient under-stair storage system, consider installing sliding drawers, pull-out shelves, or custom cabinets that utilize the full depth of the space. The angled ceiling won’t be a limitation when you implement these smart storage solutions designed specifically for awkward spaces.
- Install heavy-duty sliding tracks for pull-out storage bins that can hold camping equipment, hiking boots, and backpacks
- Add adjustable shelving units to accommodate items of varying sizes, from fishing rods to mountain bikes
- Incorporate moisture-resistant materials and proper ventilation to protect gear from dampness
- Use labeled bins and clear containers to quickly identify and access seasonal equipment
When planning your under-stair storage, measure the space carefully and account for door clearance and accessibility. You’ll want to verify there’s enough room to maneuver large items in and out without difficulty, making the most of every square inch.
Multi-Purpose Storage Benches

Storage benches serve double duty in your outdoor gear organization strategy, combining comfortable seating with hidden compartments for equipment storage. You’ll find these versatile pieces particularly useful for storing season-specific items like ski gear, camping equipment, or water sports accessories. The bench’s waterproof compartments protect your gear while keeping it easily accessible.
When selecting a storage bench, look for weather-resistant materials like teak, cedar, or high-grade resin that won’t deteriorate from moisture exposure. You’ll want to measure your space carefully and choose a bench depth that accommodates your largest pieces of equipment. Consider models with removable cushions and segmented interior compartments to maximize organization.
Position your storage bench in a covered area near your home’s entrance or in a garage corner where it won’t obstruct traffic flow. Install hooks or small shelves on nearby walls to create a complete gear station. You can also add labeled bins inside the bench to separate items by activity or season. For peak functionality, ascertain the lid has strong hinges and stays open while you’re accessing gear, and incorporate moisture-absorbing packets to prevent mildew in sealed compartments.
Hanging Sports Equipment Nets

Three key advantages make hanging sports equipment nets an ideal storage solution for your gear collection: vertical space utilization, quick visibility of items, and easy access. You’ll find these nets particularly useful in garages, basements, or outdoor storage areas where floor space is limited but wall height offers untapped potential.
Install your sports equipment net system by securing heavy-duty hooks into wall studs or ceiling joists. You’ll want to position the net at a height that’s reachable but doesn’t interfere with walking paths. Choose nets with different sized compartments to accommodate various equipment types.
For peak organization, follow these essential tips:
- Group similar items together (all balls in one section, rackets in another)
- Place frequently used equipment at eye level for quick retrieval
- Store heavier items in the bottom compartments to maintain net stability
- Use carabiners or hooks to attach items that don’t fit well in net pockets
When selecting a net system, verify it’s rated for your equipment’s weight and features UV-resistant materials if you’re installing it in areas exposed to sunlight. You’ll extend your net’s lifespan by avoiding overloading and regularly checking the mounting hardware.
Rolling Storage Carts
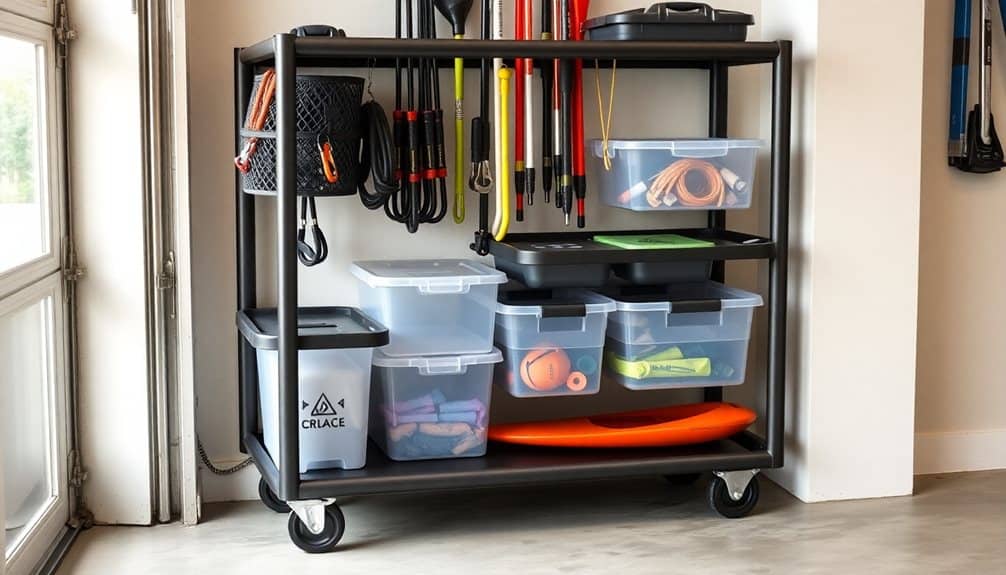
Rolling carts’ versatility makes them an indispensable solution for outdoor gear organization, combining mobility with compact storage. You’ll find these carts particularly useful for storing frequently used items like sports balls, gardening tools, and pool accessories. By selecting carts with multiple tiers, you can maximize vertical space while keeping items sorted by category or season.
Choose weather-resistant carts with rust-proof materials if you’re planning to store them outdoors. Look for models with lockable wheels to prevent unwanted movement and guarantee stability when parked. You’ll want to take into account carts with removable bins or adjustable shelving to accommodate gear of various sizes.
For best organization, install dividers within each shelf to prevent items from rolling around. You can also add clear labels to identify contents quickly. If you’re dealing with smaller gear, utilize mesh containers that fit within the cart’s shelves to keep items contained. Don’t forget to measure your intended storage space beforehand, accounting for both the cart’s footprint and any clearance needed for mobility. Position your cart near your activities’ staging area to minimize the distance you’ll need to transport equipment.
Door-Mounted Storage Racks

Door-mounted storage racks free up valuable floor space while keeping your outdoor equipment within arm’s reach. These versatile organizers attach securely to any standard door and transform unused vertical space into an efficient storage system. You’ll find options ranging from mesh pocket organizers to heavy-duty steel racks designed specifically for outdoor gear.
When selecting a door-mounted storage solution, consider your specific gear requirements and door dimensions. Most racks install easily using over-the-door brackets or direct-mount hardware, requiring no permanent modifications to your door structure.
- Multi-pocket mesh organizers work well for lightweight items like gloves, hats, and small tools
- Steel hook systems can support heavier equipment such as climbing gear, helmets, and backpacks
- Adjustable strap systems accommodate oddly-shaped items like tennis rackets and hiking poles
- Wire basket configurations provide contained storage for loose items and sports balls
For maximum efficiency, arrange your gear by frequency of use, keeping regularly accessed items at eye level. Remember to check your door’s weight capacity and verify proper installation to prevent damage. Choose organizers with protective backing to safeguard your door’s surface from scratches and wear.
Seasonal Rotation Storage Bins
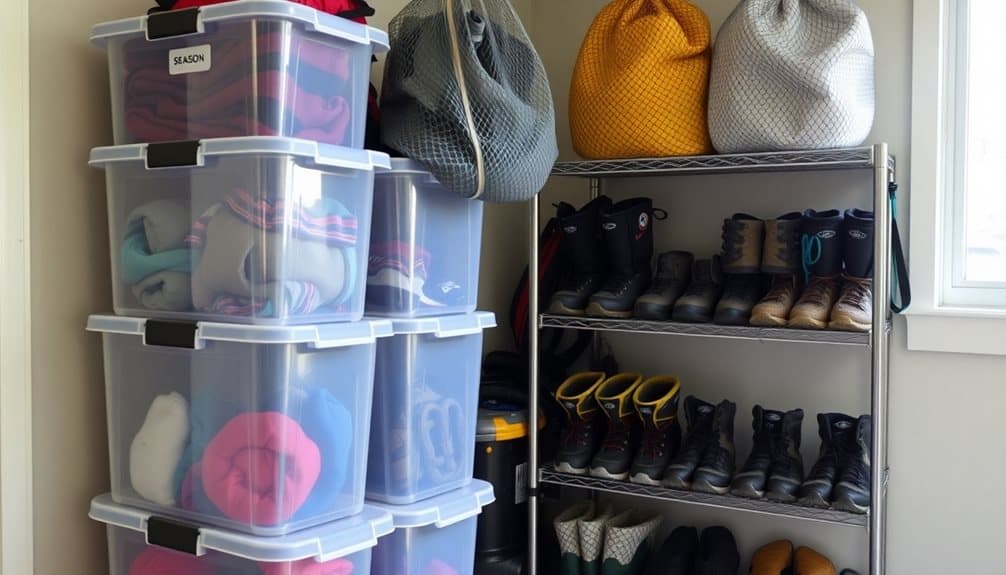
When organizing outdoor gear throughout the year, seasonal rotation storage bins provide an efficient system for managing equipment you don’t need year-round. You’ll want to invest in clear, stackable bins with secure lids and label each one clearly by season and contents. Store winter gear like ski equipment, snow boots, and ice fishing gear in dedicated bins during summer months, while summer items like camping chairs, beach umbrellas, and pool accessories can be packed away during winter.
To maximize your rotation system, create a detailed inventory list for each bin and attach it to the outside. You’ll find it’s easier to locate specific items when you need them. Position your bins so that the current season’s equipment is easily accessible, while off-season bins can be stored in less convenient spaces like high garage shelves or basement corners.
Consider using vacuum storage bags inside your bins for bulky items like sleeping bags and winter coats – you’ll reduce their volume by up to 75%. Don’t forget to clean and dry all gear thoroughly before storage to prevent mold and damage. Include moisture-absorbing packets in each bin to protect your equipment during long-term storage.
Magnetic Tool Storage Strips

Designed for maximizing vertical wall space, magnetic tool storage strips offer an elegant solution for organizing metal tools and equipment. You’ll find these strips particularly useful in garages, sheds, or any area where you store outdoor gear. The strong magnetic force holds items securely while keeping them visible and easily accessible.
When installing magnetic strips, mount them at eye level for ideal visibility and reach. You can arrange multiple strips horizontally or vertically depending on your wall space and the types of tools you need to store. For outdoor gear enthusiasts, these strips work exceptionally well for:
- Small metal camping tools like multi-tools, knives, and bottle openers
- Garden implements such as pruning shears, trowels, and cultivators
- Bike maintenance tools including wrenches, pliers, and screwdrivers
- Climbing gear components like carabiners, belay devices, and nuts
Choose strips with sufficient magnetic strength for your heaviest items, and consider installing rubber-coated versions to prevent scratches on your equipment. Space your tools evenly along the strip to maintain balance and prevent clustering, ensuring each item remains easily retrievable when needed.
Corner Storage Towers

Corner storage towers transform unused corner spaces into vertical storage powerhouses for your outdoor gear. These triangular units fit snugly into 90-degree corners, utilizing space that’s typically wasted. You’ll maximize your storage capacity by stacking gear vertically from floor to ceiling, making the most of limited square footage.
Choose towers with adjustable shelving to accommodate gear of varying sizes. Position bulkier items like hiking backpacks and camping tents on lower shelves for stability, while storing lighter equipment like trekking poles and climbing ropes on upper levels. Install hooks on the tower’s sides to hang carabiners, helmets, and other loop-compatible gear.
You’ll find corner towers in various materials – powder-coated steel offers durability and weather resistance, while cedar provides natural moisture control and pest resistance. Consider units with built-in wheels if you need mobility. For added organization, use clear bins on shelves to categorize smaller items by activity type – camping, climbing, or hiking. Don’t forget to include proper ventilation gaps between stored items to prevent moisture buildup and maintain gear longevity. Label each shelf clearly to maintain your organizational system.
Foldable Equipment Organizers
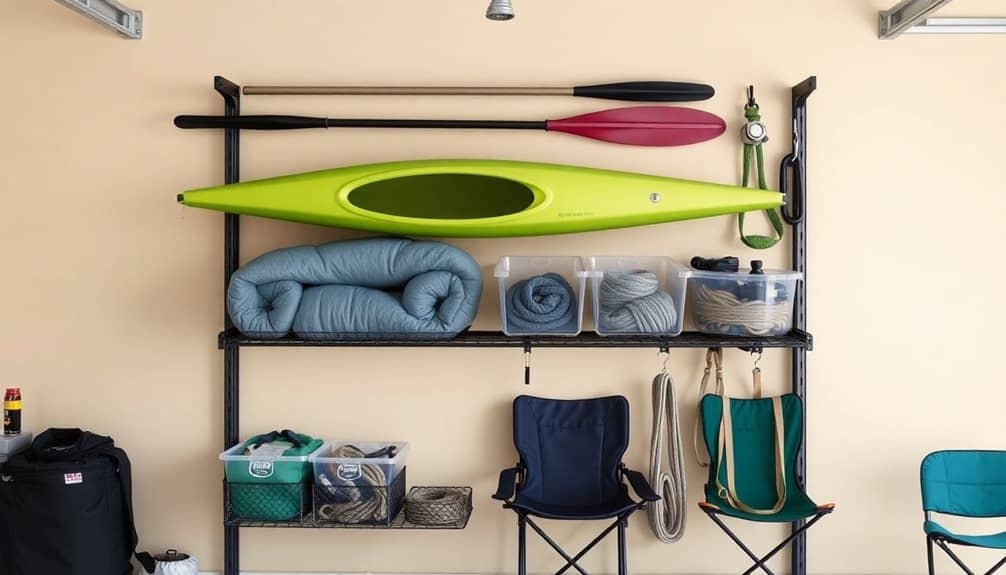
Foldable equipment organizers offer a space-smart solution that you can easily deploy when needed and tuck away during off-seasons. These versatile storage systems adapt to various gear types and seasonal changes, making them perfect for homes with limited storage space. You’ll find them particularly useful for organizing climbing gear, camping equipment, and sports accessories.
When selecting a foldable organizer, focus on durability and weather resistance, especially if you’re planning to use it in a garage or outdoor storage area. The best models feature reinforced corners, water-resistant materials, and sturdy zippers that won’t fail under heavy use.
Here’s how to maximize your foldable organizer’s potential:
- Group similar items together using clear, waterproof storage bags within each compartment
- Label each section with weather-resistant tags for quick identification
- Use compression straps to secure items and prevent shifting
- Stack organizers vertically when possible to utilize wall height
Consider installing hooks or brackets on your wall to hang these organizers when in use, keeping them off the floor and creating additional storage space underneath. This approach works especially well in tight spaces like garden sheds or small garages.
Frequently Asked Questions
How Do I Prevent Mold Growth on Stored Gear During Humid Seasons?
You’ll prevent mold on stored gear by keeping items completely dry before storage and maintaining proper airflow. Use moisture-absorbing silica gel packets, place dehumidifiers nearby, and avoid plastic containers that trap humidity. Store gear off the ground on hooks or shelves, and space items apart. Clean equipment regularly with a vinegar solution, and consider using cedar blocks or activated charcoal to absorb excess moisture.
What Insurance Coverage Should I Have for Expensive Outdoor Equipment Storage?
Don’t assume your homeowner’s policy fully covers your gear – most have strict limits for sporting equipment. You’ll want to add a personal property endorsement or “rider” to protect expensive items like bikes, skis, and climbing gear. Make sure your policy includes coverage for theft, damage, and natural disasters. Document everything with photos, serial numbers, and receipts, and store these records digitally.
How Often Should I Inspect and Maintain My Gear Storage Systems?
Inspect your gear storage systems monthly for signs of wear, loose hardware, or structural issues. You’ll need to check mounting brackets, shelving stability, and wall anchors every 30 days. During seasonal changes (spring/fall), perform thorough maintenance by tightening all connections, lubricating moving parts, and cleaning storage surfaces. Don’t forget to test weight capacity limits and assess weatherproofing if your storage is exposed to elements.
Which Storage Solutions Work Best in Extreme Temperature Environments?
Ever wondered why some storage solutions crack under harsh conditions while others stand strong? For extreme heat, you’ll want sealed plastic containers with UV protection and proper ventilation. In freezing environments, opt for insulated storage boxes or climate-controlled lockers. Metal solutions work well but need moisture protection to prevent rust. Avoid wood materials, as they’ll warp with temperature fluctuations. Consider elevated storage to protect against moisture seepage.
What’s the Maximum Weight Capacity for Combined Gear in Multi-Level Storage?
You’ll need to calculate load capacity at multiple points: floor joists, wall studs, and shelf brackets. Standard residential floors support 40-50 pounds per square foot, while heavy-duty wall-mounted systems handle 100-300 pounds per linear foot. Don’t exceed 75% of rated capacity for safety. For multi-level setups, distribute weight pyramidally – heavier items at bottom, lighter gear on top. Always check your building’s structural specifications.

