This website contains affiliate links. Some products are gifted by the brand to test. As an Amazon Associate, I earn from qualifying purchases. The content on this website was created with the help of AI.
You'll need basic equipment to start making soap safely at home: a stainless steel bowl, digital scale, thermometer, stick blender, and protective gear like goggles and rubber gloves. Begin with the melt-and-pour method, which doesn't require handling lye and offers quick results. As you progress, you can explore cold process soap making, which combines oils with lye at room temperature and requires a 4-6 week cure time. Always use food-grade oils, pure sodium hydroxide, and distilled water for the best results. Set up your workspace with distinct zones for ingredients and keep vinegar nearby for safety. There's much more to discover about this rewarding craft.
Key Takeaways
- Start with melt-and-pour soap making, which requires no lye handling and uses pre-made bases for safe customization.
- Gather essential equipment including mixing bowls, digital scale, thermometer, safety gear, and proper molds before beginning any soap project.
- Choose high-quality ingredients like food-grade oils, pure sodium hydroxide, and distilled water to ensure successful saponification.
- Work in a well-ventilated area with a clean, organized workspace using protective gear and keeping vinegar nearby for safety.
- Allow cold process soaps to cure for 4-6 weeks in a temperature-controlled environment between 60-80°F for optimal results.
Essential Tools and Equipment
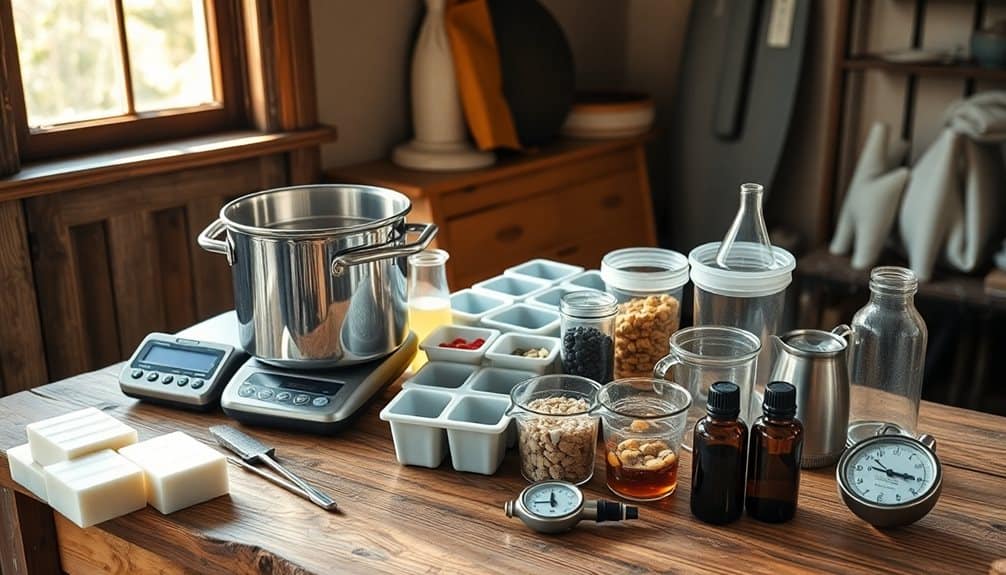
Gathering the right tools and equipment is essential before starting your soap-making journey. You'll need a stainless steel or plastic mixing bowl, digital kitchen scale, thermometer, stick blender, measuring cups, and protective gear including safety goggles, rubber gloves, and a long-sleeved apron.
For molds, you can choose between silicone, wooden, or plastic options. Silicone molds are ideal for beginners as they're flexible and make unmolding easier. You'll also need a stainless steel pot for melting oils, spatulas for stirring, and storage containers for your ingredients.
Don't forget specialized tools like a soap cutter, pH strips for testing, and mold liners if you're using wooden molds. A dedicated workspace surface that's heat-resistant and easy to clean is vital. Keep vinegar nearby to neutralize any lye spills.
For precise measurements, invest in calibrated measuring spoons and a reliable digital thermometer that can read between 0-200°F. Store your equipment separately from kitchen tools, and label everything clearly to avoid cross-contamination. Remember, using the right tools isn't just about convenience—it's about safety and ensuring consistent results.
Understanding Basic Soap Making Methods

Mastery of soap making begins with understanding three fundamental methods: cold process, hot process, and melt-and-pour. Each technique offers distinct advantages and suits different skill levels and time commitments.
Cold process soap making requires you to combine oils with sodium hydroxide (lye) at room temperature. You'll need to cure these soaps for 4-6 weeks, but they'll reward you with complete control over ingredients and a smooth, elegant finish. It's the most traditional and versatile method, though it demands careful attention to safety and precise measurements.
Hot process soap making accelerates saponification by applying heat. You'll cook your soap mixture until it resembles thick applesauce, resulting in a ready-to-use product within 24 hours. While the finished soap may look rustic, it's ideal when you need soap quickly.
Melt-and-pour is your safest entry point into soap making. You'll work with pre-made soap bases that you can melt, customize with colors and fragrances, and pour into molds. Though it offers less control over ingredients, you'll create beautiful soaps without handling lye directly.
Selecting Quality Ingredients
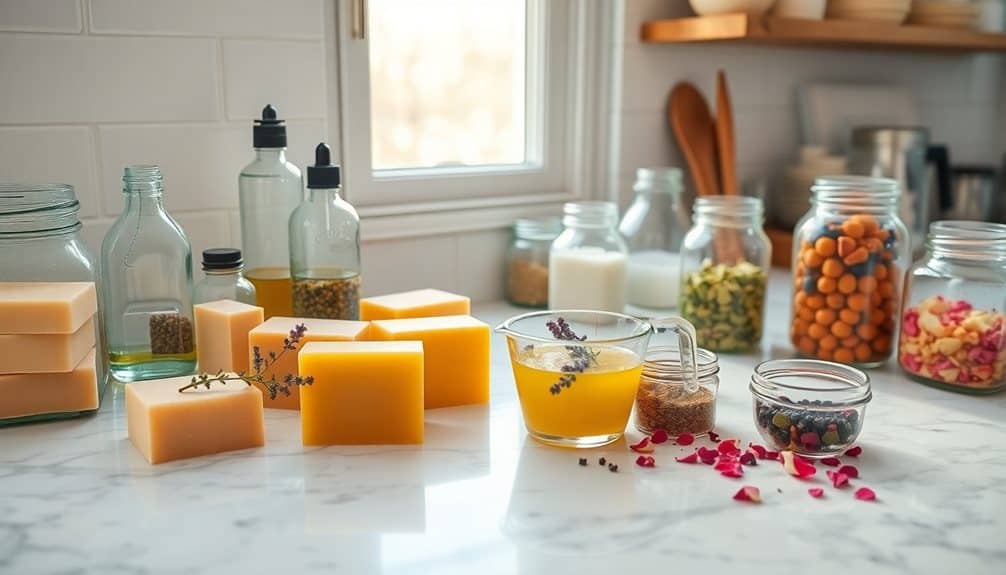
Your soap's quality hinges directly on the purity of your ingredients. You'll need three core components: oils or fats, lye (sodium hydroxide), and distilled water. Choose food-grade oils like olive, coconut, or palm oil, as these provide different properties to your final product. Avoid using recycled or rancid oils, which can compromise your soap's quality and shelf life.
For lye, select only pure sodium hydroxide labeled as "caustic soda" with 97-99% purity. Don't substitute drain cleaners or unknown sources, as they often contain harmful additives. Store your lye in an airtight container away from moisture.
Distilled water is essential – tap water contains minerals that can interfere with saponification. You'll also want to take into account additional ingredients like essential oils for fragrance and natural colorants such as clays, herbs, or oxides. Source these from reputable soap-making suppliers to guarantee they're skin-safe and properly formulated for cold process soap making. Measure everything precisely using a digital scale that reads to 0.1 grams, as accuracy affects both safety and soap quality.
Safety Precautions and Workspace Setup

Safety must be your top priority when making soap, as lye can cause severe chemical burns. You'll need to wear long sleeves, chemical-resistant gloves, protective goggles, and closed-toe shoes. Keep white vinegar nearby to neutralize any lye spills, and guarantee you're working in a well-ventilated area away from children and pets.
Set up your workspace by covering your counter with multiple layers of newspaper or a plastic sheet. You'll want dedicated equipment that's used only for soap making, including stainless steel or plastic mixing bowls, silicone molds, and heat-resistant containers. Never use aluminum tools, as they'll react with lye. Position your supplies so that frequently used items are within easy reach.
Organize your workspace into distinct zones: one for lye mixing, another for oils, and a third for combining ingredients. Keep your thermometer, scale, and measuring tools in a separate clean area. Store your protective equipment where it won't be contaminated by raw materials. Always label your equipment clearly and maintain a clear path to your sink or emergency eyewash station.
Step-by-Step Cold Process Recipe
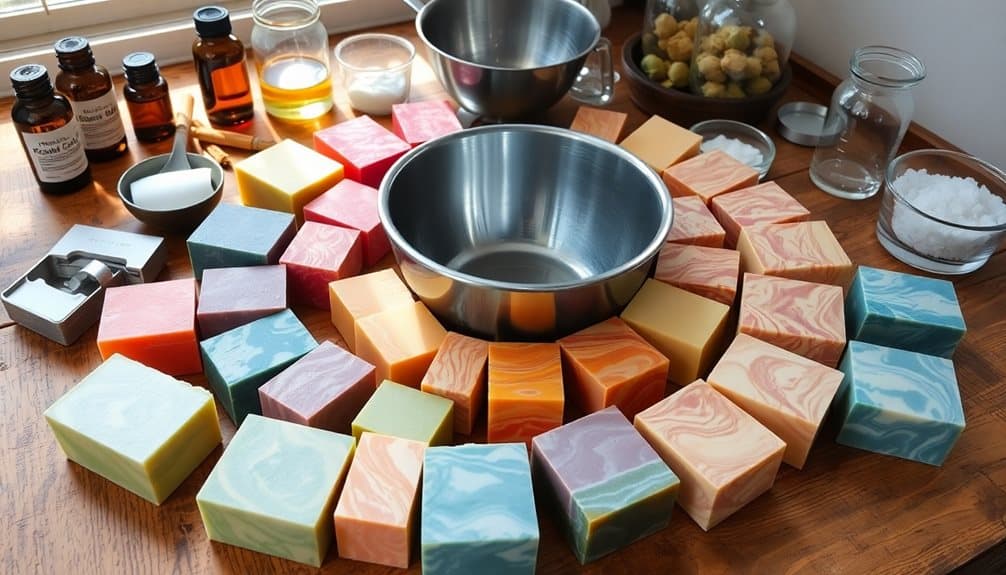
Following a proven recipe is crucial for successful cold process soap making. You'll need to measure 16 ounces of olive oil, 14 ounces of coconut oil, 2 ounces of castor oil, 4.7 ounces of lye, and 11 ounces of distilled water for a basic batch.
Start by mixing your lye solution – carefully add the lye to the water (never reverse) and stir until dissolved. Let it cool to 110°F. Meanwhile, heat your oils in a stainless steel pot to the same temperature. Once both mixtures reach the target temperature, slowly pour the lye solution into the oils while stirring continuously.
Use an immersion blender to bring the mixture to trace, which you'll recognize when the batter leaves a visible trail on the surface. Add any essential oils or colorants at this point, then pour the soap into your prepared mold. Insulate with towels and let it sit for 24-48 hours.
After unmolding, cut your soap into bars and cure them for 4-6 weeks in a well-ventilated area. Test the pH before using to verify it's properly saponified.
Natural Colorants and Additives
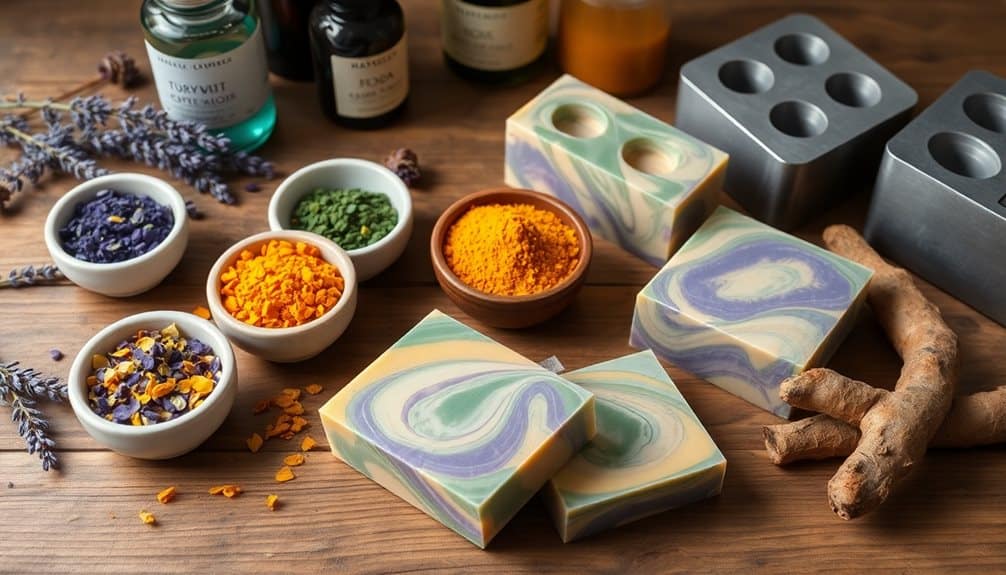
Mother Nature provides an extensive palette of soap-making colorants and additives that can transform basic bars into vibrant, skin-nourishing creations. You'll find that plant-based powders like spirulina create deep greens, while turmeric yields golden yellows, and beetroot powder produces pink to purple hues. Ground herbs such as calendula petals, lavender buds, and rose petals add both visual appeal and therapeutic properties to your soaps.
For natural exfoliation, you can incorporate finely ground oatmeal, poppy seeds, or coffee grounds. These additives won't just enhance texture—they'll provide gentle scrubbing action for your skin. Clay varieties like kaolin, bentonite, and French green clay offer detoxifying properties while contributing subtle earth tones to your soap.
Don't forget about essential oils, which serve dual purposes as natural fragrances and therapeutic agents. You'll want to add them at trace, using 0.5-1 ounce per pound of oils. Remember that some natural colorants may morph in high-pH environments, so it's vital to test small batches first. Always document the amounts you use and the results you achieve, as natural additives can behave differently than synthetic ones.
Troubleshooting Common Soap Problems
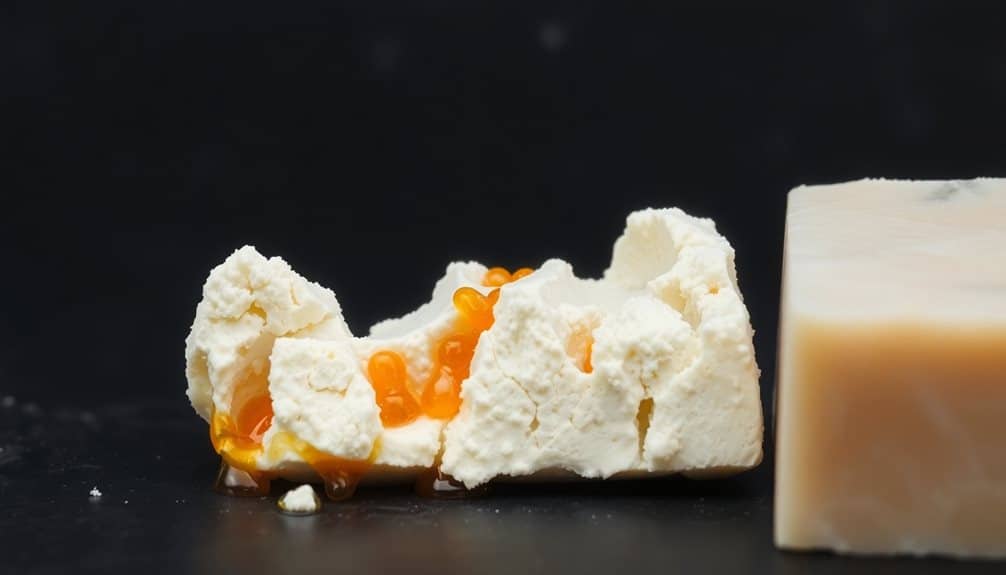
Even with careful measuring and proper techniques, soap making can present unexpected challenges. Let's examine common issues and their solutions to help you create perfect batches consistently.
If your soap isn't hardening properly, you've likely used too much liquid or oil in your recipe. Adjust your water-to-lye ratio to 2:1, and verify you're measuring oils precisely. When you notice white, powdery spots (soda ash) on your soap's surface, you can prevent this by spraying rubbing alcohol on top after pouring and covering your mold with plastic wrap.
For soap that's cracking or separating, your temperature was probably too high during mixing. Keep both your lye solution and oils between 100-110°F before combining. If you're seeing orange spots or rancid smells developing, you'll need to add more antioxidants like vitamin E or rosemary extract to prevent oil oxidation.
When your trace accelerates too quickly, you're either working at too high a temperature or using fragrance oils that speed up saponification. Try soaping cooler and research which fragrances are slow-moving. For a crumbly texture, you've likely used too much lye – always double-check your calculations and use a reliable lye calculator.
Curing and Storage Guidelines
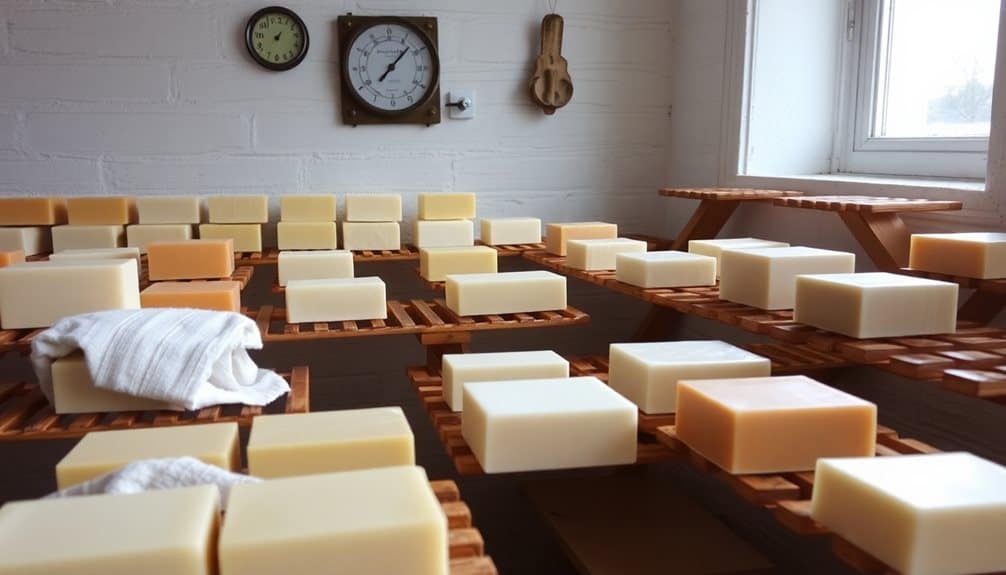
Proper curing and storage are essential steps that determine your soap's final quality and longevity. After unmolding your soap, place the bars on curing racks with at least 1 inch of space between them in a well-ventilated area away from direct sunlight. You'll need to cure your cold process soap for 4-6 weeks to allow excess water to evaporate and the saponification process to complete fully.
During the curing period, rotate your soap bars weekly to guarantee even air exposure. You'll know your soap is properly cured when it's hard and doesn't feel soft or sticky. Test the pH with strips – it should read between 8-10. Once cured, store your soap in breathable containers like cardboard boxes, brown paper bags, or muslin bags.
Keep your stored soap in a cool, dry place with temperatures between 60-80°F (15-27°C). Avoid areas prone to humidity like bathrooms or basements, as moisture can cause your soap to develop DOS (dreaded orange spots) or mold. When stored correctly, your handmade soap can maintain its quality for up to a year.
Frequently Asked Questions
Can I Make Soap Without Lye if I'm Allergic to It?
You can't make true soap without lye (sodium hydroxide), as it's the essential ingredient that triggers saponification – the chemical reaction that creates soap. However, you can try "melt and pour" soap bases, which have already gone through the lye process and are safe for sensitive skin. You'll find these pre-made bases at craft stores, allowing you to customize with colors and fragrances.
How Long Does Homemade Soap Typically Last When Used Daily?
Did you know that properly cured homemade soap can last 50% longer than commercial bars? When used daily, your handcrafted soap will typically last 3-4 weeks with proper drainage and care. You'll get the most longevity by keeping it on a well-draining soap dish between uses. If you've let your soap cure for 4-6 weeks before use, you'll notice it's harder and more durable than fresh soap.
Is It Cheaper to Make Your Own Soap Than Buying Commercial Brands?
You'll find that making your own soap can be cheaper than buying commercial brands, but it depends on your ingredients and batch size. When you buy supplies in bulk and make larger batches, your cost per bar drops markedly – often to $1-2 per bar. However, you'll need to invest upfront in equipment and quality ingredients, which typically runs $50-100 to get started properly.
Can I Sell Homemade Soaps Without Special Permits or Certifications?
Like a merchant in ancient bazaars, you can't simply set up your stall without the ruler's blessing. You'll need proper permits and certifications to legally sell your soaps. Check your local health department regulations, as most areas require a business license, liability insurance, and compliance with FDA cosmetic labeling laws. You'll also want to verify zoning laws if you're making soap at home for retail sales.
What Happens if Someone Accidentally Swallows Homemade Soap?
If someone swallows soap, you'll need to act quickly but stay calm. Don't induce vomiting, as this can cause the soap to foam and create additional problems. Have them drink water to dilute the soap and call Poison Control (1-800-222-1222) immediately. Most homemade soaps can cause nausea, vomiting, and diarrhea, but they're rarely life-threatening unless ingested in large quantities.

