This website contains affiliate links. Some products are gifted by the brand to test. As an Amazon Associate, I earn from qualifying purchases. The content on this website was created with the help of AI.
You'll find powerful skincare ingredients hiding in your kitchen cabinets, offering natural alternatives to expensive commercial products. Start with raw honey as a natural humectant and antibacterial agent, or plain yogurt for gentle exfoliation. Ground oatmeal soothes irritated skin, while cold-pressed oils provide deep moisturization. When creating DIY treatments, always use fresh organic ingredients and conduct patch tests 24 hours before full application. Limit intensive treatments to twice weekly and monitor your skin's response. The science behind these kitchen-based solutions reveals their remarkable skin-transforming potential.
Key Takeaways
- Raw honey, yogurt, and oatmeal are versatile kitchen staples that can be combined to create effective face masks for various skin types.
- Simple avocado masks combine mashed avocado with honey for deep moisturizing benefits in just 15 minutes of application time.
- Natural toners can be made by diluting apple cider vinegar with water in a 1:4 ratio for pH balance.
- Ground oatmeal mixed with honey creates a gentle exfoliating scrub suitable for all skin types, especially sensitive skin.
- Always conduct patch tests 24 hours before using any new DIY skincare recipe to avoid potential skin reactions.
Essential Kitchen Ingredients for Skincare

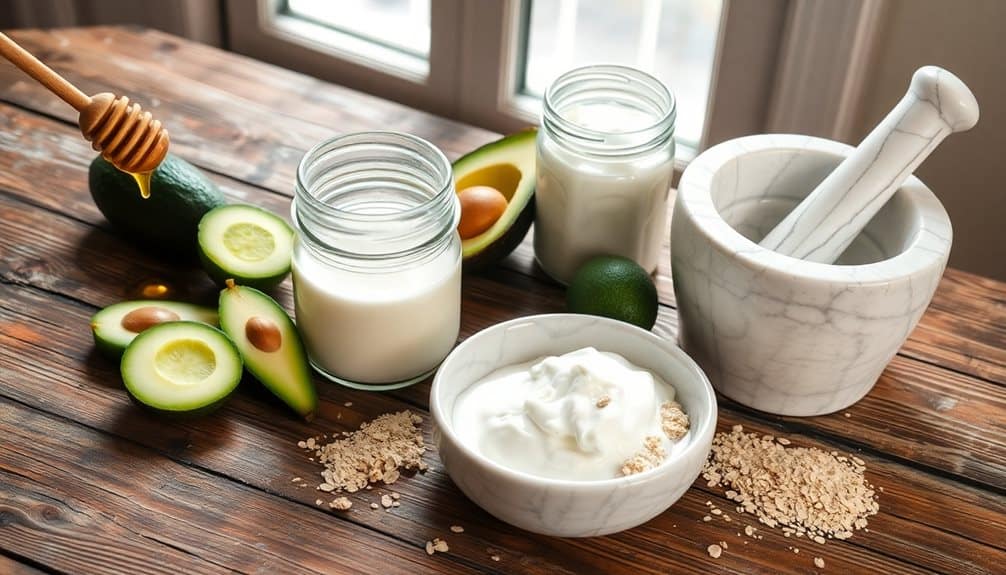
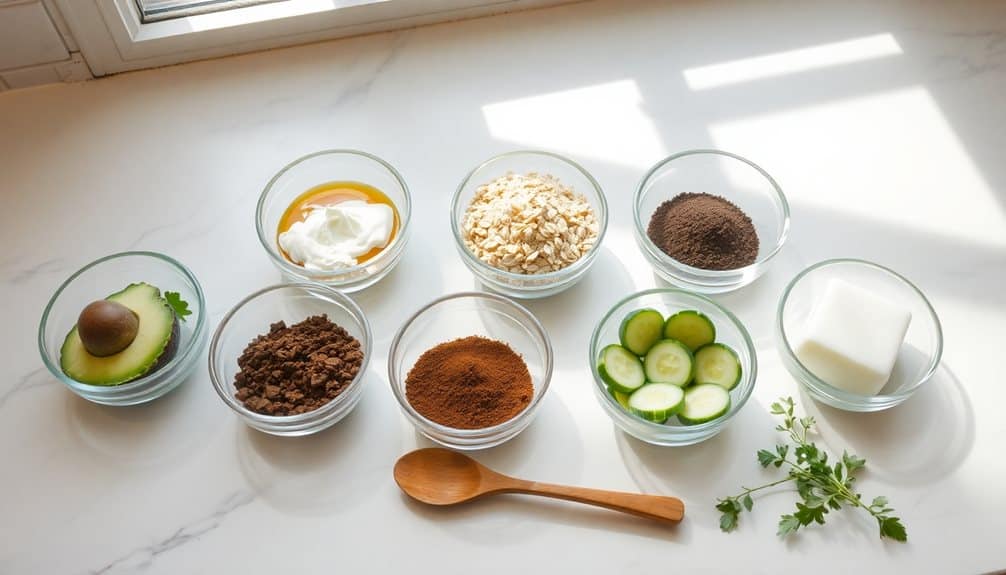
Your kitchen cabinet holds many powerful skincare ingredients that can rival commercial products when used correctly. Common items like honey, yogurt, oatmeal, and various oils serve as effective bases for DIY skincare formulations, while fruits and vegetables provide natural acids and antioxidants.
Raw honey functions as a natural humectant and antibacterial agent, making it ideal for acne-prone skin. Plain, unsweetened yogurt contains lactic acid that gently exfoliates and brightens the complexion. Ground oatmeal acts as a gentle physical exfoliant while soothing irritated skin. Cold-pressed oils like olive, coconut, and jojoba closely match the skin's natural lipids.
When selecting kitchen ingredients for skincare, you'll need to follow specific guidelines: use only fresh, organic ingredients when possible; avoid items with added preservatives or artificial ingredients; and store preparations properly to prevent bacterial growth. Don't apply citrus fruits directly to skin, as they can cause photosensitivity. Test all ingredients on a small patch of skin before full application, and discontinue use if irritation occurs. Remember that natural ingredients can be just as potent as commercial products and should be used with equal caution.
Gentle Facial Scrubs

Building on these kitchen staples, you can create effective facial scrubs that provide gentle exfoliation without damaging your skin's protective barrier. Your primary ingredients should include finely ground oatmeal, rice powder, or baking soda as the base exfoliant. These particles are small enough to avoid micro-tears in your skin while still removing dead cells effectively.
For oily skin, mix 1 tablespoon of rice powder with green tea to create a paste. If you're dealing with dry skin, combine ground oatmeal with honey and a few drops of olive oil. Those with sensitive skin should stick to a mixture of 1 teaspoon baking soda with enough water to form a thin consistency.
Don't scrub more than twice weekly, and always perform a patch test 24 hours before using any new mixture. Apply the scrub using gentle, circular motions for no more than 30 seconds. If you experience any redness, burning, or irritation, discontinue use immediately. Remember that over-exfoliation can compromise your skin barrier and lead to inflammation, so it's important to maintain a careful balance between exfoliation and protection.
Nourishing Face Masks

Natural face masks offer concentrated nourishment through carefully selected ingredients that target specific skin concerns. When creating DIY face masks, it's essential to understand your skin type and potential allergies before applying any ingredients to your face. You'll need to perform a patch test 24 hours before full application to confirm skin compatibility.
For dry skin, combine one mashed avocado with two tablespoons of honey and one tablespoon of plain yogurt. This mixture provides essential fatty acids and intense hydration. If you're dealing with oily skin, mix one tablespoon of bentonite clay with apple cider vinegar until you achieve a paste-like consistency. The clay helps absorb excess sebum while the vinegar balances pH levels.
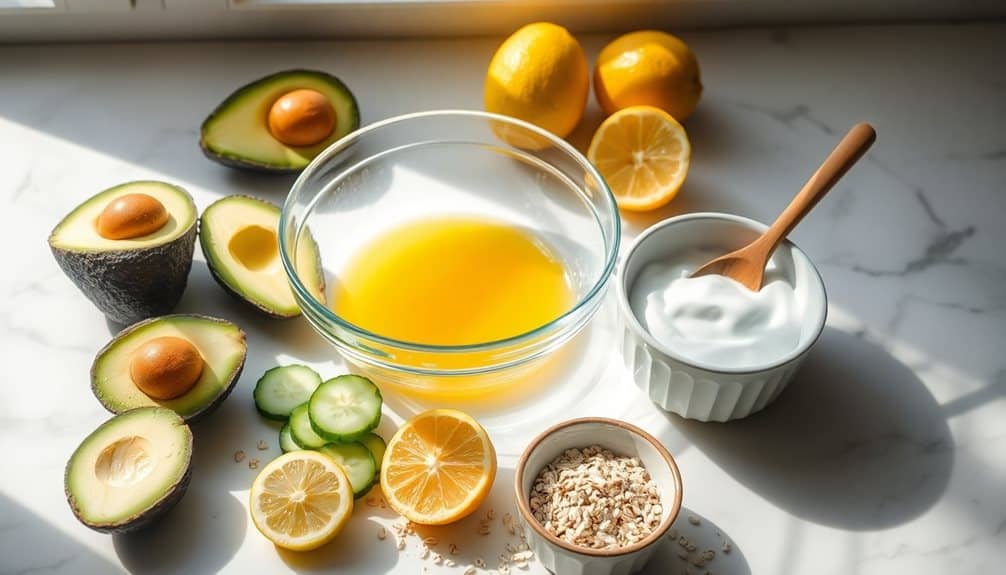
For combination skin, mix one egg white with one teaspoon of lemon juice and half a teaspoon of honey. You'll want to avoid the eye area when applying this mask, as it can cause irritation. Don't leave any mask on for more than 15 minutes, and always rinse thoroughly with lukewarm water. If you experience any burning, tingling, or redness, remove the mask immediately and cleanse your skin.
Natural Toners and Cleansers

After nourishing your skin with masks, maintaining daily skin health requires effective yet gentle cleansing solutions. Natural toners and cleansers from your kitchen can effectively balance your skin's pH while removing impurities without harsh chemicals. When selecting ingredients, you'll need to take into account your skin type and potential sensitivities to achieve ideal results.
Apple cider vinegar, diluted 1:4 with distilled water, serves as an effective antimicrobial toner that helps reduce acne-causing bacteria. For gentle cleansing, combine 1 tablespoon of honey with ¼ teaspoon of lemon juice, applying the mixture in circular motions. Green tea, cooled and stored in a sterile bottle, works as an antioxidant-rich toner that fights free radicals.
- Always perform a patch test 24 hours before applying new ingredients to prevent adverse reactions
- Store homemade toners in sterilized containers and refrigerate for no longer than 5 days
- Discontinue use immediately if you experience redness, itching, or irritation
Remember to strain all liquid ingredients through a fine-mesh sieve to remove particles that could clog pores. Monitor your skin's response and adjust ingredient concentrations accordingly to achieve the desired results.
Moisturizing Treatments From Your Pantry

Your kitchen pantry holds potent moisturizing ingredients that can deeply hydrate skin without synthetic additives. Common items like honey, avocado, and olive oil contain natural emollients that penetrate skin barriers effectively. When selecting ingredients, verify they're fresh and organic whenever possible to avoid pesticide residues.
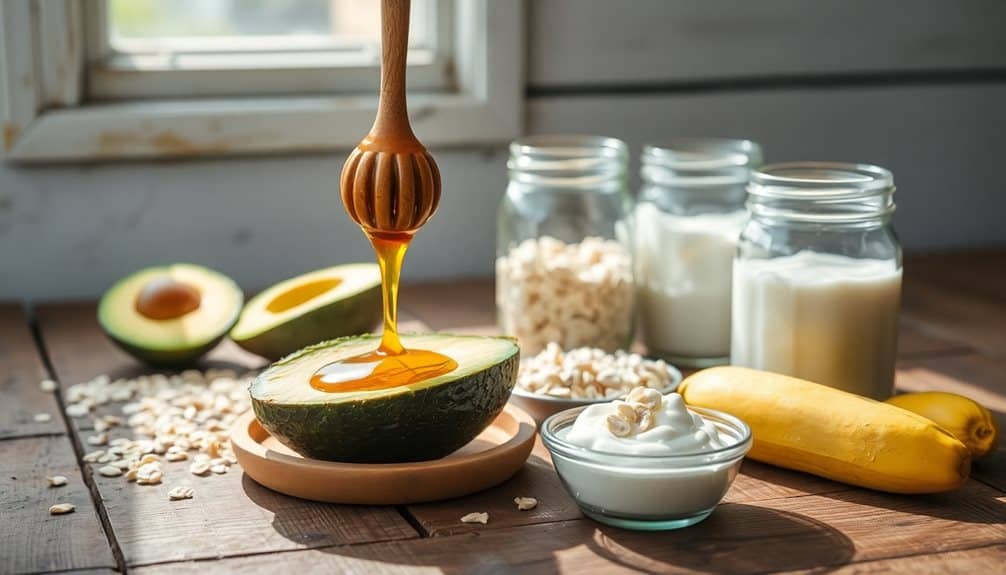
Honey's humectant properties allow it to draw moisture from the air into your skin, while its antibacterial qualities help prevent breakouts. Mix one tablespoon of raw honey with half a mashed avocado for an intensive moisture mask. Don't leave this mixture on for more than 15 minutes, as extended exposure may clog pores.
For dry, mature skin, combine two tablespoons of extra virgin olive oil with one teaspoon of vitamin E oil. Apply this mixture sparingly, as excess oil can overwhelm skin barriers. If you're prone to sensitivity, conduct a patch test 24 hours before full application. Store any unused portions in an airtight container away from direct sunlight, and discard after one week to prevent bacterial growth. Don't apply these treatments if you have open wounds or active infections.
Acne-Fighting Kitchen Solutions

While moisturizing treatments benefit many skin types, those with acne require targeted ingredients that combat bacteria and reduce inflammation. Your kitchen contains several potent antimicrobial and anti-inflammatory ingredients that can help fight breakouts effectively. When used correctly, common items like raw honey, apple cider vinegar, and green tea possess scientifically-proven properties that target acne-causing bacteria.
- Raw honey's natural hydrogen peroxide content actively destroys bacterial cells while its enzymatic properties help remove dead skin cells that clog pores – you'll notice reduced redness within hours of application.
- Apple cider vinegar's acetic acid content balances your skin's pH and creates an inhospitable environment for acne-causing bacteria, but you must dilute it properly (1:4 ratio with water) to prevent irritation.
- Green tea's polyphenols reduce sebum production and inflammation when applied topically – steep the tea, let it cool completely, and apply it with a cotton ball.
Always perform a patch test 24 hours before applying any new ingredient to your face, as even natural substances can cause adverse reactions in sensitive individuals. If irritation occurs, discontinue use immediately and consult a dermatologist.
Anti-Aging Food-Based Remedies

Nature's time-fighting ingredients can effectively combat visible signs of aging when incorporated into your skincare routine. Every ingredient must be carefully selected and properly applied to yield ideal results while avoiding potential irritation.
You'll find potent anti-aging compounds in avocados, which contain vitamin E and beneficial fatty acids that penetrate deeply into your skin's layers. Create a simple mask by mashing half an avocado with one tablespoon of honey, applying it for 15 minutes. Don't exceed this time limit, as prolonged exposure may clog pores.
Green tea's antioxidants and papaya's natural enzymes work synergistically to reduce fine lines. Combine cooled green tea with mashed papaya pulp in equal parts, then apply this mixture using gentle, upward strokes. Remove after 10 minutes if you experience any tingling sensation.
For targeted wrinkle treatment, whisk one egg white with three drops of lemon juice and a teaspoon of honey. Apply this solution carefully around your eye area, avoiding direct contact with eyes. Don't use this mixture more than twice weekly, as excessive protein treatments can dehydrate your skin.
Weekly Skincare Treatment Schedule

Building on these powerful anti-aging ingredients, a structured weekly schedule maximizes their benefits while preventing overuse. It's essential to understand that even natural ingredients can irritate your skin if applied too frequently. Your skin needs time to regenerate between treatments, and overlapping ingredients might reduce their effectiveness or cause adverse reactions.
You'll want to space out your treatments throughout the week, focusing on specific concerns each day. Monday and Thursday are ideal for deep cleansing masks, while Tuesday and Friday work well for gentle exfoliation. Reserve intensive treatments for weekends when your skin can recover without environmental stressors.
- Don't apply more than one intensive treatment within 24 hours – your skin's barrier function needs time to recover and maintain its protective properties
- Monitor your skin's response carefully – if you notice any redness or irritation, extend the time between treatments
- Never mix vitamin C treatments with retinol-rich ingredients in the same session – these potent actives can neutralize each other or cause excessive sensitivity
Always perform a patch test 24 hours before trying any new ingredient combination, and adjust the schedule according to your skin's unique needs.
Frequently Asked Questions
How Long Can Homemade Skincare Products Be Stored Before Going Bad?
Picture a fresh, dewy mixture turning murky and developing an off-putting smell – that's your cue it's gone bad. You'll want to store most homemade skincare products for no longer than 1-2 weeks in the refrigerator. Without commercial preservatives, natural ingredients break down quickly and can harbor harmful bacteria. Products containing water are especially prone to contamination. You should discard anything that changes color, texture, or scent.
Can I Use These DIY Recipes if I Have Sensitive or Allergy-Prone Skin?
If you have sensitive or allergy-prone skin, you'll need to exercise extreme caution with DIY skincare. Always patch test new ingredients on a small area of your inner arm for 24-48 hours before facial application. You shouldn't use common irritants like citrus, cinnamon, or raw eggs. It's essential to consult your dermatologist first, as untested combinations can trigger reactions, inflammation, or worsen existing skin conditions.
What Signs Indicate a Negative Reaction to Homemade Skincare Products?
Have you ever wondered how your skin tells you something's wrong? Watch for immediate signs like redness, burning, itching, or stinging after application. You'll also need to monitor for delayed reactions including rashes, swelling, or small bumps that develop hours later. If you notice peeling, excessive dryness, or persistent irritation, discontinue use immediately and rinse the area thoroughly. Contact a dermatologist if symptoms persist.
Should I Patch Test DIY Skincare Products Before Applying Them?
You should absolutely patch test any DIY skincare product before full application. Apply a small amount to your inner forearm or behind your ear, and monitor for 24-48 hours. Watch for redness, itching, burning, or swelling. This testing period is essential since natural ingredients can still trigger allergic reactions or skin sensitivities, and it's safer to identify adverse reactions on a small area.
Can I Combine Multiple DIY Treatments in the Same Skincare Routine?
While you can combine DIY treatments, you'll need to be strategic and careful. Start slowly, space your treatments, and monitor your skin's response. Don't mix active ingredients like acids and enzymes in the same session, as this could cause irritation or chemical reactions. It's safest to use one treatment in the morning and another at night, waiting at least 12 hours between applications to prevent adverse reactions.


