This website contains affiliate links. Some products are gifted by the brand to test. As an Amazon Associate, I earn from qualifying purchases. The content on this website was created with the help of AI.
You’ll achieve successful home composting by following ten essential steps. Start by selecting a shaded location with good drainage, then choose between stationary bins, tumblers, or multi-bin systems. Gather basic tools like pitchforks and temperature probes before building a 4-6 inch base layer of coarse brown materials. Maintain a 3:1 ratio of browns to greens while monitoring moisture levels to match a wrung-out sponge. Turn your pile every 3-7 days initially, reducing frequency as decomposition progresses. Once your compost becomes dark and crumbly with an earthy scent, you’re ready to transform your garden with this nutrient-rich soil amendment. These fundamentals lay the groundwork for mastering the art of composting.
Key Takeaways
- Select a shaded location with good drainage and set up a suitable composting bin at least 2 feet from buildings.
- Layer brown materials (3 parts) and green materials (1 part), starting with coarse browns at the base for proper airflow.
- Maintain proper moisture levels by ensuring compost feels like a wrung-out sponge and monitor temperature between 130-150°F.
- Turn compost every 3-7 days initially using a garden fork, mixing outer materials to the center to distribute heat and moisture.
- Harvest finished compost when it’s dark, crumbly, and has an earthy smell, with no recognizable original materials visible.
Choose Your Composting Location

Selecting the right location for your compost bin is a critical first step that will impact your composting success. You’ll need to take into account several key factors when choosing your spot: sunlight exposure, drainage capability, and accessibility.
Position your bin in a partially shaded area, as direct sunlight can overheat and dry out your compost materials. The location should have good drainage to prevent waterlogging, ideally on level or slightly sloped ground with well-draining soil. Make sure you’ve got easy access to water, as you’ll need to maintain proper moisture levels.
Place your bin at least 2 feet away from buildings or wooden structures to prevent moisture damage and potential pest issues. Don’t place it directly under trees, as roots can grow into the pile and make maintenance difficult. Reflect on proximity to your kitchen and garden – you’ll want convenient access for adding kitchen scraps and retrieving finished compost.
The ideal spot should also account for your neighbors. Position the bin away from property lines and outdoor living spaces to minimize any potential odor concerns. If you’re using multiple bins, make sure you’ve got adequate space for turning and transferring materials between them. For optimal composting conditions throughout the year, choose a location that can withstand temperature extremes from -20F to 110F.
Select a Compost Bin
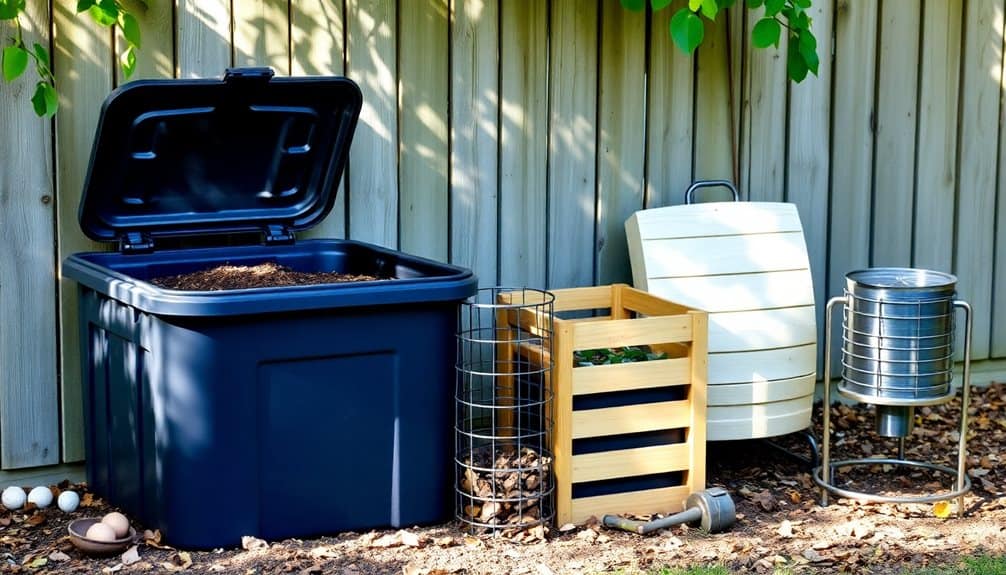
Your compost bin choice represents a crucial investment that will determine your composting efficiency and long-term success. Consider three primary options: stationary bins, tumbling composters, or multi-bin systems. Each serves different needs and space requirements.
Stationary bins, typically made of plastic or wood, offer simplicity and affordability. They’re ideal for continuous composting but require manual turning. Choose ones with proper ventilation holes, removable sides for easy access, and secure lids to deter pests.
Tumbling composters excel at speed and convenience. Their rotating design allows thorough mixing and faster decomposition, usually producing finished compost in 4-8 weeks. Look for models with sturdy frames, smooth-turning mechanisms, and dual chambers for simultaneous batches.
Multi-bin systems provide the most extensive solution, allowing you to manage different decomposition stages simultaneously. You’ll need three compartments: one for fresh materials, one for active composting, and one for curing. Build them from treated lumber or recycled pallets, ensuring each bin measures at least 3’x3’x3′ for ideal heat retention and decomposition rates.
Match your selection to your available space, physical capabilities, and volume requirements. Consider durability, weather resistance, and ease of access when making your final decision.
Whatever bin type you choose, protect your compost with a heavy-duty polyethylene tarp to maintain optimal moisture levels and enhance decomposition.
Gather Essential Tools
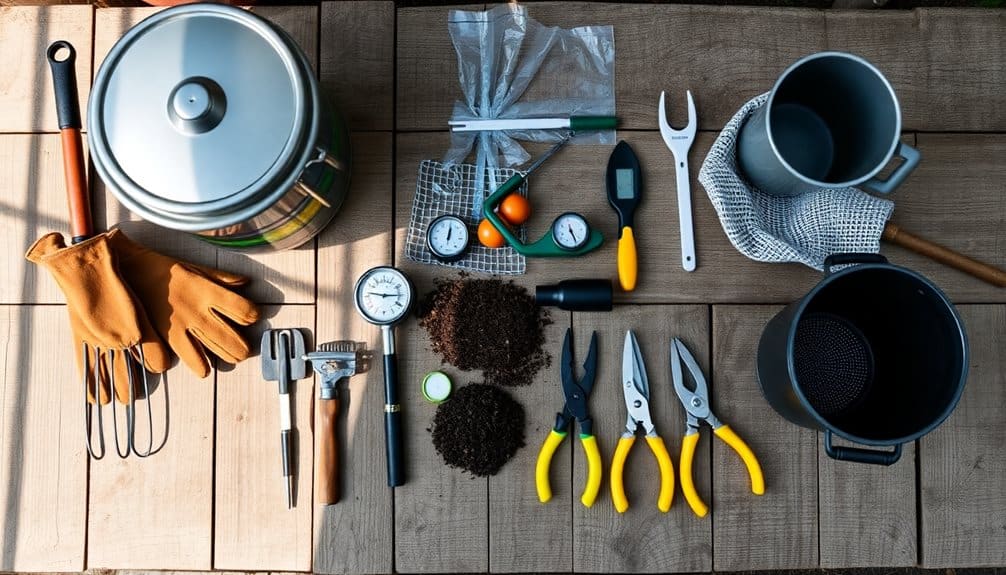
The right tools make composting more efficient and manageable while reducing physical strain. You’ll need a combination of tools for turning, moving, and monitoring your compost pile to maintain ideal decomposition conditions. Invest in durable, high-quality equipment that’ll withstand frequent use and exposure to moisture and organic materials.
Essential composting tools include:
- Garden fork or pitch fork (tine spacing: 8-10 inches) – Use for turning and aerating compost, breaking up clumps, and moving finished material. Select one with sturdy steel tines and a comfortable D-shaped handle.
- Temperature probe (12-36 inch stem) – Monitor internal pile temperatures to guarantee proper decomposition. Look for a probe that reads 0-200°F (or -18 to 93°C).
- Wheelbarrow or garden cart (4-6 cubic feet capacity) – Transport materials to and from your compost bin. Choose one with pneumatic tires for easy maneuverability.
- Pruning shears or machete – Reduce larger organic materials into smaller pieces for faster decomposition. Confirm blades are sharp and rust-resistant.
Keep these tools clean and stored in a dry location to prevent rust and extend their useful life. For indoor composting needs, consider adding a stainless steel bin with activated charcoal filters that effectively control odors for up to 4 months.
Build Your Base Layer
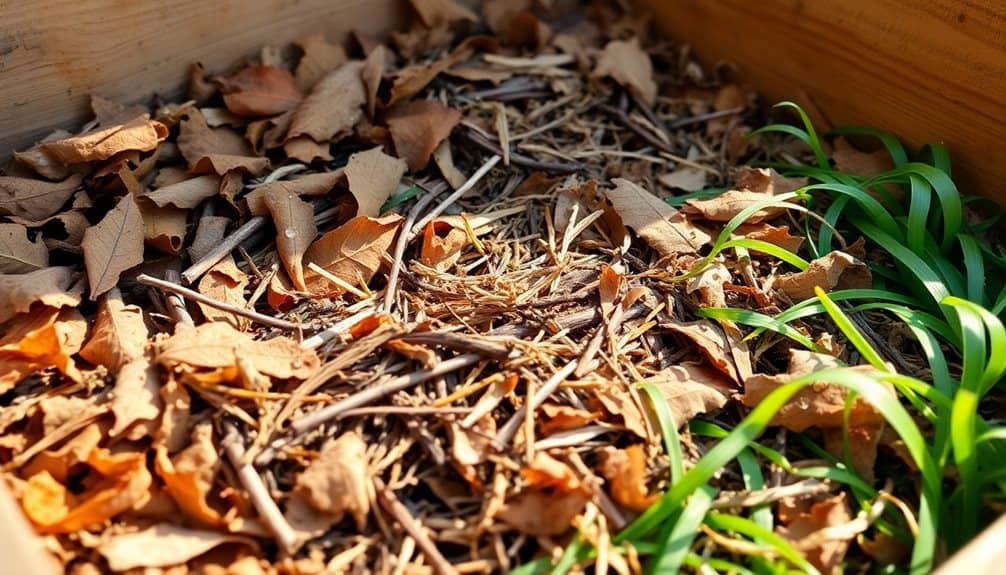
With your tools ready, starting your compost pile requires a proper foundation that promotes airflow and drainage. Begin by selecting a level area and clearing it of grass, weeds, or debris. If you’re composting directly on the ground, loosen the soil to a depth of 6 inches to facilitate drainage and earthworm migration.
Create your base layer using coarse, brown materials approximately 4-6 inches thick. Lay down twigs and small branches in a crisscross pattern, ensuring gaps between materials. Add a layer of dry leaves, straw, or shredded cardboard on top of the woody materials. This structure allows oxygen to circulate from the bottom up and prevents the pile from becoming waterlogged.
For contained systems, place a 1-inch layer of gravel at the bottom of your bin before adding the woody materials. If you’re using a tumbler, incorporate 2-3 inches of coarse materials to maintain proper aeration. Don’t compress these materials, as maintaining air pockets is vital for aerobic decomposition. This foundation layer will remain relatively intact throughout the composting process, continuing to provide essential drainage and ventilation. A dual chamber composter can help maintain continuous composting by allowing one side to mature while you add fresh materials to the other chamber.
Balance Green and Brown Materials

Successful composting depends on maintaining an ideal ratio between nitrogen-rich “green” materials and carbon-rich “brown” materials. You’ll want to aim for a ratio of approximately 3:1 brown to green materials by volume. Browns provide carbon for energy, while greens supply nitrogen for protein synthesis and rapid heating.
Your green materials should include:
- Fresh grass clippings and garden trimmings
- Kitchen scraps like fruit and vegetable waste
- Coffee grounds and tea bags
- Fresh manure from herbivores
Your brown materials need to be dry and include leaves, twigs, paper products, and straw. When adding new materials, layer them carefully to maintain proper distribution. If your pile becomes too wet or develops an ammonia smell, add more browns. If it’s decomposing too slowly, add more greens.
Monitor your pile’s temperature using a compost thermometer – it should reach between 130-150°F (54-66°C) during active decomposition. You’ll know you’ve achieved the right balance when your pile heats up properly and materials break down steadily without offensive odors.
Use a stainless steel aerator to break up dense materials and ensure thorough mixing of your green and brown materials.
Master Proper Layering Techniques
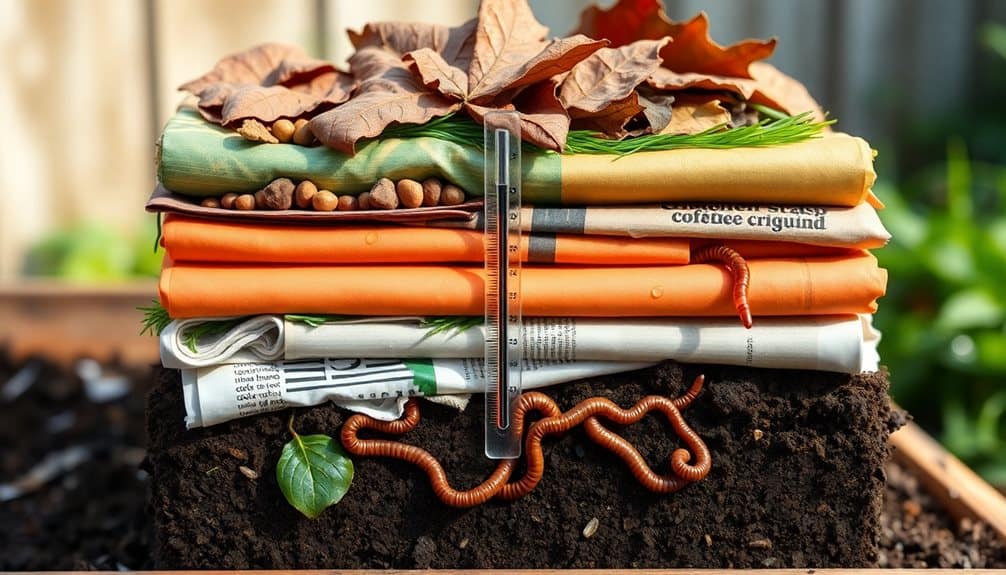
Proper layering serves as the foundation for efficient composting, creating ideal conditions for decomposition and preventing common problems like odors and pests. You’ll need to start with a 4-inch base layer of coarse brown materials like twigs or straw to guarantee proper drainage and airflow.
Add your materials in alternating layers, maintaining a ratio of three parts brown to one part green. Each green layer shouldn’t exceed 2-3 inches in thickness, while brown layers can be 4-6 inches deep. You’ll want to sprinkle a thin layer of soil between each major layer to introduce beneficial microorganisms.
When adding new materials, don’t simply pile them on top. Instead, create a small depression in the existing pile, add your new materials, and cover them with existing compost. This technique helps maintain consistent moisture and temperature throughout the pile. If you’re adding kitchen scraps, bury them 8-12 inches deep to deter pests.
Monitor the layers as they decompose, and you’ll notice they’ll become less distinct over time. That’s normal and indicates your composting process is working effectively. Remember to keep the outer layers thicker to insulate the core where most decomposition occurs.
Monitor Moisture Levels
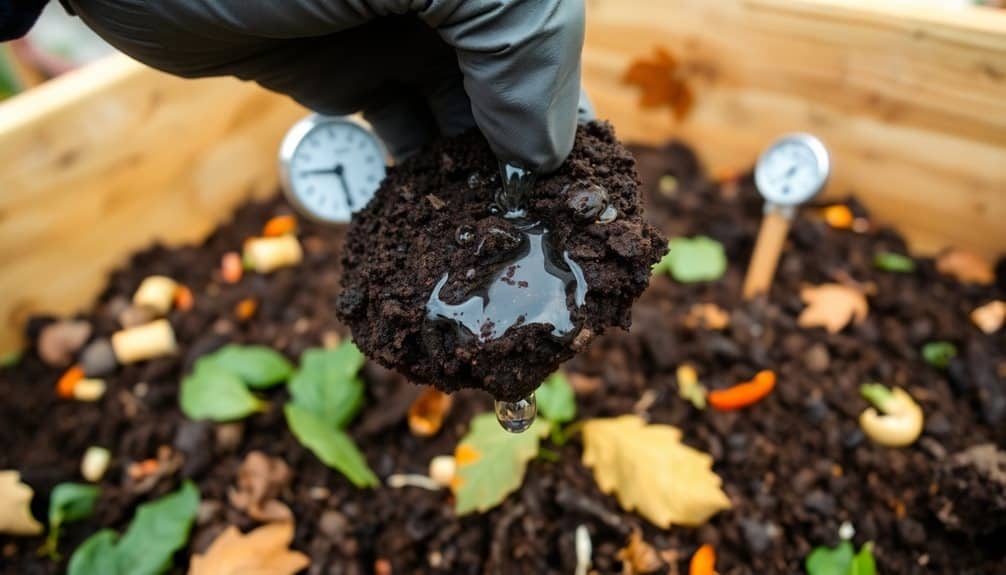
While proper layering creates the foundation for decomposition, maintaining ideal moisture levels determines how effectively those materials break down. Your compost pile should feel like a wrung-out sponge – damp but not soaking wet. Too much moisture can lead to anaerobic conditions and unpleasant odors, while too little will slow decomposition to a crawl.
To maintain optimal moisture content, you’ll need to monitor and adjust regularly:
- Insert a moisture meter 6-8 inches deep into your pile’s center – readings should remain between 40-60% moisture content for peak microbial activity
- Squeeze a handful of compost material – it should form a ball that breaks apart when poked, releasing only a few drops of water
- Check moisture levels at least weekly, more frequently during hot or dry weather conditions
- Add water using a fine spray when the pile feels dry, or incorporate dry, carbon-rich materials like straw or shredded paper when it’s too wet
If you notice a strong ammonia smell or see water pooling at the pile’s base, that’s a clear sign you’ve exceeded ideal moisture levels and need to make adjustments immediately.
Turn Your Compost Pile
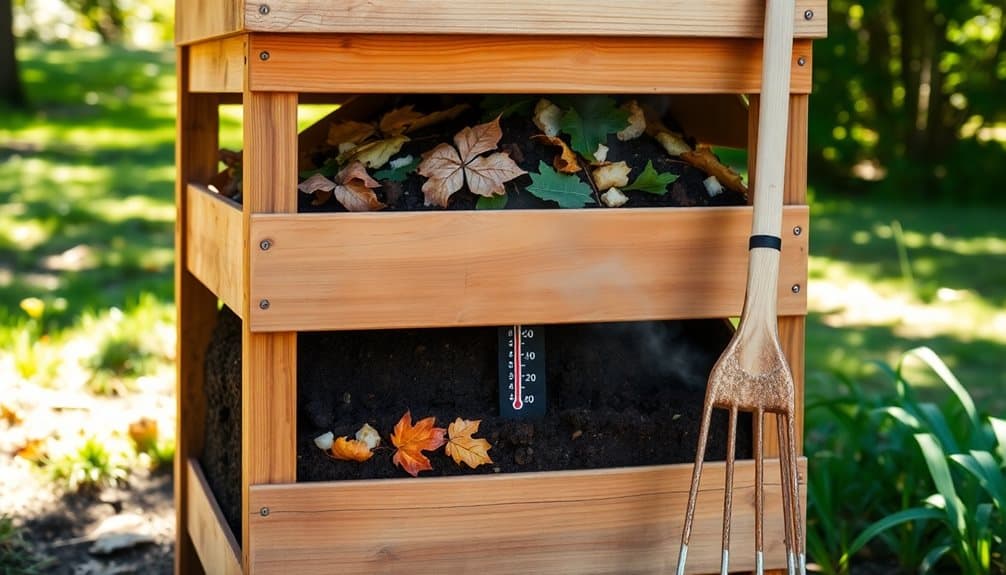
Turning your compost pile regularly accelerates decomposition by redistributing moisture, heat, and microorganisms throughout the materials. Using a pitchfork or compost turner, rotate materials from the outer edges into the center and move the center materials outward. This process guarantees that all organic matter receives equal exposure to the pile’s core, where decomposition is most active.
For best results, turn your pile every 3-7 days during the first few weeks when decomposition is most vigorous. As the process slows, you can reduce turning frequency to once every 2-3 weeks. During winter months, turning can be less frequent, as microbial activity naturally decreases with lower temperatures.
You’ll know it’s time to turn your pile when the center temperature drops from its peak of 130-150°F (54-66°C). After turning, the temperature should rise again within 24-48 hours, indicating renewed microbial activity. If you’ve layered your materials correctly, each turning session should thoroughly mix your greens and browns, creating favorable conditions for continued decomposition. Don’t forget to monitor the pile’s moisture content during turning – materials should remain as damp as a wrung-out sponge.
Know When Compost Is Ready

Identifying finished compost requires careful observation of specific physical indicators. Your compost is ready when it’s transformed into a dark, crumbly material that resembles rich garden soil. The original materials should no longer be recognizable, and the pile’s temperature will have cooled to ambient levels after its active decomposition phase.
Here’s what to look for to determine if your compost is fully mature:
- Color and texture: The finished product should be dark brown to black, with a consistent soil-like texture that crumbles easily when squeezed. You shouldn’t see any remnants of the original materials.
- Odor characteristics: Mature compost emits an earthy, forest-floor scent. There shouldn’t be any traces of ammonia or rotting smells, which indicate incomplete decomposition.
- Temperature stability: The pile’s core temperature should remain constant and close to the ambient temperature for at least a week, indicating that microbial activity has markedly decreased.
- Moisture content: When squeezed, the material should feel like a wrung-out sponge, releasing only a few drops of water while maintaining its form without being muddy or soggy.
Using Your Finished Compost

Successfully produced compost can be utilized in numerous beneficial ways throughout your garden and landscape. You’ll achieve peak results by incorporating your finished compost into the top 4-6 inches of soil, using approximately 1-2 inches of compost for every 6 inches of soil depth. For established plants, apply a 1/2-inch layer around the base, keeping it 2 inches away from stems to prevent rot.
When starting a new garden bed, mix 2-3 inches of compost into the soil before planting. For container gardens, blend one part compost with three parts potting soil to create an enriched growing medium. You can also use your compost to brew compost tea by steeping one part compost in five parts water for 24-48 hours, then straining and applying it as a liquid fertilizer.
For lawn maintenance, spread a 1/4-inch layer of screened compost over your grass in spring or fall. To protect trees and shrubs, apply a 2-inch layer around the drip line, extending it outward to the branch tips while maintaining a 3-inch gap around the trunk.
Frequently Asked Questions
Can Meat and Dairy Products Be Added to a Home Compost Pile?
You shouldn’t add meat and dairy products to your home compost pile. These materials attract pests, emit unpleasant odors, and can harbor harmful pathogens. They’ll decompose too slowly in typical backyard conditions and disrupt the pile’s balance. Instead, focus on plant-based materials like fruits, vegetables, coffee grounds, and yard waste. If you need to dispose of meat or dairy, consider municipal composting facilities that use high-heat processes.
What Should I Do if My Compost Pile Attracts Unwanted Pests?
To deter pests from your compost pile, you’ll need to implement several protective measures. Cover food scraps with brown materials like leaves or sawdust, and bury new additions at least 10 inches deep. Install hardware cloth or wire mesh around the pile’s base to block rodents. Maintain proper moisture levels and guarantee adequate aeration. Don’t add meat, oils, or dairy products, as these strongly attract animals.
How Can I Compost During Winter Months When Temperatures Drop?
Like a hibernating bear, your compost pile needs extra insulation during winter’s chill. You’ll want to protect it with straw bales or thick layers of cardboard around the sides. Keep adding nitrogen-rich materials (greens) and carbon-rich materials (browns) at a 1:3 ratio, but chop them into smaller pieces to speed decomposition. You can also use a black tarp to trap solar heat and maintain moisture levels.
Will My Compost Pile Create Unpleasant Odors That Bother My Neighbors?
A properly maintained compost pile won’t emit offensive odors. You’ll notice only an earthy smell, similar to forest soil. If you’re detecting unpleasant odors, it’s typically due to excess moisture, poor aeration, or improper balance of materials. You can prevent this by maintaining a 30:1 carbon-to-nitrogen ratio, turning your pile regularly, and ensuring adequate airflow. Add dry brown materials if you detect ammonia-like smells.
Should I Add Earthworms to My Compost Pile to Speed up Decomposition?
While you might think you need to hunt down earthworms to add to your pile, these clever creatures will actually find their way there naturally if conditions are right. You’ll want to maintain proper moisture levels (40-60%) and temperatures below 85°F to keep worms happy. They’ll boost decomposition by breaking down organic matter and creating nutrient-rich castings, but they aren’t essential for successful composting.

