This website contains affiliate links. Some products are gifted by the brand to test. As an Amazon Associate, I earn from qualifying purchases. The content on this website was created with the help of AI.
You can start composting by following seven straightforward steps that transform kitchen waste and yard debris into rich garden fertilizer. Begin by selecting your method (traditional pile, tumbler, or vermicomposting), then choose a level, partially shaded location with good drainage. Gather essential tools like pitchforks and thermometers before layering your ingredients in a 30:1 carbon-to-nitrogen ratio. Maintain moisture levels similar to a wrung-out sponge, turn the pile every 2-3 weeks, and monitor the temperature until your compost reaches a dark, crumbly consistency. Understanding these fundamental principles will set you up for composting success.
Key Takeaways
- Choose a composting method that fits your space, selecting between traditional pile, tumbler, or vermicomposting for optimal results.
- Start with a balanced mix of brown materials (carbon-rich) and green materials (nitrogen-rich) in a 30:1 ratio.
- Create a strong foundation with a 4-inch base layer of brown materials, then alternate green and brown layers.
- Maintain moisture levels similar to a wrung-out sponge and turn the pile every 2-3 weeks for proper aeration.
- Monitor temperature and odor, ensuring the pile reaches 130-150°F during active decomposition and maintains an earthy smell.
Choose Your Composting Method
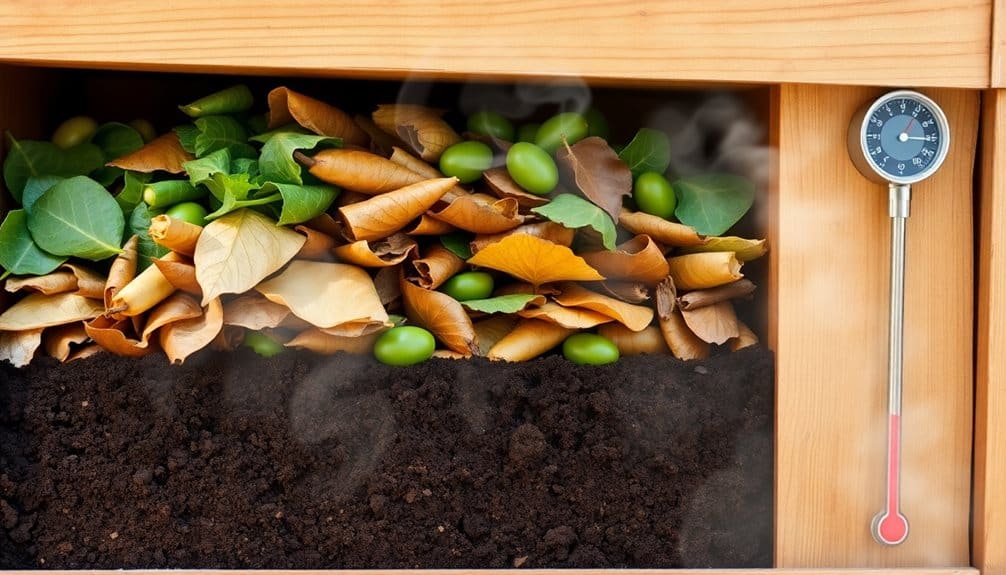
Before starting your composting journey, you’ll need to select a method that matches your space and time commitment. Three main composting approaches are available: traditional pile composting, tumbler composting, and vermicomposting.
Traditional pile composting involves creating a heap directly on the ground or within a bin. This method requires the most space but offers flexibility in size and materials. You’ll need at least 3×3 feet of outdoor space and regular turning with a pitchfork to aerate the pile.
Tumbler composting uses a sealed, rotating container mounted on a stand. It’s ideal for small yards and produces compost in 4-8 weeks when managed properly. The enclosed design prevents pests and maintains moisture while making turning effortless. Dual chamber tumblers allow you to process two batches of compost simultaneously at different stages.
Vermicomposting utilizes red wiggler worms to break down kitchen scraps in a compact bin system. This method works well indoors, making it perfect for apartments. You’ll need to maintain specific moisture levels and temperatures between 55-77°F for peak worm activity. While vermicomposting requires more attention to detail, it produces nutrient-rich castings and can process food waste year-round.
Select the Perfect Location

Once you’ve chosen your composting method, finding the right spot for your setup will maximize your success. Your compost location should be on level ground with good drainage to prevent waterlogging and maintain proper moisture levels. Select a spot that’s partially shaded, as direct sunlight can dry out your pile too quickly.
Consider convenience when selecting your location. You’ll want easy access from your kitchen for food scraps and from your yard for garden waste. The spot should be at least 2 feet away from any structures to prevent moisture damage and allow proper airflow. If you’re using a bin system, make certain there’s enough space to turn the compost with a pitchfork or compost aerator.
Check local regulations, as some municipalities have specific requirements for compost placement. If you’re concerned about aesthetics or odors, position your pile downwind and consider screening it with shrubs or a fence. For urban composters with limited space, a corner of your patio or balcony can work well with a self-contained bin system, provided it has adequate ventilation and drainage.
Adding a heavy-duty tarp cover with UV resistance will help maintain optimal moisture levels while protecting your pile from excessive rain and sun exposure.
Gather Essential Materials

Successful composting requires a balanced mix of “green” and “brown” materials to create ideal decomposition conditions. Green materials provide nitrogen and include fresh grass clippings, vegetable scraps, coffee grounds, and fruit peels. Brown materials contribute carbon and consist of dry leaves, straw, paper products, cardboard, and wood chips.
You’ll need basic tools to manage your compost pile effectively. Start with a pitchfork or garden fork for turning the materials, and a wheelbarrow for transporting ingredients. Keep a spray bottle or hose nearby to maintain proper moisture levels. It’s helpful to have pruning shears to cut larger materials into smaller pieces, which accelerate decomposition.
Consider investing in a compost thermometer to monitor internal temperatures, aiming for 130-150°F (54-66°C) during active decomposition. You’ll also want to gather containers for collecting kitchen scraps and yard waste. If you’re using a bin system, select containers with adequate ventilation and durability. For enclosed systems, guarantee you have replacement filters or carbon sheets to manage potential odors. A quality compost sifter will help separate fully decomposed material from chunks that need more time to break down.
Layer Your Compost Ingredients
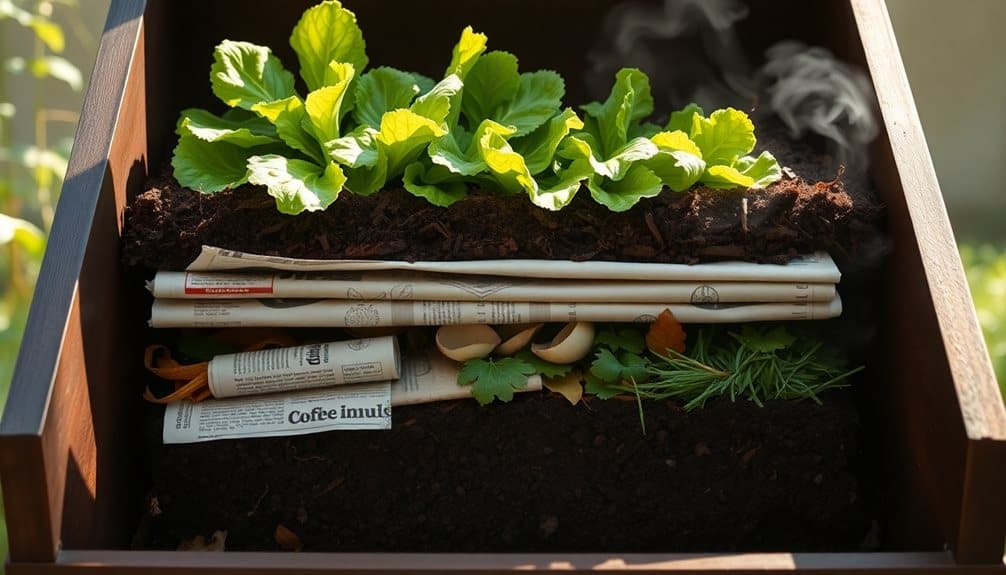
Creating an effective compost pile requires strategic layering of your collected materials. You’ll need to alternate between brown materials (carbon-rich) and green materials (nitrogen-rich) to achieve the ideal carbon-to-nitrogen ratio of approximately 30:1.
Start with a 4-inch base layer of brown materials like twigs, small branches, or straw to guarantee proper drainage and airflow. Add a 2-inch layer of green materials such as grass clippings, vegetable scraps, or coffee grounds. Follow this with another 4-inch layer of browns, and continue alternating in this pattern until you’ve used all your materials or reached a height of about 3 feet.
Between each major layer, add a thin sprinkling of soil or finished compost to introduce beneficial microorganisms. You’ll want to maintain moisture levels similar to a wrung-out sponge throughout the pile. As you layer, keep materials loose rather than compacted to allow proper air circulation. Don’t forget to chop larger materials into smaller pieces before adding them – this will speed up decomposition and help maintain the pile’s structure. For optimal decomposition, monitor your pile with a compost thermometer to ensure temperatures stay between 130-160°F.
Maintain Proper Moisture Balance
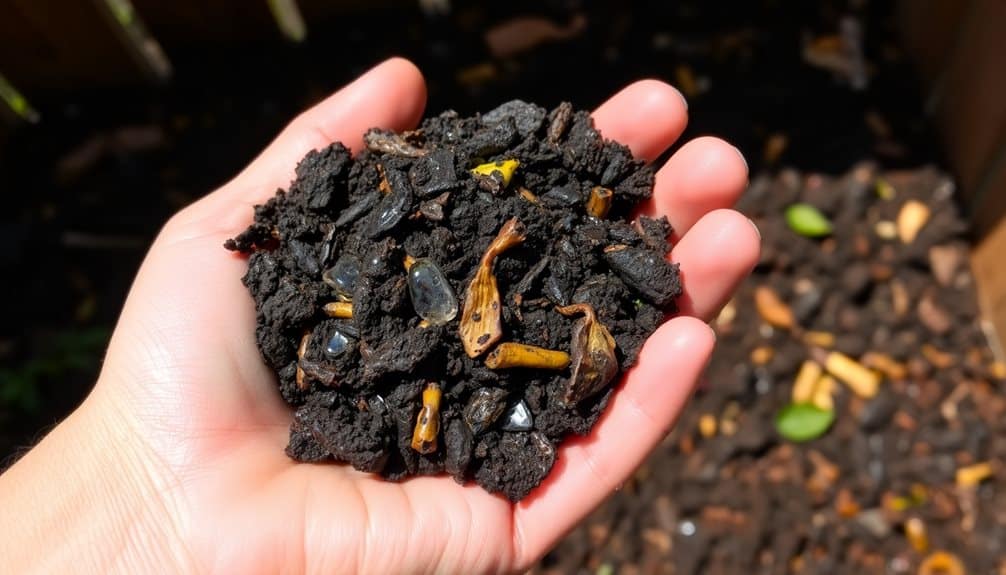
Maintaining the right moisture level in your compost pile is essential for effective decomposition. Your pile should feel like a wrung-out sponge – damp but not soaking wet. When you squeeze a handful of compost materials, only a few drops of water should come out.
If your pile’s too dry, the microorganisms can’t break down the materials effectively. You’ll need to add water gradually with a hose or watering can, making sure to mix the materials as you go. In dry climates, you might want to cover your pile to prevent excessive evaporation.
Conversely, if your pile’s too wet, it’ll become anaerobic, leading to unpleasant odors and slower decomposition. Add dry brown materials like straw, dried leaves, or shredded paper to absorb excess moisture. You can also improve drainage by adding coarse materials or elevating your pile slightly.
During rainy seasons, consider covering your pile with a tarp that allows airflow while protecting it from excessive rainfall. Check moisture levels weekly by doing the squeeze test, and adjust accordingly to maintain ideal conditions for decomposition. Using a dual chamber system allows you to maintain optimal moisture levels while one batch processes and another cures simultaneously.
Turn and Monitor Progress
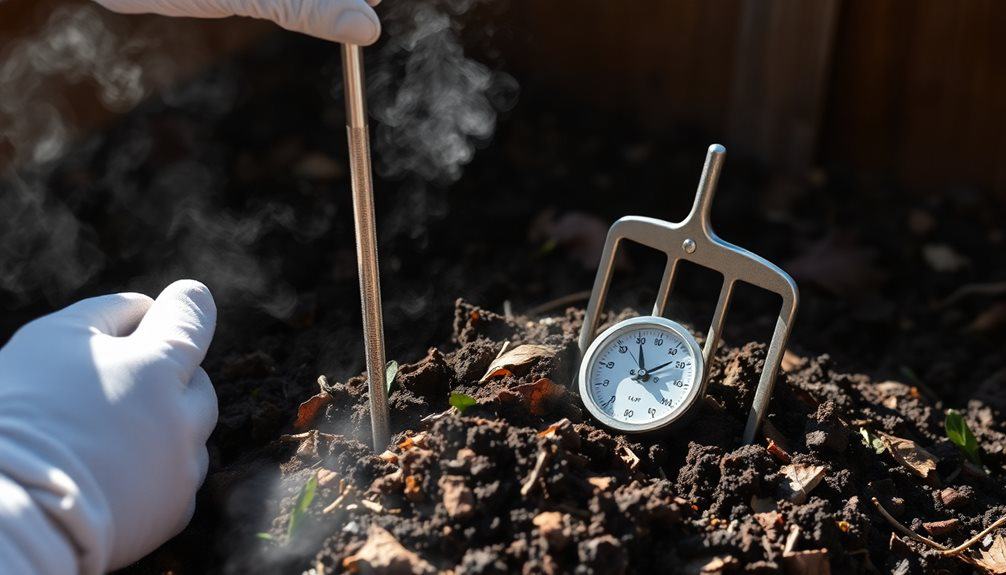
Throughout the composting process, turning your pile regularly guarantees proper aeration and accelerates decomposition. You’ll want to turn your pile every 2-3 weeks using a pitchfork or compost turner, moving materials from the outer edges to the center and vice versa. This rotation guarantees that all materials receive equal exposure to the ideal decomposition conditions at the pile’s core.
Monitor your compost’s progress by checking its temperature, which you can do with a compost thermometer inserted into the center. A healthy pile should reach 130-150°F (54-66°C) during active decomposition. You’ll notice the pile heating up, then gradually cooling as materials break down. When temperatures drop, it’s time to turn the pile again.
Track your pile’s decomposition progress visually. The original materials should become increasingly unrecognizable as they transform into dark, crumbly compost with an earthy smell. This process typically takes 2-6 months, depending on your materials and maintenance routine. If you notice strong odors or slow decomposition, adjust your green-to-brown ratio or moisture levels accordingly.
Harvest Your Finished Compost
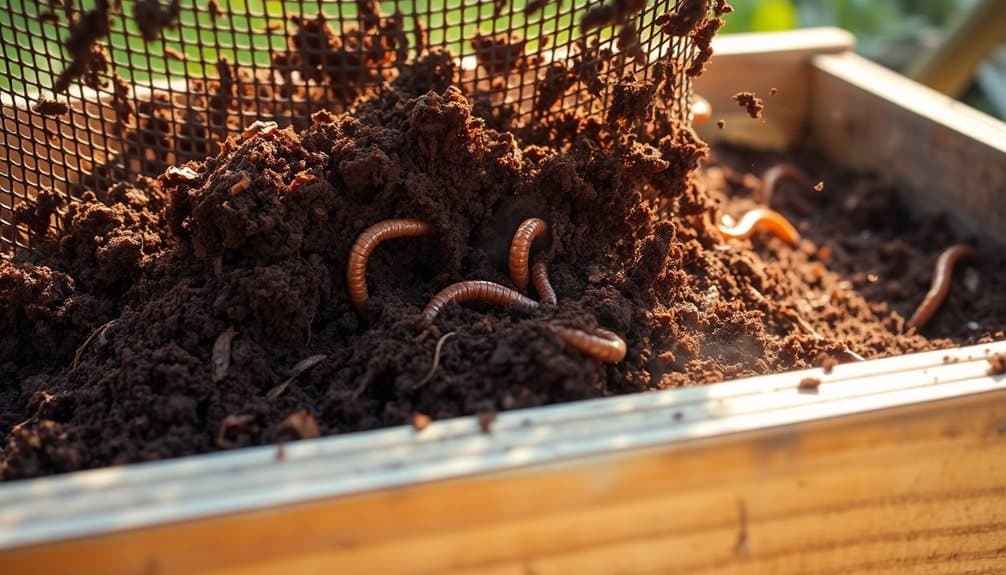
Your compost is ready for harvesting when it has transformed into a dark, crumbly material with an earthy scent and no recognizable food scraps or yard waste. This process typically takes between 2-6 months, depending on your maintenance routine and environmental conditions.
To harvest your finished compost, you’ll want to screen the material to separate any larger, undecomposed pieces. Use a 1/2-inch mesh screen or sifter placed over a wheelbarrow, then shovel the compost onto it. The finished material will fall through, while larger pieces can go back into your next batch.
Here’s what you can do with your harvested compost:
- Mix it into garden soil at a ratio of 1:3 (compost to soil) to improve soil structure and add nutrients
- Apply a 2-3 inch layer around established plants as a nutrient-rich mulch
- Blend it with potting soil at a 1:1 ratio for container gardens
- Create compost tea by steeping the finished compost in water for natural liquid fertilizer
Store any unused finished compost in a dry, covered location until you’re ready to use it in your garden.
Frequently Asked Questions
How Long Does It Take for Food Scraps to Fully Decompose?
Food scraps will decompose at different rates depending on your conditions. You’ll see fruit and vegetable scraps break down in 2-4 weeks under ideal conditions (proper moisture, aeration, and temperature). Tougher items like citrus peels take 3-6 months. If you’re composting in cooler temperatures or with limited microbial activity, you’ll need to extend these timeframes by several weeks.
Can I Add Meat or Dairy Products to My Compost Pile?
You’re barking up the wrong tree if you’re thinking about adding meat or dairy to your home compost. These items attract pests, create unpleasant odors, and can harbor harmful bacteria. They’re also slower to break down than plant-based materials. While commercial facilities can process meat and dairy at high temperatures, it’s best to stick to fruit and vegetable scraps, coffee grounds, and yard waste in your backyard bin.
What Should I Do if My Compost Starts to Smell Bad?
If your compost develops a foul odor, it’s likely due to an imbalance of nitrogen and carbon materials or poor aeration. You’ll need to turn the pile thoroughly with a pitchfork to introduce oxygen, and add more brown materials like dry leaves or shredded paper to balance excess greens. If it’s too wet, mix in dry materials and guarantee proper drainage. Regular turning and maintaining a 3:1 carbon-to-nitrogen ratio prevents odor issues.
Will My Compost Pile Attract Pests and Rodents to My Yard?
Like a buffet tempts hungry diners, your compost pile can attract unwanted visitors if you’re not careful. You’ll reduce pest problems by avoiding meat, dairy, oils, and cooked foods in your pile. Instead, focus on yard waste and raw vegetable scraps. Keep your pile well-maintained by turning it regularly and burying fresh materials in the center. A secure bin with a lid or proper fencing will further deter rodents and other pests.
Do I Need to Add Special Bacteria or Enzymes to Start Composting?
You don’t need to add special bacteria or enzymes to start composting. Nature provides all the necessary microorganisms through the materials you add and the surrounding environment. These beneficial decomposers are already present in soil, leaves, and kitchen scraps. However, you can accelerate the process by adding a shovelful of garden soil or finished compost to introduce established microbial communities to your new pile.

