This website contains affiliate links. Some products are gifted by the brand to test. As an Amazon Associate, I earn from qualifying purchases. The content on this website was created with the help of AI.
Start your kitchen waste composting journey by selecting a method that fits your space – whether it’s indoor vermicomposting or outdoor bin systems. You’ll need a container with proper ventilation and drainage, placed in a convenient location within 30 feet of your kitchen. Collect nitrogen-rich kitchen scraps while maintaining a 3:1 ratio of brown to green materials. Layer your ingredients properly, monitor moisture levels (aim for damp-sponge consistency), and turn the pile every 3-7 days. Keep temperatures between 130-150°F, and harvest your dark, crumbly compost after 3-4 months. Master these fundamentals, and you’ll reveal nature’s most efficient recycling system.
Key Takeaways
- Collect kitchen scraps like fruit/vegetable waste, coffee grounds, and eggshells in a sealed container, emptying every 2-3 days to prevent odors.
- Layer kitchen waste with three times as much brown material (dried leaves, paper) to maintain proper carbon-nitrogen balance.
- Keep compost pile moist like a wrung-out sponge and turn materials every 3-7 days for optimal decomposition.
- Chop kitchen scraps into smaller pieces to speed up decomposition and create uniform compost texture.
- Monitor temperature using a thermometer, aiming for 130-150°F, and adjust moisture/materials ratio for effective breakdown.
Choose Your Composting Method

Before starting your kitchen waste composting journey, you’ll need to select a method that suits your living situation and available space. Indoor vermicomposting uses specialized worm bins and red wiggler worms to break down kitchen scraps, making it ideal for apartments or small homes. Outdoor bin composting requires a dedicated container in your yard and works well for single-family homes with regular garden waste.
For those with limited space, bokashi composting offers an efficient alternative. This anaerobic fermentation process uses beneficial microorganisms to break down food waste, including meat and dairy, in an airtight container. If you’ve got ample outdoor space, consider traditional pile composting, which allows for larger volumes of kitchen and yard waste.
Each method has specific requirements. Vermicomposting needs temperature control (55-77°F) and moisture management. Outdoor bins require proper carbon-to-nitrogen ratios and regular turning. Bokashi systems need specific fermenting agents and a two-stage process. Traditional piles demand adequate space and periodic maintenance. Consider your time commitment, space constraints, and the types of kitchen waste you’ll generate when selecting your method.
A dual chamber composter can be an excellent choice for maintaining continuous composting while one side processes and the other collects fresh waste.
Select Your Container

Once you’ve chosen your composting method, selecting an appropriate container becomes your next important step. For indoor composting, you’ll need a container that’s both functional and space-efficient. Consider a sealed bin with a capacity between 1-5 gallons, equipped with ventilation holes and a tight-fitting lid to control odors and prevent pest access.
For outdoor composting, you’ve got more options. A standard plastic compost bin (30-100 gallons) works well for most households, while tumbling composters offer easier mixing and faster decomposition. If you’re using the three-bin system, each compartment should measure at least 3x3x3 feet to maintain proper heat distribution and decomposition rates.
Your container’s material matters greatly. Choose BPA-free plastic, galvanized metal, or cedar wood for durability. Verify your selection includes these essential features: adequate drainage holes, secure lid, sturdy construction, and appropriate size for your space and waste volume. If you’re in an apartment, under-sink systems or countertop collectors with activated carbon filters can effectively manage kitchen scraps while minimizing odors and maximizing limited space. For optimal odor control, select a bin with high-density charcoal filters that require replacement every 2-3 months.
Find the Perfect Location

The location of your compost bin directly impacts its decomposition efficiency and your daily convenience. You’ll need to take into account three primary factors: proximity to your kitchen, environmental conditions, and neighborhood regulations.
Position your bin within 20-30 feet of your back door to guarantee easy access during meal prep and cleanup. This proximity encourages regular use and prevents the temptation to dispose of compostable materials in the trash during inclement weather. The spot should be level and well-draining to prevent waterlogging.
Select a partially shaded area that protects your pile from intense afternoon sun while allowing enough warmth for microbial activity. Avoid placing the bin directly against wooden structures or trees, as this can cause decay and attract unwanted pests. You’ll need at least 3 feet of clearance on all sides for proper air circulation and easy maintenance.
Check your local zoning laws and homeowners’ association rules regarding composting. Many areas require bins to be a minimum distance from property lines or concealed from street view. If you’re in an urban setting, take into account enclosed systems that control odors and prevent attracting wildlife. A well-planned composting system can help divert organic waste from landfills by up to 30%.
Gather Kitchen Waste Materials
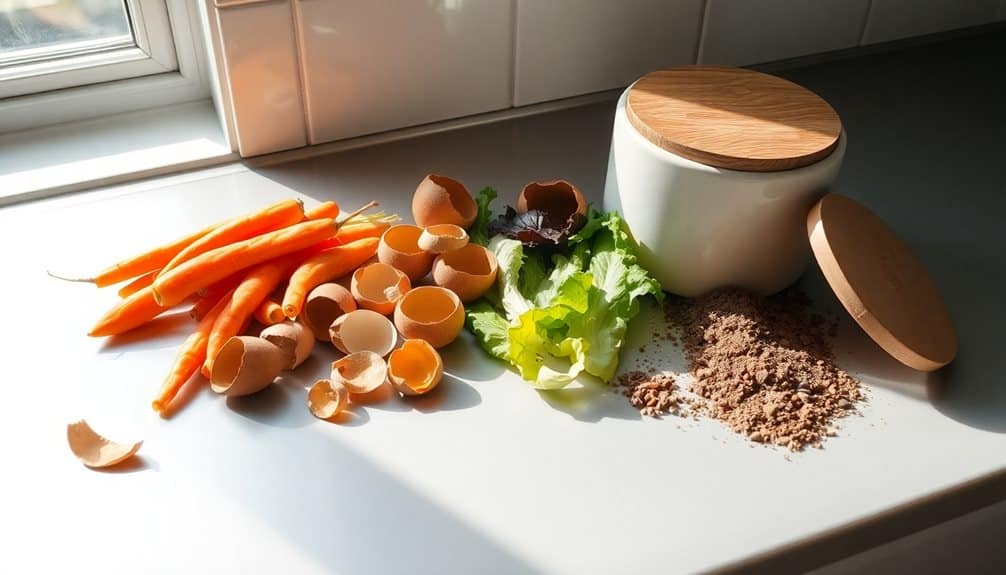
With successful composting depending on the right mix of materials, understanding which kitchen scraps to collect is essential for creating nutrient-rich compost. You’ll want to gather nitrogen-rich “green” materials, including fruit and vegetable scraps, coffee grounds, tea bags, eggshells, and plant trimmings. These materials provide the protein and moisture needed for efficient decomposition.
Pay attention to what you shouldn’t include in your kitchen waste collection. Avoid meat, dairy, oils, fats, bones, diseased plants, chemically treated materials, or glossy paper products. These items can attract pests, create odors, or introduce harmful substances into your compost.
Set up a dedicated collection container in your kitchen, preferably with a tight-fitting lid to control odors. A stainless steel or ceramic container works well, as it won’t absorb odors and is easy to clean. You’ll want to empty it every 2-3 days to prevent unwanted smells and fruit fly issues. Consider keeping your scraps in the freezer if you can’t empty the container regularly. Chop larger pieces into smaller segments to speed up decomposition and create a more uniform compost mixture. Using activated charcoal filters in your compost bin provides effective odor control and requires replacement every 3-6 months.
Layer Your Compost Properly

Building effective compost requires strategic layering of materials in a ratio of roughly 3:1 brown to green materials. Start with a 4-inch layer of brown materials like shredded paper, dried leaves, or cardboard at the bottom to guarantee proper drainage. Add your collected kitchen scraps (green materials) in a 1-inch layer, spreading them evenly to avoid clumping.
Cover each green layer with three inches of brown materials to maintain the proper carbon-to-nitrogen ratio. This layering helps prevent odors and accelerates decomposition. Sprinkle a thin layer of soil or finished compost between layers to introduce beneficial microorganisms. You’ll want to maintain moisture levels similar to a wrung-out sponge throughout the pile.
Continue alternating green and brown layers until your bin reaches the desired height. The top layer should always be brown materials to deter pests and contain odors. As you add new kitchen waste, lift the top brown layer, add your greens, and recover. This layering technique creates favorable conditions for aerobic decomposition while managing potential issues like excess moisture or overwhelming smells. Remember to turn your pile every few weeks to incorporate oxygen and speed up the composting process. Using a quality compost sifter helps separate finished compost from materials that need more time to break down.
Balance Green and Brown Matter

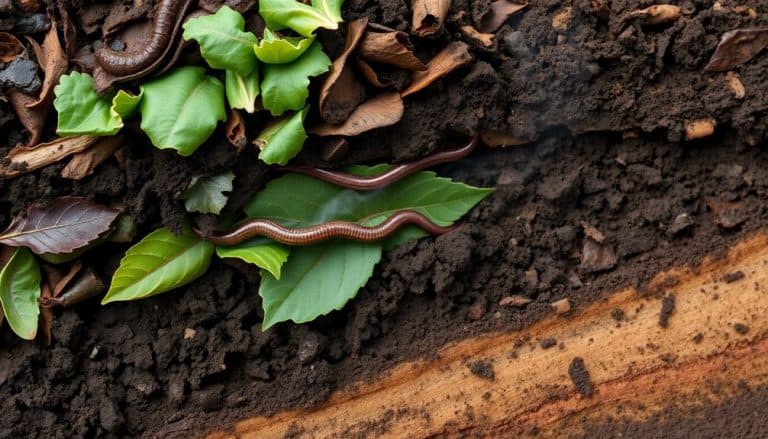
Successful composting hinges on maintaining proper ratios between nitrogen-rich green materials and carbon-rich brown materials. You’ll want to maintain a ratio of approximately 3:1 brown to green materials to achieve ideal decomposition. Green materials include your kitchen scraps, coffee grounds, grass clippings, and fresh plant trimmings, while brown materials consist of dry leaves, paper products, cardboard, and wood chips.
Monitor your compost’s moisture levels and odor to gauge if you’ve struck the right balance. If your pile smells like ammonia, you’ve got too much green matter – add more browns to restore equilibrium. When it’s too dry and decomposition seems slow, incorporate more green materials. You’ll know you’ve achieved the right mix when your pile feels as moist as a wrung-out sponge and has an earthy smell.
Keep a container of brown materials near your compost bin to immediately cover fresh kitchen scraps. This practice helps maintain the proper ratio while preventing pest problems and reducing odors. Track what you add to develop an intuitive sense of proper proportions.
Monitor Moisture Levels
Proper moisture control acts as the heartbeat of your composting system. Your compost pile should feel like a wrung-out sponge – damp but not soaking wet. To test moisture levels, squeeze a handful of compost material; it should release only a few drops of water between your fingers. If it’s dripping wet, you’ll need to add dry brown materials like shredded paper or leaves to absorb excess moisture.
Keep a close eye on weather conditions, as they’ll directly impact your pile’s moisture content. During rainy periods, you’ll want to cover your compost with a tarp to prevent waterlogging, while in dry spells, you might need to sprinkle water to maintain ideal dampness. A moisture meter can help you maintain the perfect range of 40-60% moisture content.
If you notice a strong ammonia smell or see anaerobic conditions developing, your pile’s likely too wet. Conversely, if materials aren’t breaking down and the pile feels dry and brittle, you’ll need to add water. Remember, microorganisms responsible for decomposition can’t function effectively in either extreme – they need that sweet spot of moisture to thrive.
Turn Your Compost Regularly
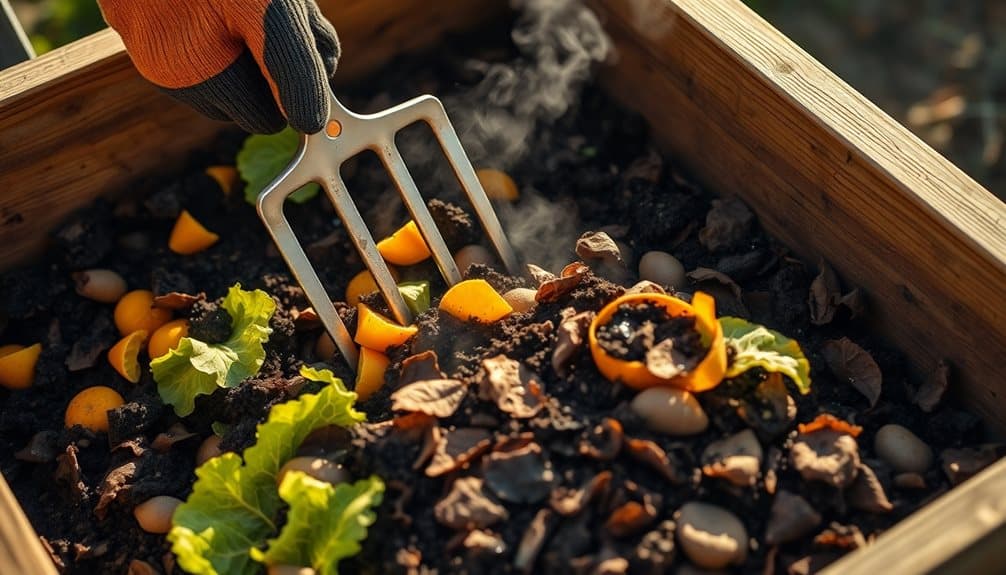
Throughout the composting process, regular turning of your pile plays an essential role in maintaining ideal decomposition rates. You’ll need to turn your compost pile every 3-7 days using a pitchfork or compost aerator tool, ensuring that materials from the outer edges move to the center where decomposition is most active.
When you turn the pile, you’re introducing vital oxygen that beneficial microorganisms need to break down organic matter efficiently. This aerobic process prevents your compost from becoming anaerobic, which can lead to unpleasant odors and slower decomposition. You’ll know it’s time to turn when the center of your pile no longer feels warm to the touch.
Don’t forget to monitor the pile’s structure as you turn it. Break up any clumps you encounter and mix wet and dry materials thoroughly. If you’re using a tumbler system, rotate it 2-3 complete turns every few days. For traditional bins, transfer materials from one bin to another, or lift and mix within the same container. You’ll notice that regular turning results in faster decomposition and a more uniform final product.
Maintain Proper Temperature

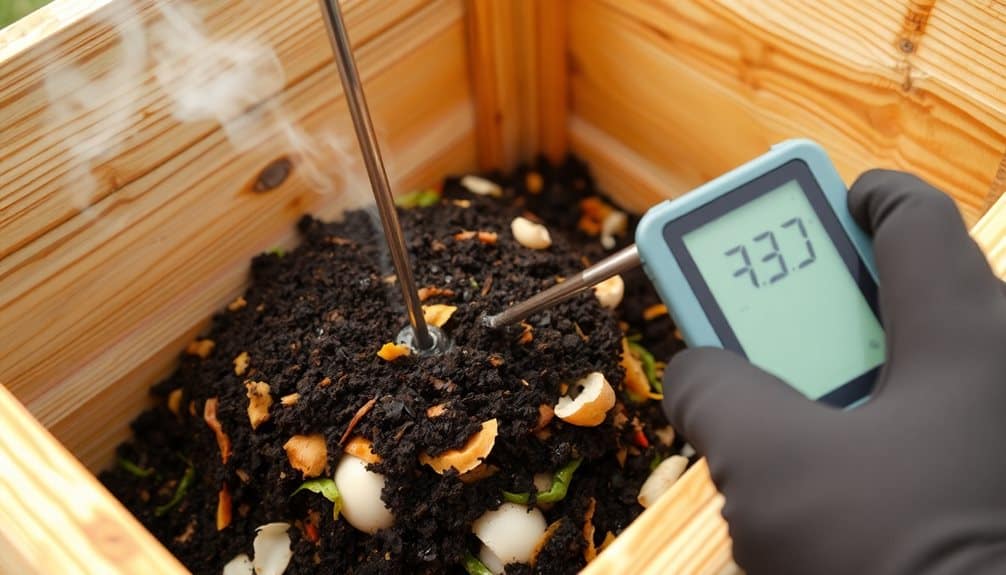
An ideally functioning compost pile requires temperatures between 130-150°F (54-66°C) in its core to effectively break down organic matter and kill harmful pathogens. You’ll need to monitor these temperatures using a compost thermometer, inserted into the center of your pile at various points to guarantee consistent heat distribution.
To maintain peak temperatures, you’ll need to balance your green-to-brown material ratio. If your pile’s too cool, add more nitrogen-rich materials like fresh kitchen scraps, coffee grounds, or grass clippings. If it’s overheating beyond 150°F, incorporate more carbon-rich browns such as dry leaves or shredded paper.
The pile’s moisture content directly affects its temperature. You’ll want to keep it as damp as a wrung-out sponge. In winter months, insulate your pile with straw or leaves to prevent heat loss. During summer, you might need to shade it from excessive heat that could dry out the materials.
If you notice temperature drops, try turning the pile to redistribute hot spots and introduce fresh oxygen. This action typically causes a temperature spike within 24-48 hours, indicating renewed microbial activity.
Harvest Your Finished Compost

After 3-4 months of careful maintenance, your compost should transform into a dark, crumbly material with an earthy aroma similar to forest soil. You’ll know it’s ready when you can’t recognize the original kitchen scraps and the mixture has a uniform, soil-like consistency.
To harvest your compost, stop adding new materials at least two weeks before collection. Sift the mature compost through a 1/2-inch mesh screen to separate any undecomposed materials. These larger pieces can return to your active composting bin as starter material. You’ll want to use clean tools and wear gloves during the harvesting process to maintain hygiene standards.
Store your finished compost in a dry, covered container until you’re ready to use it. Don’t let it sit exposed to rain, as this can leach out valuable nutrients. You can apply your finished compost immediately to your garden beds, use it to enrich potting soil, or create compost tea for liquid fertilization. For vegetable gardens, incorporate 1-2 inches of compost into the top 6 inches of soil. For container plants, mix one part compost with three parts potting soil.
Frequently Asked Questions
How Long Does It Take for Kitchen Waste to Fully Decompose?
Your kitchen waste’s decomposition time varies based on several factors. You’ll see fruit and vegetable scraps break down in 2-4 weeks, while egg shells take 3 months. Coffee grounds decompose in 3-6 months, and citrus peels need 6 months. To speed up the process, you’ll want to maintain proper moisture, aeration, and a balanced carbon-to-nitrogen ratio in your compost pile.
Can Composting Attract Unwanted Pests to My Yard?
You’re right to worry about pests – who doesn’t love a free buffet? But don’t let that stop your composting dreams. You’ll minimize pest problems by avoiding meat, dairy, and oils in your pile. Maintain proper carbon-to-nitrogen ratios, keep the pile covered, and turn it regularly. If you’re using a sealed bin, rodents and raccoons won’t crash your decomposition party. Wire mesh barriers around open piles offer additional protection.
Is It Safe to Compost if I Have Pets?
You can safely compost with pets around, but you’ll need to take precautions. Keep your compost bin secured with a tight-fitting lid to prevent pets from accessing potentially harmful materials. Don’t compost meat, dairy, or oily foods, as these can make pets sick if ingested. Create a physical barrier or fence around your composting area, and maintain proper carbon-to-nitrogen ratios to minimize odors that might attract your pets.
What Should I Do With My Compost During Winter?
During winter, you’ll need to protect your compost pile from excessive cold and moisture. Add more carbon-rich materials like dry leaves and straw to insulate the pile. You can cover it with a tarp to prevent snow and rain from waterlogging the materials. While decomposition slows in cold weather, you can maintain some activity by keeping the pile larger (at least 3 feet cubed) and continuing to turn it periodically.
Does Kitchen Waste Composting Create Unpleasant Odors in My Home?
Properly managed kitchen waste composting shouldn’t create odors in your home. You’ll avoid smells by emptying your collection container frequently, using a well-sealed container with a carbon filter lid, and maintaining the right balance of “green” and “brown” materials. If you’re noticing odors, you’re likely including inappropriate items or letting waste sit too long. Consider storing your container in a garage or on a porch if you’re concerned.


