This website contains affiliate links. Some products are gifted by the brand to test. As an Amazon Associate, I earn from qualifying purchases. The content on this website was created with the help of AI.
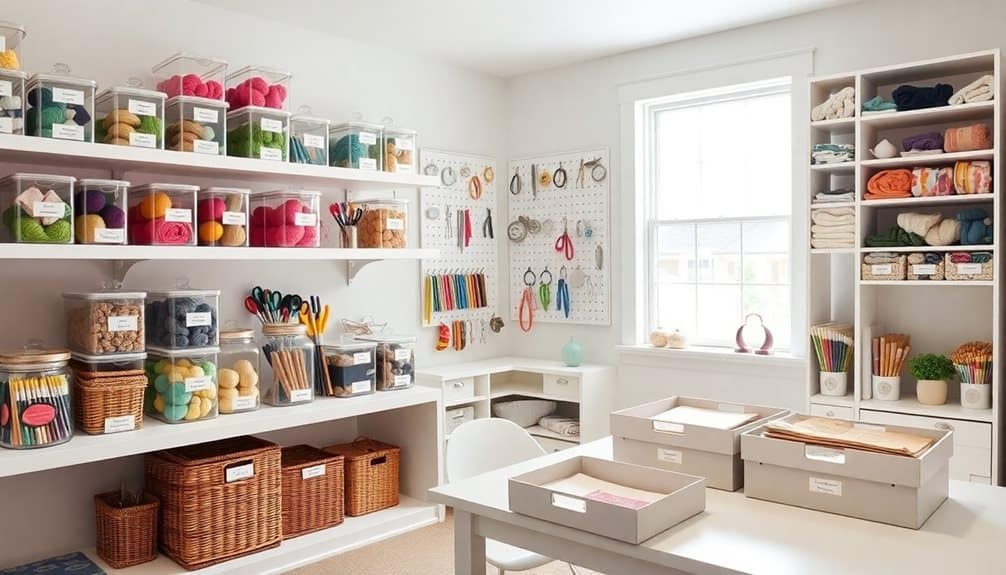
Start organizing your craft room by gathering and sorting all supplies into categories like paper, paint, fabric, and tools, purging anything you won’t use. Next, establish designated zones for your main workspace, storage, and project areas. Make the most of vertical space with adjustable shelves, pegboards, and door organizers to maximize storage capacity. Label every container and shelf clearly with contents and dates for easy identification. Finally, set up specific activity stations for tasks like sewing, cutting, or painting. These fundamental steps will transform your creative space into an efficient, inspiring workshop where every supply has its place.
Key Takeaways
- Sort all craft supplies into clear categories like paper, paint, fabric, and tools, then purge items that aren’t regularly used.
- Create designated zones for different activities including a main workspace, storage area, and project station with adequate lighting.
- Install vertical storage solutions like pegboards and adjustable shelves to maximize wall space and keep supplies easily accessible.
- Implement a consistent labeling system with clear fonts and color-coding to quickly locate and track all materials.
- Set up specific activity stations for tasks like sewing, cutting, and painting with all necessary tools within arm’s reach.
Sort and Purge Your Supplies
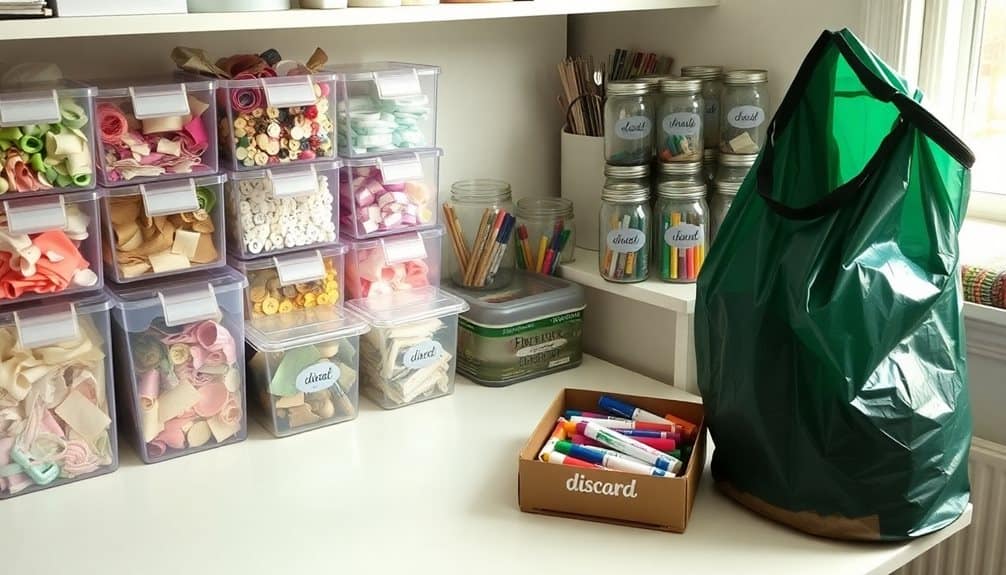
The first step in organizing your craft room is to gather all supplies into one central location. Empty every drawer, bin, and shelf, placing items on a large table or floor space where you can see everything clearly. Don’t forget to check other rooms for stray craft supplies that may have migrated throughout your home.
Sort your materials into specific categories: paper crafts, painting supplies, fabric and sewing items, jewelry-making materials, and tools. Create subcategories within each group for better organization – for example, separate cardstock by color, or organize beads by size and type.
Now comes the essential purging phase. Examine each item and ask yourself: Have I used this in the past year? Is it still in good condition? Do I have duplicates? Discard damaged items, donate excess supplies, and set aside duplicates for sharing or selling. Check expiration dates on adhesives, paints, and other perishable items.
Keep only what you’ll realistically use and what brings value to your crafting. Be honest about your crafting habits and projects you’ll actually complete. This initial sorting and purging creates the foundation for an organized craft space.
Create Designated Storage Zones
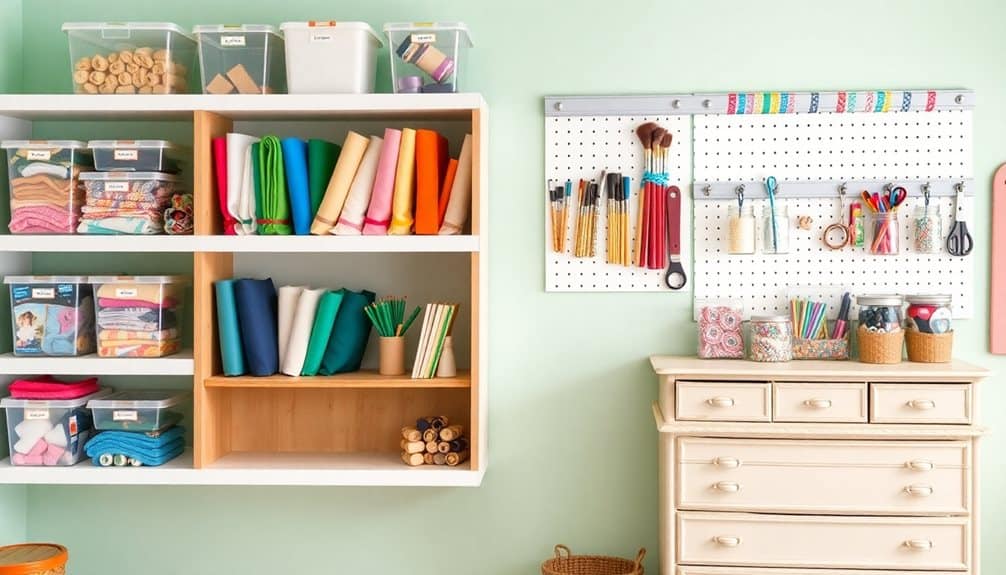
After sorting and purging your supplies, mapping out specific zones in your craft room will maximize both space and efficiency. Think of your craft space as a series of workstations, each dedicated to specific activities and materials. You’ll want to create distinct areas that support your creative workflow while keeping frequently used items within arm’s reach.
Start by identifying your primary crafting activities and establish these essential zones:
- Main Workspace – Position your primary work surface in a well-lit area, equipped with task lighting and comfortable seating. This zone should have clear counter space and easy access to tools you use daily.
- Supply Storage – Designate cabinets, shelves, or drawers for materials grouped by category. Store similar items together, such as papers, fabrics, or paints, using clear containers for visibility.
- Project Station – Create a dedicated area for works in progress, including adequate surface space and storage for unfinished projects and their associated materials.
- Equipment Zone – Set up larger tools and machines, like sewing machines or die-cutting equipment, in an area with proper electrical outlets and sufficient workspace around them.
Maximize Vertical Space
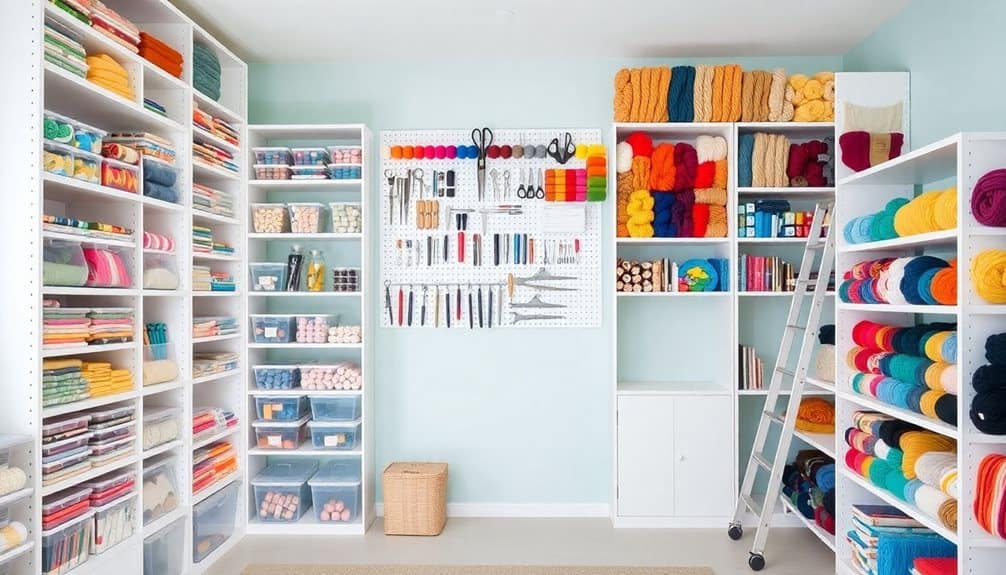
Making the most of vertical wall space can dramatically expand your craft room’s storage capacity while keeping supplies visible and accessible. Install adjustable shelving systems that let you modify shelf heights as your storage needs change. Mount pegboards to display and organize frequently used tools, and add hooks, baskets, and specialized holders to customize your setup.
Don’t forget the back of doors – install over-the-door organizers or hanging pocket systems to store lightweight items like ribbon spools, paper, or fabric scraps. Consider installing ceiling-mounted storage solutions for seasonal or rarely-used supplies. Use wall-mounted magnetic strips for metal tools and floating shelves for decorative storage containers.
Utilize corner spaces by installing corner shelving units or hanging tiered baskets. Stack clear storage containers vertically using sturdy industrial shelving, and label everything clearly. Mount paper towel holders horizontally to store rolls of washi tape, ribbon, or wrapping paper. Install retractable clothing lines across walls to display and dry artwork or clip works in progress. Remember to position frequently used items between waist and eye level for easy reach, while storing lesser-used supplies higher up. Add stylish wall-mounted hooks to create an attractive and functional storage solution for backpacks and supplies.
Label Everything
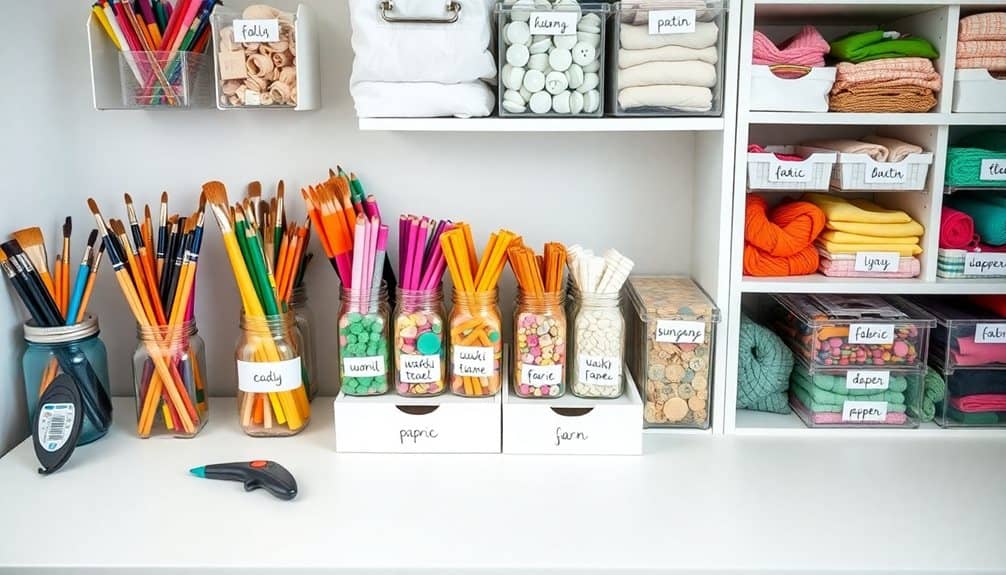
Clear labeling serves as the backbone of an organized craft room, preventing chaos and saving countless hours searching for supplies. You’ll need to implement a consistent labeling system that’s both functional and visually appealing. Consider using a label maker for professional-looking results, though hand-written labels can work just as well if you maintain uniformity.
Apply your labeling strategy to every storage container, shelf, and drawer in your craft room. Don’t forget to label both the front and top of stackable containers, ensuring visibility from multiple angles. For maximum effectiveness, follow these essential labeling guidelines:
- Use clear, legible fonts or handwriting that’s easy to read from a distance
- Include specific contents rather than general categories (e.g., “Red Yarn – Worsted Weight” instead of just “Yarn”)
- Add purchase dates on consumable items to track shelf life
- Create a color-coding system to distinguish between different craft categories
Remember to regularly update your labels as you reorganize or acquire new supplies. When labeling clear containers, place tags in the same spot consistently to maintain a clean, organized appearance throughout your craft space. Just like 600D Oxford fabric provides durability for shoe organizers, using high-quality label materials will ensure your labels remain readable and intact over time.
Set Up Activity Stations

Activity stations form the heart of a well-designed craft room, allowing you to dedicate specific areas to different creative tasks. Start by identifying your main crafting activities, such as sewing, painting, or paper crafts, and designate a specific zone for each. Make sure there’s enough workspace and storage within arm’s reach of each station.
Set up your sewing station with your machine, threads, scissors, and measuring tools on a sturdy table with ample surface area. Create a cutting station with a large mat and proper lighting. For painting, arrange your easel, paints, brushes, and water containers where natural light hits best. If you’re into paper crafts, establish a station with your paper cutter, scoring board, and adhesives.
Don’t forget to include a packaging station where you’ll store shipping supplies, a photography area for documenting your work, and a clean workspace for administrative tasks. Each station should have its own set of frequently used tools and materials to prevent constant back-and-forth movement. Position your stations based on workflow, keeping complementary activities close together for maximum efficiency.
Frequently Asked Questions
How Often Should I Reorganize My Craft Room to Maintain Optimal Organization?
You’ll need to reorganize your craft room every 3-4 months for ideal organization. Schedule quarterly clean-ups to assess supplies, purge unused materials, and realign your storage systems. If you’re a frequent crafter, you might need monthly touch-ups. Watch for signs like cluttered surfaces, difficulty finding items, or overflowing storage bins – these indicate it’s time to reorganize. Don’t wait until the space becomes unmanageable.
What’s the Ideal Room Size for a Functional Craft Space?
Studies show that crafters spend 50% more time creating when they have at least 100 square feet of dedicated workspace. You’ll want a minimum of 11×11 feet for a well-functioning craft room, though 13×13 feet is ideal. This allows space for a main work table, storage units along walls, and enough clearance to move freely. For serious crafters who use large equipment, consider 15×15 feet to accommodate specialized zones.
Should I Organize Supplies by Color, Type, or Frequency of Use?
You’ll want to combine multiple organization methods for maximum efficiency. Start with frequency of use as your primary system – keep daily items within arm’s reach and occasional supplies in secondary storage. Within those zones, organize by type (papers, tools, adhesives) for logical workflow. Finally, use color coding within each category to make specific items instantly identifiable and maintain visual appeal in your workspace.
What Lighting Setup Works Best for Different Crafting Activities?
You’ve probably struggled with eye strain while crafting, but the right lighting can transform your workspace. For detail work like beading or embroidery, use task lighting with adjustable LED lamps at 5000K-6500K. Position overhead lighting at 3000K-4000K for general crafting. For painting or color work, install full-spectrum daylight bulbs (5000K+) to guarantee true color representation. Add a desk lamp with a magnifier for intricate projects.
How Can I Child-Proof My Craft Room While Keeping Supplies Accessible?
Store sharp tools and toxic materials in locked cabinets or high shelves with safety latches. You’ll want to keep frequently used supplies in clear, labeled containers at your height, while placing kid-friendly materials in lower drawers. Use magnetic strips to secure scissors and tools when not in use. Install childproof outlet covers and guarantee all furniture is properly anchored. Consider designating a supervised “kids’ crafting zone” with age-appropriate supplies.

