This website contains affiliate links. Some products are gifted by the brand to test. As an Amazon Associate, I earn from qualifying purchases. The content on this website was created with the help of AI.
You can build an affordable DIY greenhouse in three straightforward steps. First, create a basic layout by measuring your space and sketching a plan with the longest side facing south for ideal sunlight. Next, gather your materials: PVC pipes, connectors, greenhouse plastic sheeting, and basic tools like a saw and measuring tape – all available at local hardware stores for under $200. Finally, assemble your greenhouse by connecting the PVC frame, installing vertical supports every 4 feet, and securing the greenhouse plastic with clamps and zip ties. Your home garden adventure is just beginning with these foundational steps.
Key Takeaways
- Create a basic plan using PVC pipes as frame material, with standard dimensions of 8×10 feet facing south.
- Purchase materials: PVC pipes, connectors, greenhouse plastic, zip ties, and rebar stakes, staying within $200 budget.
- Assemble base frame on level ground, add vertical supports, and create roof arches with bent PVC pipes.
- Cover frame with 6-mil greenhouse plastic, securing it with pipe clamps and ensuring proper tension throughout.
- Install door frame, anchor structure with rebar stakes, and add basic ventilation through roll-up sides.
Planning Your Greenhouse Layout
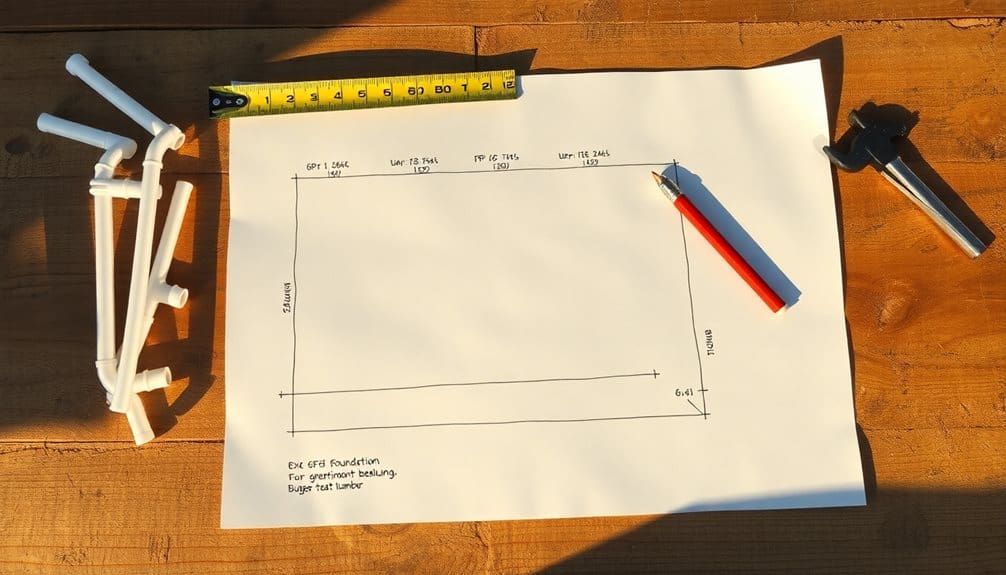
Your greenhouse’s layout will determine its efficiency and productivity for years to come. Start by measuring your available space and sketching a basic floor plan that includes walkways at least 2 feet wide. Position your greenhouse with its longest side facing south to maximize sunlight exposure, and guarantee it’s at least 6 feet tall at its center point for proper air circulation.
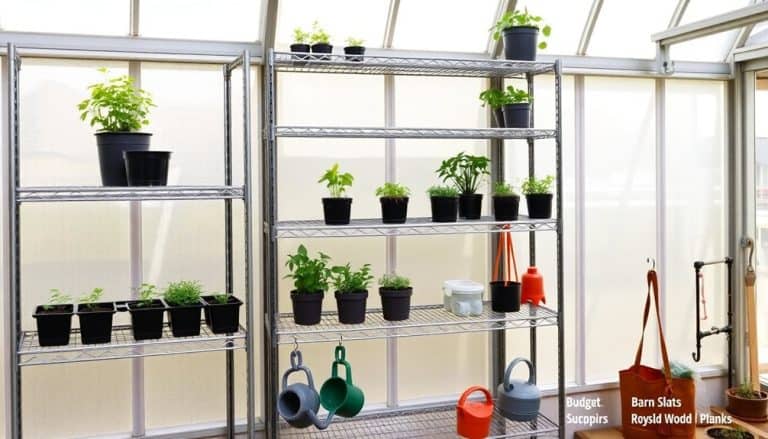
Divide your growing space into distinct zones based on plant heights and sunlight needs. Place taller plants along the north wall to prevent them from shading shorter ones. Set up your work area near the entrance, including a potting bench and tool storage. You’ll want to incorporate shelving units along the sides – these can be simple wooden boards on brackets or repurposed metal shelving.
Plan your irrigation system’s layout before building, marking spots for water barrels or connection points. Include space for ventilation equipment like a fan or automatic vent opener. Don’t forget to designate areas for compost bins and storage containers. Mark where you’ll install hooks for hanging plants and support strings for climbing varieties. Consider installing double-wall polycarbonate panels to maximize heat retention and provide better insulation for your plants.
Gathering Essential Materials

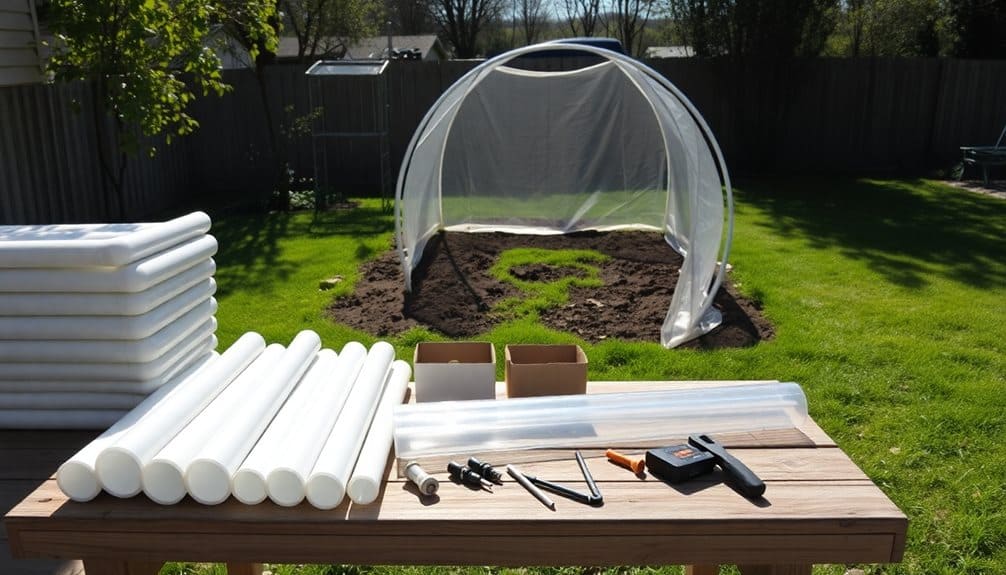
Before starting construction, carefully gather all essential materials to avoid multiple trips to the hardware store. You’ll need PVC pipes for the frame, greenhouse plastic sheeting for coverage, and various connectors to join everything together. Make sure to measure twice when purchasing materials, as excess waste can quickly push you over budget. Don’t forget basic tools like a saw, measuring tape, and markers. Installing proper garden tool storage will help keep your workspace organized during construction.
For a budget-friendly greenhouse, focus on these essential material categories:
- Frame Components
- 1-inch PVC pipes (about 100 feet total)
- PVC connectors (T-joints, elbows, and crosses)
- Rebar stakes for anchoring (minimum 8 pieces)
- 6-mil greenhouse plastic (20% larger than calculated dimensions)
- UV-resistant zip ties
- Weather-resistant tape for seams
- PVC pipe cutter or handsaw
- Hammer for rebar installation
- Utility knife for cutting plastic
- Heavy-duty scissors
- Measuring tape
Consider borrowing tools you don’t own to keep costs down. You can often find PVC materials at plumbing supply stores for better prices than big box retailers.
Assembly and Construction

The initial assembly requires laying out all PVC pipes in their designated positions on level ground, following your planned greenhouse dimensions. Connect the base frame first, ensuring all corners are square using a carpenter’s level. Secure each joint with PVC cement, holding pieces together for 30 seconds to bond properly.
Once your base is stable, install the vertical supports at each corner and at 4-foot intervals along the sides. You’ll need to attach these firmly using T-joints and cement. Create your arch supports next by gently bending the PVC pipes to form the roof structure. Secure each arch to the vertical supports using 3-way corner fittings.
Add horizontal supports between the arches for extra stability. Then, starting from one end, carefully drape your greenhouse plastic over the frame. Pull it tight and secure it using pipe clamps every 2 feet. Create your door frame using additional PVC pipes, and attach your door using heavy-duty hinges. Finally, anchor your greenhouse to the ground using rebar stakes through pipe straps at each corner and midpoint. Consider installing a drip irrigation system during construction to save up to 70% on water consumption while ensuring optimal plant hydration.
Frequently Asked Questions
How Do I Prevent Mold Growth in My Greenhouse During Humid Seasons?
Don’t let silent mold invaders destroy your greenhouse paradise. You’ll need proper air circulation as your first defense – install exhaust fans and vents near the roof. Keep plants properly spaced and prune dense foliage regularly. Run a dehumidifier during peak humidity and maintain temperatures between 65-85°F. Remove affected plants immediately and spray neem oil solution on surfaces. Clean debris daily and water plants at soil level.
What Vegetables Should I Avoid Growing Together in a Small Greenhouse?
Don’t place heavy feeders like tomatoes and peppers next to root vegetables like carrots and potatoes, as they’ll compete for nutrients. Keep your beans away from onions and garlic, which can stunt their growth. You’ll want to separate cabbage family plants (broccoli, kale, cauliflower) from strawberries and tomatoes. Also, avoid planting potatoes near tomatoes, as they’re susceptible to the same diseases.
How Often Should I Replace the Plastic Covering on My DIY Greenhouse?
You’ll need to replace your greenhouse’s plastic covering every 3-5 years, depending on your climate and the type of plastic you’re using. UV-treated greenhouse plastic typically lasts longer, while cheaper polyethylene might need yearly replacement. Watch for signs like yellowing, brittleness, or tears. In harsh climates with extreme sun or heavy snow, you might need more frequent replacements. Install your covering on a calm, warm day for best results.
Can My Greenhouse Withstand Snow Accumulation Without Additional Support?
Your greenhouse’s ability to handle snow depends on its frame structure and pitch angle. You’ll need at least a 35-degree roof slope for snow to slide off naturally. Add diagonal bracing at corners and every 4 feet along the frame. If you’re using PVC, consider installing additional vertical supports every 2-3 feet. For heavy snowfall areas, you’ll want to brush off accumulation when it reaches 4-6 inches.
Should I Install Automatic Vents or Will Manual Ventilation Work Fine?
Picture your greenhouse on a sweltering summer day, with plants wilting from trapped heat. While manual vents will work, they’ll require you to monitor temperatures and adjust multiple times daily. If you’re away often or want peace of mind, automatic vents are worth the investment. They’ll respond to temperature changes instantly, preventing plant stress and maintaining ideal growing conditions without your constant attention.

