This website contains affiliate links. Some products are gifted by the brand to test. As an Amazon Associate, I earn from qualifying purchases. The content on this website was created with the help of AI.
You’ll find endless possibilities to rejuvenate your home with these weekend-worthy painting projects. Transform a room instantly with a bold accent wall in deep navy or emerald green, or create eye-catching geometric patterns using precise measurements and painter’s tape. Update tired kitchen cabinets with high-quality paint and new hardware, or breathe new life into your bathroom vanity with durable acrylic enamel. For ambitious DIYers, try stenciling floors, revamping window frames, or designing striking wall stripes. Don’t forget smaller projects like customizing storage boxes or revitalizing your front door. Each project offers unique techniques to master your home’s transformation.
Key Takeaways
- Paint a bold accent wall using deep navy or emerald green to instantly transform a room’s appearance in just a few hours.
- Revitalize kitchen cabinets with fresh paint and updated hardware for a budget-friendly weekend transformation.
- Create custom storage boxes using paint and geometric patterns to add both functionality and style to any space.
- Transform your front door with exterior-grade paint in a bold color to enhance curb appeal quickly.
- Design simple wall stripes using painter’s tape and two complementary colors for a dramatic room makeover.
Paint a Bold Accent Wall
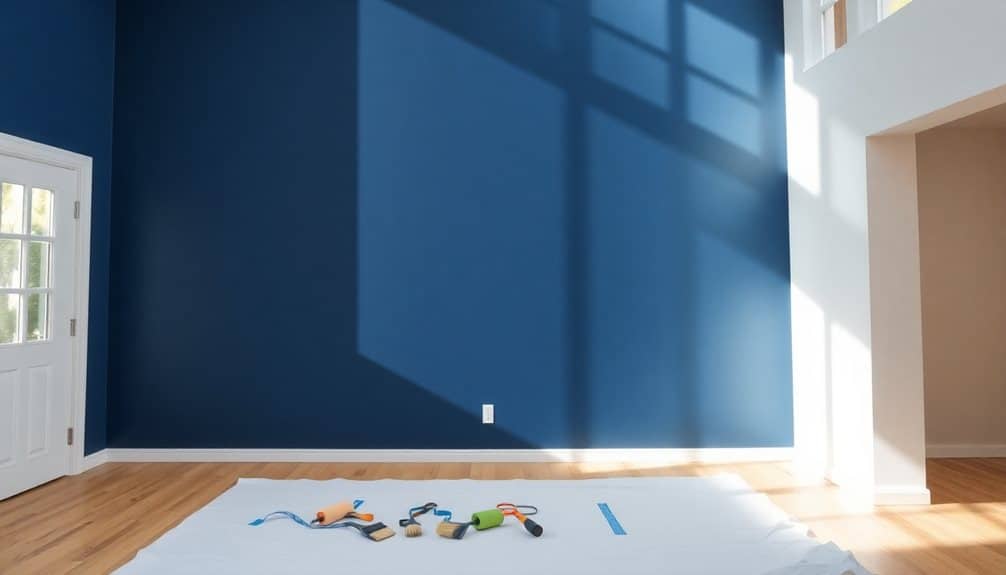
A bold accent wall can transform an ordinary room into a striking focal point while adding depth and visual interest to your space. Choose a wall that naturally draws attention, such as behind your bed’s headboard or opposite your living room’s main entrance. Select a paint color that complements your existing décor while making a statement – deep navy, emerald green, or charcoal gray are sophisticated choices.
Before painting, prep your wall properly by filling holes, sanding rough spots, and cleaning the surface thoroughly. Apply painter’s tape along baseboards, crown molding, and adjacent walls for crisp lines. Use a primer if you’re making a dramatic color change or working with raw drywall.
Start by cutting in around edges and corners with a 2-inch angled brush. Roll the main wall area using a W-pattern with a high-quality 9-inch roller, working in 3×3 foot sections. Keep a wet edge to prevent lap marks, and apply two coats for ideal coverage. Remove tape while paint is still slightly wet for the cleanest lines. Allow 24 hours of drying time before hanging artwork or moving furniture back into place.
Update Your Kitchen Cabinets

Transform your kitchen’s entire look by repainting dated cabinets – a budget-friendly alternative to full replacement that can modernize your space dramatically. Before diving in, guarantee you’ll achieve professional results by properly prepping surfaces and selecting the right materials. You’ll need high-quality cabinet paint, deglosser or sandpaper, primer designed for cabinets, and new hardware to complete the transformation.
To achieve the best results, follow these essential steps:
- Remove cabinet doors, drawers, and hardware, then thoroughly clean all surfaces with a degreasing agent to remove built-up cooking residue and grime.
- Sand or degloss all surfaces to create a paintable surface, then wipe away dust with a tack cloth and apply a bonding primer.
- Apply thin coats of cabinet paint using a foam roller for flat surfaces and an angled brush for details, allowing proper drying time between coats.
- Seal your work with a clear topcoat for durability, then reinstall doors and drawers with updated hardware once completely dry.
Consider modern color trends like sage green, navy blue, or warm greige to create a contemporary aesthetic that’ll stand the test of time. Once your cabinets are painted, maximize your renewed kitchen space with expandable organizers that adjust from 12 to 23 inches to accommodate your cookware collection.
Transform Your Bathroom Vanity

Just like your kitchen cabinets, your bathroom vanity presents an ideal opportunity for a stunning makeover through the power of paint. Whether you’re working with dated oak or builder-grade laminate, a fresh coat of paint can transform your vanity into a modern centerpiece that elevates your entire bathroom’s aesthetic.
Begin by removing all hardware and doors, then thoroughly clean the surfaces with TSP cleaner to remove built-up grime and oils. Sand the vanity with 120-grit sandpaper, followed by 220-grit for a smooth finish. For laminate surfaces, apply a bonding primer specifically designed for non-porous materials. For wood, use an oil-based primer to prevent tannin bleed-through.
Apply your chosen paint using a foam roller for the flat surfaces and an angled brush for details and corners. High-quality acrylic enamel or alkyd paint offers superior durability against moisture and daily wear. Consider trending colors like deep navy, sage green, or warm greige for a contemporary look. Apply two thin coats, allowing proper drying time between applications. Once cured, protect your work with a water-resistant topcoat, and install updated hardware for a completely refreshed appearance. To maintain your newly painted vanity in humid conditions, ensure proper bathroom ventilation through the use of fans and regular air circulation.
Create Geometric Wall Patterns
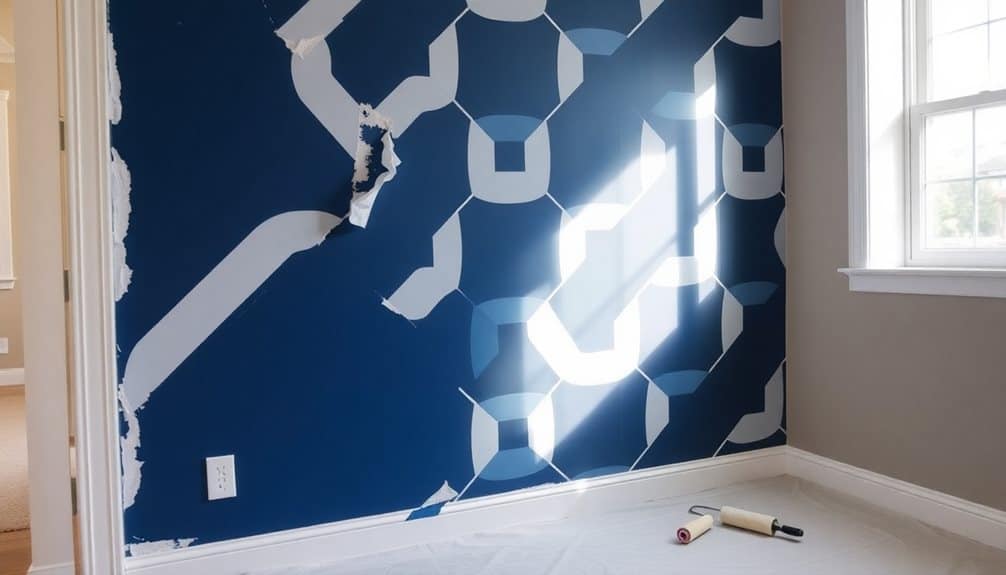
Modern wall patterns go beyond basic stripes and chevrons to embrace striking geometric designs that command attention in any room. With precise measurements and quality painter’s tape, you’ll create intricate shapes that transform your space into a sophisticated showcase of contemporary design.
Before starting, verify you’ve gathered essential supplies: a laser level, measuring tape, pencil, quality painter’s tape, and your chosen paint colors. Map out your pattern on paper first, then transfer the design to your wall using light pencil marks. You’ll want to work in sections, applying tape methodically to create your desired shapes.
Using a professional paint sprayer can help achieve smoother, more even coverage when painting your geometric patterns.
Here’s your step-by-step process:
- Clean the wall thoroughly and apply a fresh base coat, allowing it to dry completely for 24 hours
- Measure and mark your pattern points using a level to verify perfect alignment
- Apply painter’s tape precisely along your marked lines, pressing edges firmly to prevent bleeding
- Paint within the taped sections using consistent brush strokes, removing tape while paint is still slightly wet
For best results, use contrasting colors that complement your room’s palette, and consider incorporating metallic finishes for added visual interest. Remember to maintain clean lines by pulling tape at a 45-degree angle.
Refresh Your Front Door
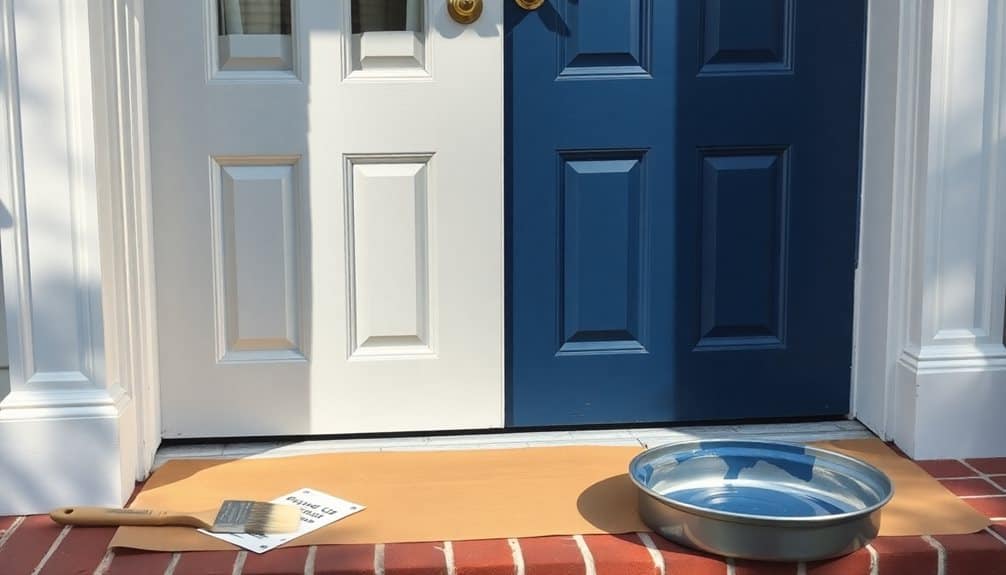
While interior walls make bold statements, your front door serves as your home’s first impression and deserves equal artistic attention. A fresh coat of paint can transform your entryway from mundane to magnificent in just a few hours. Before beginning, remove all hardware and clean the surface thoroughly with TSP cleaner to remove dirt and oils.
For wooden doors, sand any rough spots and fill holes with wood putty before applying an oil-based primer. If you’re working with a metal door, use a direct-to-metal primer for maximum adhesion. Choose an exterior-grade paint with a semi-gloss or gloss finish for better durability against weather elements.
Apply thin, even coats using a foam roller for smooth surfaces and an angled brush for panels and trim. You’ll need at least two coats, allowing proper drying time between applications. Consider bold colors like navy blue, forest green, or classic red to create visual impact, but make sure your choice complements your home’s exterior palette. Don’t forget to spray paint your hardware with a coordinating metallic finish for a cohesive look. Once everything’s dry, apply a clear protective topcoat to extend the life of your paint job. Keep a portable air compressor nearby to quickly remove dust and debris between coats for a flawless finish.
Makeover Old Furniture
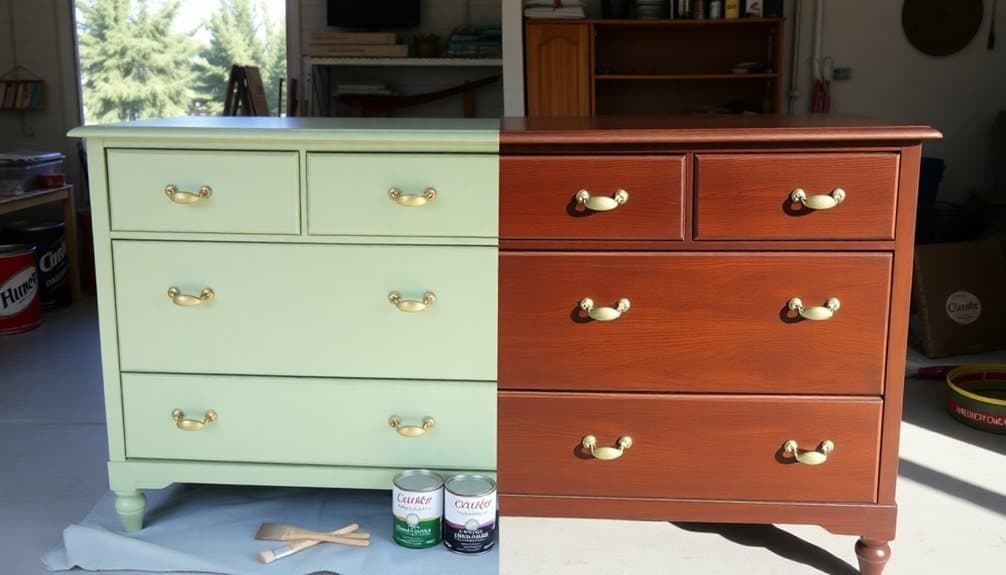
Transforming outdated furniture pieces into stunning statement items lets you breathe new life into cherished heirlooms or thrift store finds. With proper preparation and high-quality materials, you’ll achieve professional-looking results that’ll make your furniture the focal point of any room.
Before applying paint, thoroughly sand the surface and wipe away dust with a tack cloth. You’ll want to apply a quality primer designed for your furniture’s material, whether it’s wood, laminate, or metal. Choose between brush-on, spray, or chalk paint, depending on your desired finish and the piece’s intricacy.
For best results, follow these essential steps:
- Remove all hardware and label each piece for easy reassembly
- Fill holes or imperfections with wood filler, allowing proper drying time
- Apply thin, even coats of paint, sanding lightly between layers
- Seal your work with a protective topcoat that matches your paint’s sheen
Consider incorporating modern techniques like color blocking, ombré effects, or stenciled patterns to create unique, personalized pieces. You’ll find that updated hardware can further elevate your furniture’s transformed appearance.
Paint Decorative Storage Boxes
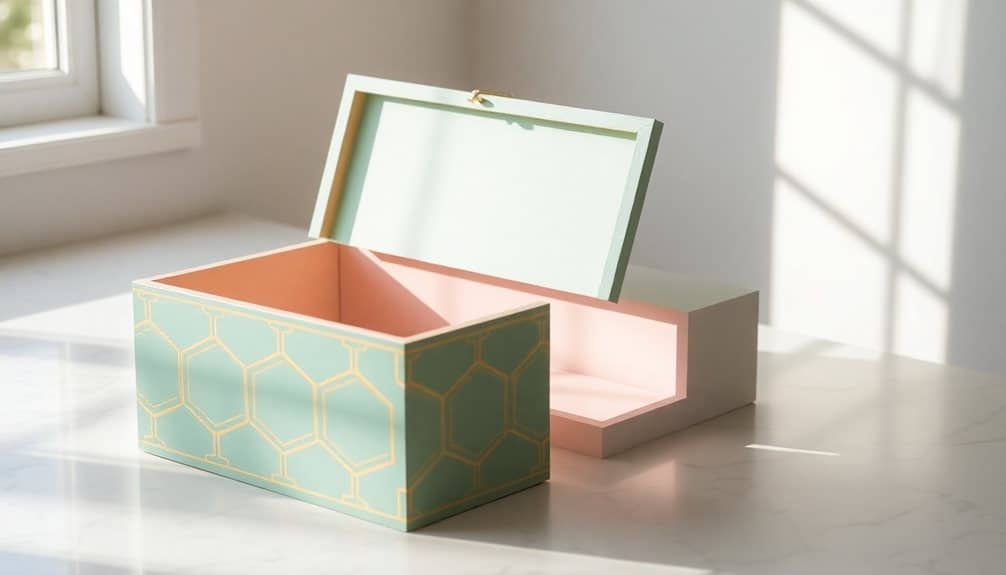
Creating custom storage boxes through artistic painting techniques offers a perfect blend of organization and personal expression. You’ll transform plain cardboard, wooden, or metal containers into stunning decor pieces while maintaining their practical functionality. Select boxes with smooth, clean surfaces and prep them by cleaning thoroughly and applying primer where needed.
For wooden boxes, start with a light sanding and base coat of chalk paint, which provides excellent coverage and adhesion. You can create geometric patterns using painter’s tape, or try free-hand botanical designs with artist’s brushes. When working with cardboard boxes, apply gesso first to prevent warping, then use acrylic paints for vibrant results.
Consider incorporating mixed media elements like decoupage, metallic leafing, or stenciling to add visual interest. You’ll want to seal your work with appropriate finishes – polyurethane for wooden boxes or clear acrylic sealer for cardboard ones. For metal boxes, use specialty metal primers and paints, applying thin layers to prevent drips. Match your color scheme to your room’s decor, or create striking contrasts with bold patterns and complementary colors that make your storage solutions true statement pieces. Choosing toy storage bins in various sizes allows you to create coordinated sets that keep playrooms organized while adding decorative flair.
Stencil Your Floor

Stenciled floors stand out as one of today’s most striking DIY solutions for dated surfaces, letting you revamp concrete, wood, or tile without a full replacement. With proper preparation and technique, you’ll transform your floor into a custom masterpiece that rivals high-end designer installations at a fraction of the cost.
Begin by thoroughly cleaning your floor surface and applying a base coat in your chosen background color. Once dry, secure your stencil pattern with painter’s tape, guaranteeing it’s perfectly aligned with your starting point. You’ll want to use specialized floor paint or porch and patio enamel for durability.
For flawless execution, follow these essential steps:
- Load your roller or stencil brush with minimal paint to prevent bleeding
- Work from the edges inward using a stippling motion
- Remove the stencil carefully while the paint is still wet
- Allow each section to dry completely before overlapping adjacent areas
After completing your pattern, seal your work with two coats of clear polyurethane designed for floors. This protective layer guarantees your stenciled design withstands foot traffic and maintains its beauty for years to come.
Revamp Window Frames
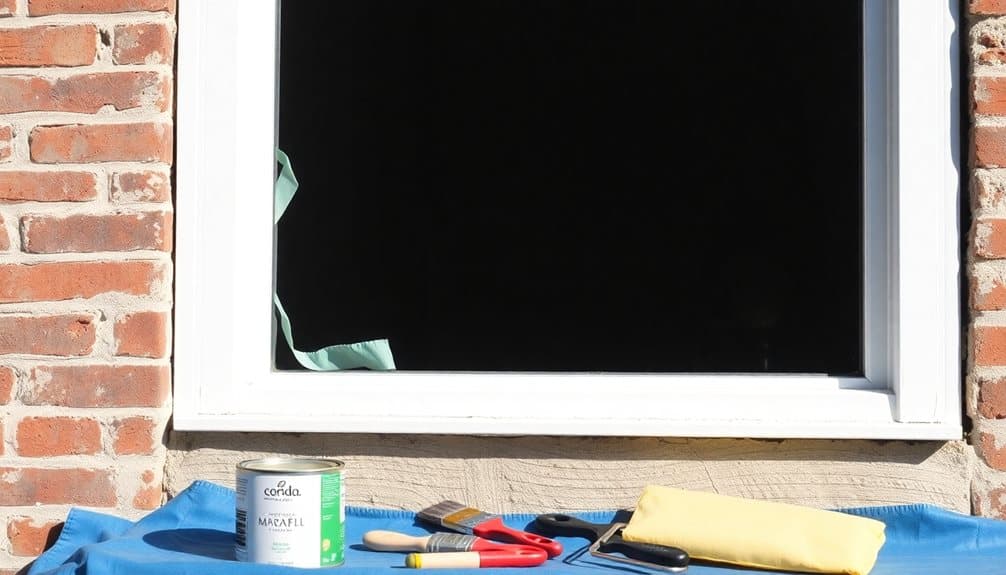
Many outdated window frames can become stunning focal points with a well-executed paint refresh. You’ll want to start by thoroughly cleaning the frames with a degreasing solution and lightly sanding any rough spots or peeling paint. Fill gaps or holes with wood putty, allowing it to dry completely before proceeding.
Choose an interior-grade semi-gloss or satin paint that’s specifically formulated for trim work. You’ll need both a 1.5-inch angled brush for precise cutting-in and a 4-inch foam roller for larger surfaces. Before painting, apply painter’s tape along the glass edges and protect your floors with drop cloths.
Start by painting the interior muntins (the strips between glass panes), then move to the frame’s inner edges. Work your way outward to the larger surfaces, applying thin, even coats. You’ll likely need two coats for ideal coverage, especially when painting light colors over dark ones. Don’t remove the painter’s tape until the paint’s completely dry – typically 4-6 hours. For added protection, consider applying a clear polyurethane topcoat, which will help your newly painted frames resist scratches and daily wear.
Design Wall Stripes

Bold wall stripes can transform an ordinary room into a dramatic showcase, whether you opt for classic vertical lines or contemporary horizontal patterns. When executed properly, striped walls create visual interest and can even make your space appear larger. You’ll need a laser level, painter’s tape, measuring tape, and quality paint in your chosen colors.
Before you begin painting, calculate your stripe width based on your wall dimensions – they should be proportional to the room’s size. Prep your walls by cleaning thoroughly and applying a base coat in your lighter shade. Once dry, map out your design using these essential steps:
- Measure and mark equal intervals along your walls using a pencil and level
- Apply painter’s tape along your marked lines, pressing firmly to prevent bleeding
- Paint alternating stripes with your second color, applying two coats for coverage
- Remove tape while paint is still slightly wet for crisp, clean lines
For best results, use paint with similar finishes and choose colors within the same family. Consider tone-on-tone stripes for subtle sophistication or high-contrast combinations for bold impact.
Frequently Asked Questions
How Long Should Paint Dry Between Coats in High-Humidity Environments?
Did you know that paint drying time can increase by up to 50% in humidity levels above 70%? In high-humidity conditions, you’ll need to wait 6-8 hours between latex paint coats and 24-48 hours for oil-based paints. You should run a dehumidifier or air conditioner to maintain humidity below 50%, and guarantee proper ventilation. Don’t rush the process, as trapped moisture can lead to bubbling and peeling.
What Type of Paint Should I Use on Surfaces That Get Wet Often?
For surfaces frequently exposed to moisture, you’ll want to use water-resistant paints specifically formulated for wet conditions. Choose moisture-resistant epoxy paints, marine-grade enamels, or high-quality exterior latex paints with mildewcides. If you’re painting bathroom or kitchen areas, opt for semi-gloss or gloss finishes, as they’re more water-repellent than flat finishes. For ideal protection, you’ll need to apply a waterproof primer before your topcoat.
Can I Paint Directly Over Wallpaper Without Removing It First?
Did you know that 80% of wallpaper removal projects result in some wall damage? While you can paint over wallpaper, you’ll need to first guarantee it’s firmly adhered with no peeling edges. Apply an oil-based primer to prevent moisture from loosening the paper, then lightly sand the surface. You’ll notice seams through the paint, so consider using a textured paint or adding a subtle pattern to camouflage them.
Which Paint Finishes Are Most Child and Pet-Friendly for Busy Households?
For homes with children and pets, you’ll want to choose either satin or semi-gloss finishes. Both options offer excellent durability and wipe-clean convenience. Semi-gloss provides superior moisture resistance and scrubbability, making it ideal for high-traffic areas and kitchens. Satin delivers a sophisticated low-luster appearance while still maintaining strong wear resistance. Avoid flat or matte finishes, as they’ll show marks easily and won’t withstand repeated cleaning.
How Do I Properly Dispose of Leftover Paint and Cleaning Materials?
Never pour leftover paint down drains or into the soil. For latex paint, you’ll need to dry it completely by mixing with cat litter or paint hardener before placing in regular trash. Oil-based paints require disposal at your local hazardous waste facility. You can clean brushes and rollers outdoors, collecting the rinse water in a container for proper disposal. Don’t forget to seal paint cans tightly for future use.


