This website contains affiliate links. Some products are gifted by the brand to test. As an Amazon Associate, I earn from qualifying purchases. The content on this website was created with the help of AI.
You’ll need to master five core construction methods for a successful DIY greenhouse. Start by selecting a site with 6-8 hours of sunlight and proper drainage, then establish a solid foundation that extends below the frost line. Next, construct your frame using aluminum, galvanized steel, or treated wood, spacing vertical supports every 4 feet. Choose your glazing material carefully – glass, polycarbonate panels, or polyethylene film each offer distinct benefits. Finally, install proper ventilation with roof vents and exhaust fans to maintain ideal growing conditions. Each construction phase builds upon essential principles that guarantee your greenhouse’s long-term success.
Key Takeaways
- Choose a level site with 6-8 hours daily sunlight and establish proper drainage using a 2% slope away from structure.
- Build a solid foundation using concrete perimeter or ground-contact lumber, ensuring it extends below the frost line.
- Select appropriate frame materials (aluminum, steel, or treated wood) and space vertical supports every 4 feet.
- Install suitable glazing material based on budget and durability needs: glass, polycarbonate panels, or polyethylene film.
- Ensure proper ventilation by installing roof vents, exhaust fans, and circulation fans based on greenhouse floor area.
Site Selection and Ground Preparation
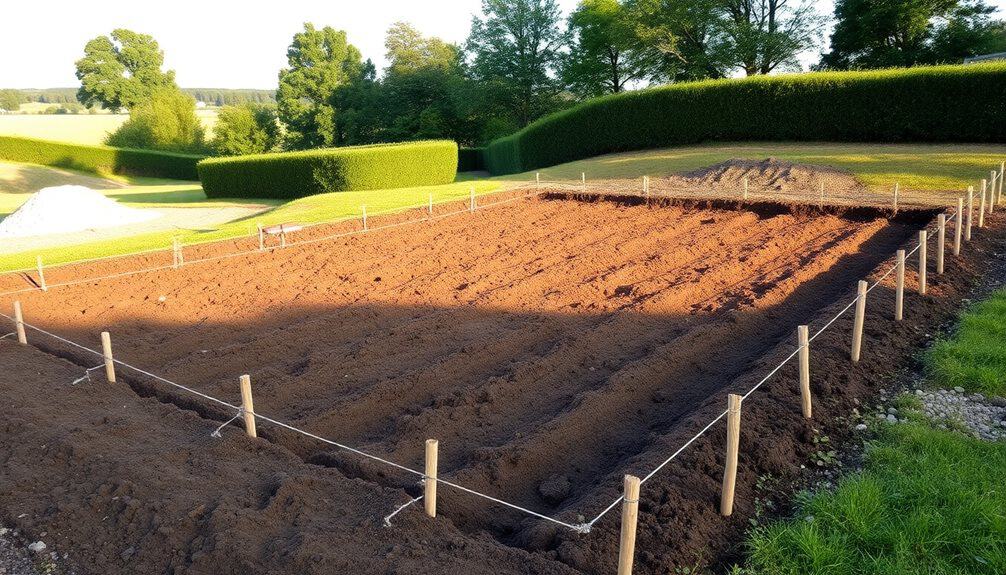
When planning a greenhouse installation, careful site selection and thorough ground preparation form the essential foundation for success. You’ll need to analyze several critical factors: sunlight exposure, drainage patterns, and accessibility to utilities. Select a level area that receives 6-8 hours of direct sunlight daily, particularly during winter months. Position your greenhouse on a north-south axis to maximize light distribution.
Begin by conducting a soil drainage test: dig a 2-foot hole, fill it with water, and monitor absorption rate. If water remains after 24 hours, you’ll need to implement additional drainage solutions. Clear the site of vegetation, rocks, and debris within a 3-foot perimeter of your planned foundation. Survey the plot with a laser level to identify elevation variations.
For the foundation preparation, excavate to a depth of 8-12 inches, ensuring the removal of organic material. Install a 4-inch layer of compacted gravel, followed by a vapor barrier. If you’re using concrete footings, they must extend below the frost line for your climate zone. Grade the surrounding soil with a 2% slope away from the structure to prevent water accumulation against the greenhouse walls. Ensure your foundation can support structures rated for 50 mph winds and appropriate snow loads to maintain stability in harsh weather conditions.
Foundation Requirements
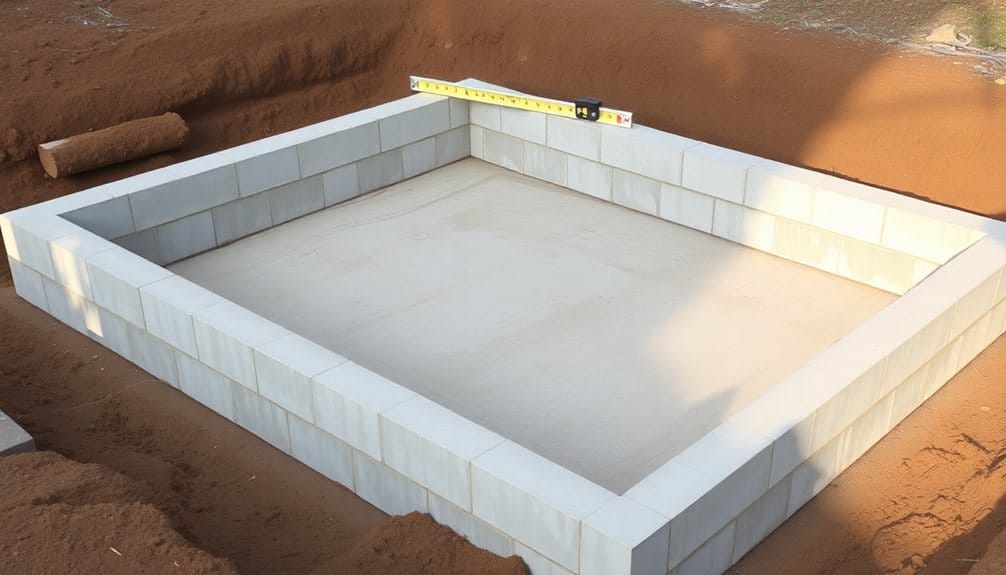
For proper greenhouse stability, you’ll need to select one of three foundation types: concrete perimeter, concrete pier, or ground-contact lumber base. Each foundation must extend below your area’s frost line to prevent structural shifting during freeze-thaw cycles. Concrete perimeter foundations offer maximum durability and support, requiring a minimum width of 8 inches and depth of 12 inches below frost line. Concrete pier foundations utilize evenly spaced footings that support the greenhouse frame while minimizing material costs.
Ground-contact lumber bases, constructed from pressure-treated 4×6 timbers, provide a cost-effective alternative but require precise leveling and adequate drainage systems. You’ll need to incorporate proper water management regardless of foundation type.
- Watch your greenhouse withstand fierce winter storms while your neighbors’ temporary structures fail
- Experience the satisfaction of harvesting fresh vegetables from a greenhouse you’ve built to last generations
- Feel confident knowing your investment is protected by professional-grade engineering principles
When selecting fasteners and anchoring systems, verify they’re rated for greenhouse applications and local wind loads. Install vapor barriers between concrete and frame components to prevent moisture-related deterioration. Your foundation’s success depends on proper drainage slope, with a minimum grade of 1% away from the structure. A well-designed foundation will support your irrigation system efficiency by ensuring proper water distribution and preventing pooling issues.
Frame Construction Basics

Building upon your solid foundation, the greenhouse frame serves as the structural skeleton that determines both stability and growing space efficiency. You’ll need to select between aluminum, galvanized steel, or treated wood framing materials, each offering distinct advantages for structural integrity. Aluminum won’t rust and provides excellent strength-to-weight ratio, while galvanized steel offers superior load-bearing capacity for harsh weather conditions.
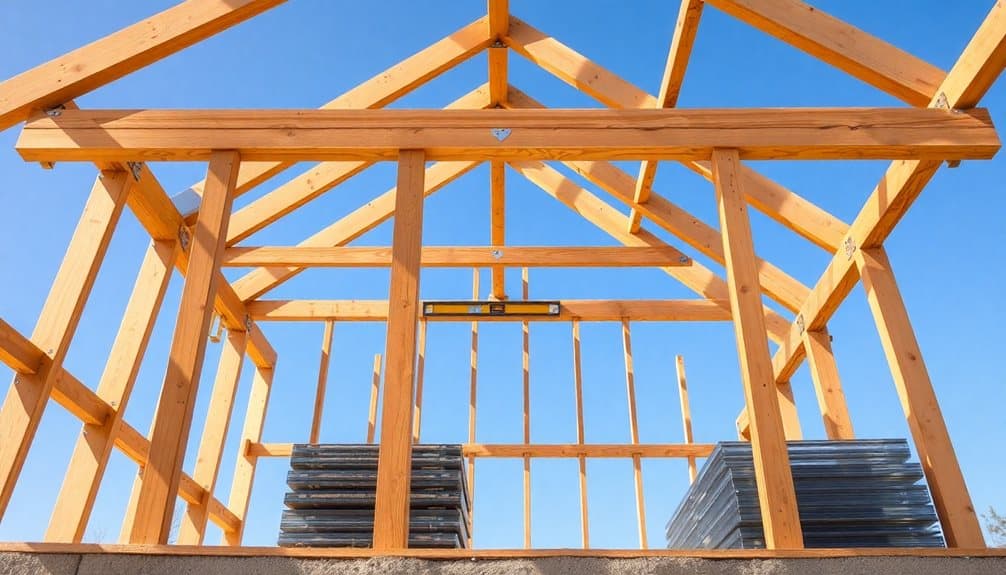
Start by installing your vertical support posts at 4-foot intervals, guaranteeing they’re perfectly plumb using a level. You’ll connect these with horizontal purlins and ridge beams, creating a robust grid system. For peaked roofs, maintain a 25-35 degree angle for peak light penetration and snow load resistance. Install diagonal bracing at each corner to prevent lateral movement and guarantee frame rigidity.
When connecting frame members, use appropriate fasteners: galvanized bolts for metal frames or lag screws for wooden structures. You’ll need to pre-drill holes to prevent splitting and maintain precise alignment. Space your rafters 24 inches on center to support glazing materials while maximizing light transmission to your plants. Quality frame construction is essential, as evidenced by models like the Quictent Premium which features a heavy-duty steel frame capable of withstanding winds up to 80 MPH.
Glazing Material Options

Three primary glazing materials dominate greenhouse construction: glass, polycarbonate panels, and polyethylene film. Each material offers distinct advantages for your growing environment. Glass provides superior light transmission at 90% and exceptional durability, lasting 30+ years with proper maintenance. Polycarbonate panels deliver excellent insulation through twin or triple-wall construction, while polyethylene film offers an economical solution that you’ll need to replace every 3-4 years.
When selecting your glazing material, you’ll need to take into account these essential factors:
- UV protection capabilities – fundamental for protecting your plants from harmful radiation while maximizing beneficial light spectrum transmission
- R-value ratings – imperative for maintaining ideal growing temperatures and reducing energy costs
- Impact resistance requirements – critical for withstanding environmental stresses in your specific climate zone
Your glazing choice greatly affects plant growth patterns, heat retention, and light diffusion. Glass excels in light transmission but requires robust frame support. Twin-wall polycarbonate reduces heat loss by 40% compared to single-pane glass. Polyethylene film, while less durable, provides excellent light diffusion and can be treated with IR inhibitors for enhanced thermal efficiency.
Ventilation System Installation

Proper ventilation installation requires two distinct system components: natural airflow facilitators and mechanical air-exchange units. You’ll need to position roof vents at 15-20% of your total floor area, spacing them evenly along the ridge line. Install automatic vent openers using temperature-sensitive pistons that’ll expand and contract based on your preset thresholds, typically between 65-75°F.
For mechanical ventilation, mount exhaust fans at one end of your greenhouse, calculating 8 CFM (cubic feet per minute) of air movement per square foot. You’ll want to install intake shutters on the opposite wall at a 1:1 ratio with your exhaust capacity. Position your primary fan at plant height, approximately 4 feet above the floor, with a secondary unit near the roof peak.
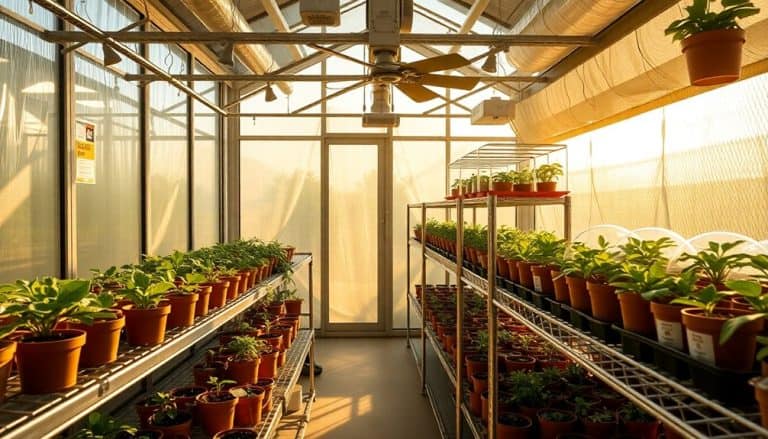
Don’t forget to include a thermostat control system, wiring it to your electrical panel with a 20-amp dedicated circuit. You’ll need to calibrate your ventilation to maintain ideal humidity levels between 50-70%. Install circulation fans every 20-25 feet to guarantee proper air movement, angling them at 45 degrees to create a continuous airflow pattern throughout your growing space. The dome structure design promotes optimal natural air circulation while maximizing available growing space within your greenhouse environment.
Door and Window Placement
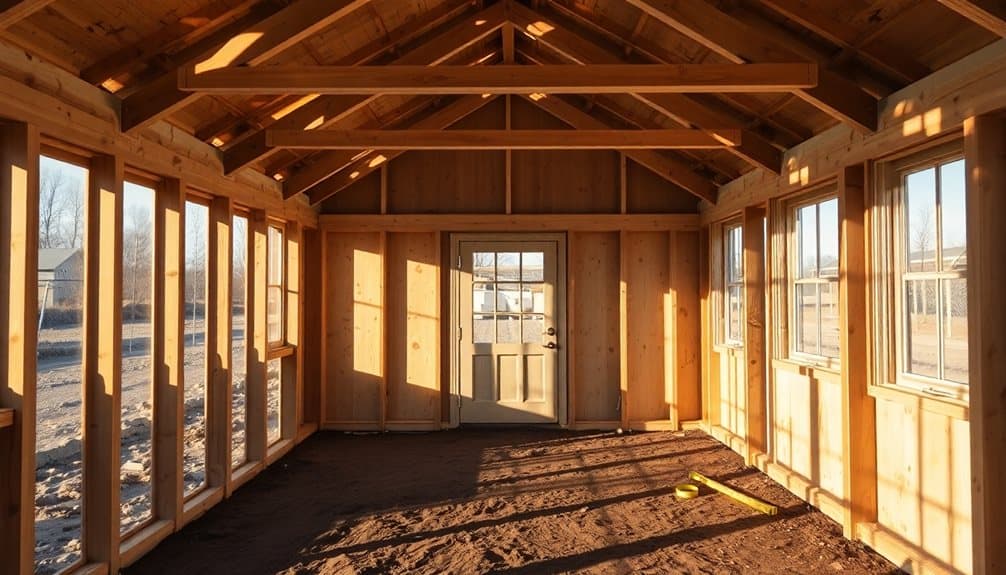
Strategic door and window placement secures optimal traffic flow while maintaining consistent temperature control throughout your greenhouse structure. Position your main door on the sheltered side of the greenhouse, typically the north end, to minimize heat loss during winter months. You’ll want to make sure your door width measures at least 36 inches to accommodate wheelbarrows and equipment. Install automatic door closers to prevent accidental heat loss during busy gardening periods.
Windows should comprise 15-20% of your greenhouse’s floor area for best ventilation. Place operable windows at both ground level and near the ridge to create effective cross-ventilation patterns. Install window operators at reachable heights, and make sure they’re equipped with proper weather stripping and thermal breaks.
- Your seedlings will thrive with perfectly positioned windows that provide just the right amount of morning sun exposure
- You’ll feel a sense of accomplishment when your automatic vents respond precisely to temperature changes
- Experience the satisfaction of effortless workflow as you move through strategically placed doorways with your gardening supplies
Consider incorporating a vestibule or airlock entry system to maintain temperature stability and reduce pest infiltration. This double-door configuration creates an effective barrier between external and internal environments.
Weather Sealing Techniques
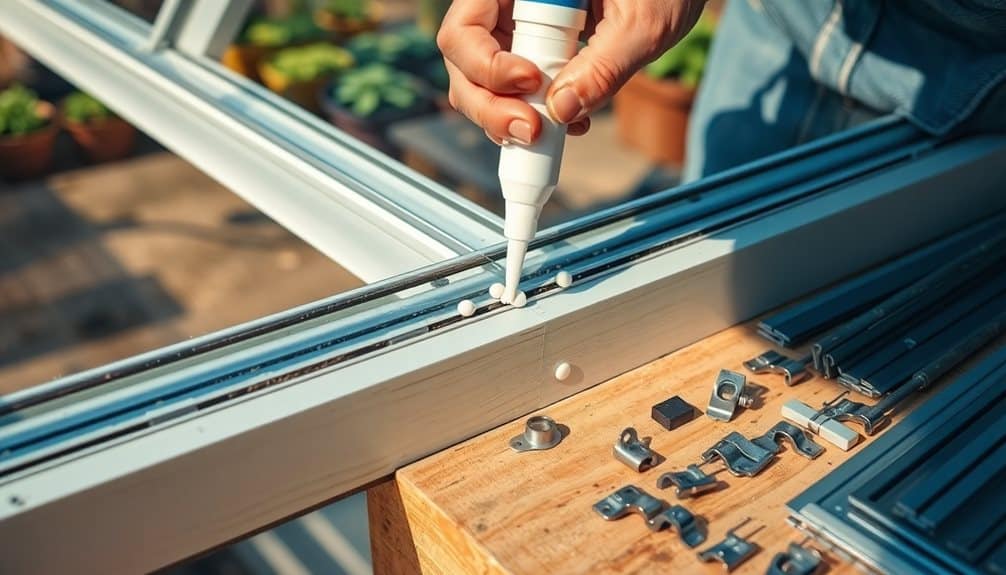
After securing your door and window placements, weather sealing becomes the next critical line of defense for your greenhouse’s climate control. You’ll need to focus on three primary sealing zones: frame joints, panel connections, and entry points.
Begin by applying silicone-based sealant to all frame joints, ensuring complete coverage where metal or wood components meet. You’ll want to use UV-resistant caulk specifically designed for greenhouse applications, applying it in temperatures above 50°F (10°C) for peak adhesion.
For panel connections, install EPDM rubber gaskets between glazing materials and framework. You’ll need to compress these gaskets to 40-60% of their original thickness to achieve proper weatherproofing. Apply weatherstripping tape along door frames and window sashes, using closed-cell foam varieties that won’t absorb moisture.
Don’t forget to seal the greenhouse’s base plate to its foundation using butyl tape or polyurethane sealant. You’ll need to create a 1/4-inch continuous bead around the entire perimeter, checking annually for any separation or degradation. Install draft excluders at door thresholds to prevent cold air infiltration at ground level. Consider installing smart irrigation sensors to monitor interior humidity levels and prevent moisture-related seal degradation.
Frequently Asked Questions
How Do I Prevent Animals From Burrowing Under My Greenhouse?
Like building a fortress against tiny invaders, you’ll need to create a sturdy underground barrier. Dig a 2-foot-deep trench around your greenhouse’s perimeter and install 1/4-inch hardware cloth or galvanized metal mesh, extending it horizontally outward by 12 inches. Secure the barrier to your greenhouse’s foundation, and backfill with soil. You can also add gravel or concrete footings for extra protection.
What’s the Best Way to Organize Growing Spaces Inside the Greenhouse?
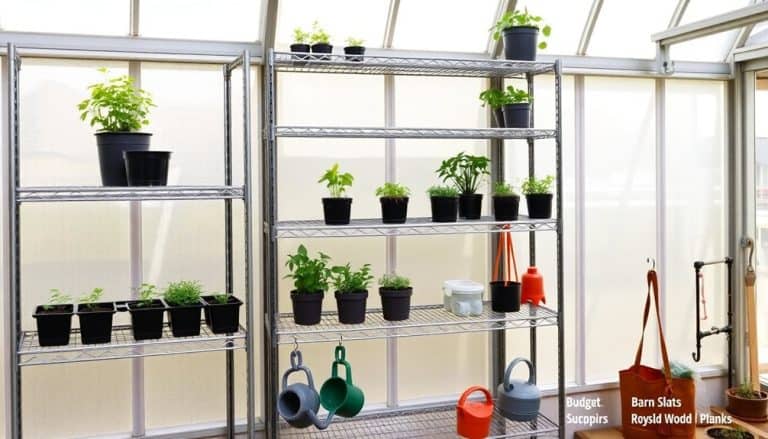
Organize your greenhouse with north-south oriented growing beds to maximize light exposure. You’ll want to install tall plants along the northern wall, medium-height specimens in central beds, and low-growing varieties in southern sections. Create 2-3 foot wide paths between beds for accessibility, and position your irrigation system’s main lines along these walkways. Install adjustable shelving on walls for seedling trays and vertical growing options.
Can I Add Supplemental Lighting Without Compromising the Structure’s Integrity?
You’ll find several safe options for adding grow lights without compromising structural integrity. Mount LED fixtures directly on horizontal support beams using light-duty brackets, ensuring they’re at least 12-18 inches above plants. Install vertical posts at strategic points for hanging heavier HID systems, anchoring them independently from the greenhouse frame. Use UV-resistant electrical conduit and weatherproof junction boxes to protect all wiring from moisture exposure.
How Often Should Greenhouse Covering Materials Be Replaced?
You’ll need to replace your greenhouse covering materials based on their specific type and environmental conditions. Polyethylene film typically requires replacement every 1-4 years, while polycarbonate panels last 10-15 years. Double-wall acrylic panels maintain integrity for 15-20 years, and tempered glass can last 30+ years with proper maintenance. UV exposure, weather severity, and physical damage accelerate deterioration rates, so you should inspect coverings annually for signs of degradation.
What’s the Most Effective Way to Control Humidity Levels Year-Round?
You’ll need to maintain 50-70% relative humidity through integrated ventilation control. Install automated roof vents and side louvers for air circulation, and use horizontal airflow fans to prevent stagnant pockets. Deploy a hygrometer to monitor levels, supplementing with a dehumidifier during wet periods and an evaporative cooling system or misting setup during dry spells. Add ground-level vapor barriers to regulate moisture from soil evaporation.

