This website contains affiliate links. Some products are gifted by the brand to test. As an Amazon Associate, I earn from qualifying purchases. The content on this website was created with the help of AI.
Start hot composting today by selecting a level, partially shaded 4×4 foot area with good drainage. You’ll need browns (dry leaves, straw), greens (grass clippings, kitchen scraps), and basic tools like a pitchfork and thermometer. Build your pile by alternating 4-inch layers of browns with 1-inch layers of greens, maintaining a 25:30:1 carbon-to-nitrogen ratio. Keep moisture at 40-60% and monitor daily temperatures between 130-150°F. Turn the pile when temperatures exceed 160°F, and maintain proper airflow using perforated PVC pipes. Within 4-6 weeks, you’ll have rich, crumbly compost ready for screening and use. Master these fundamentals to transform your gardening success.
Key Takeaways
- Choose a level, partially shaded 4×4 foot area with good drainage and direct soil contact for optimal microbial activity.
- Gather brown materials (leaves, straw) and green materials (grass, kitchen scraps) to maintain a 25-30:1 carbon-nitrogen ratio.
- Build a 3x3x3 foot pile starting with coarse browns, then alternate green and brown layers while maintaining sponge-like moisture.
- Monitor daily temperature (130-150°F), moisture (40-60%), and turn the pile when temperatures exceed 160°F.
- Create ventilation using perforated PVC pipes or coarse branches spaced every 2-3 feet throughout the pile.
Choose Your Composting Location
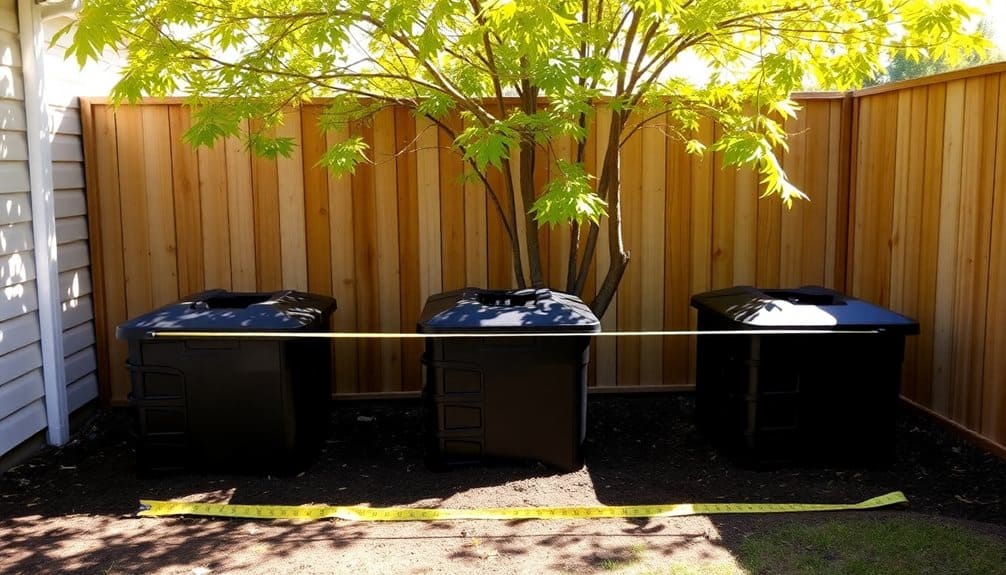
When starting a hot composting system, choosing the right location is essential for perfect decomposition and convenient maintenance. You’ll need a level area with good drainage, measuring at least 4×4 feet to accommodate the minimum pile size required for hot composting. Select a spot that’s partially shaded to prevent excessive moisture evaporation while still allowing some sunlight exposure.
Consider accessibility when selecting your location. You’ll need regular access to add materials, monitor temperature, and turn the pile. Position your compost site within reasonable distance of your kitchen and garden, but at least 2 feet away from structures to prevent moisture damage. Confirm there’s enough space to work around all sides of the pile with a pitchfork or shovel.
The ground surface should be directly on soil rather than concrete or asphalt, allowing beneficial organisms to access the pile and excess moisture to drain. If you’re in a windy area, utilize natural windbreaks like fences or shrubs to maintain peak pile temperature. Keep the site away from trees with extensive root systems, as they can invade the nutrient-rich compost. Proper spacing of 3-4 feet apart between multiple compost piles helps reduce the spread of potential diseases while maintaining easy access for maintenance.
Gather Essential Materials
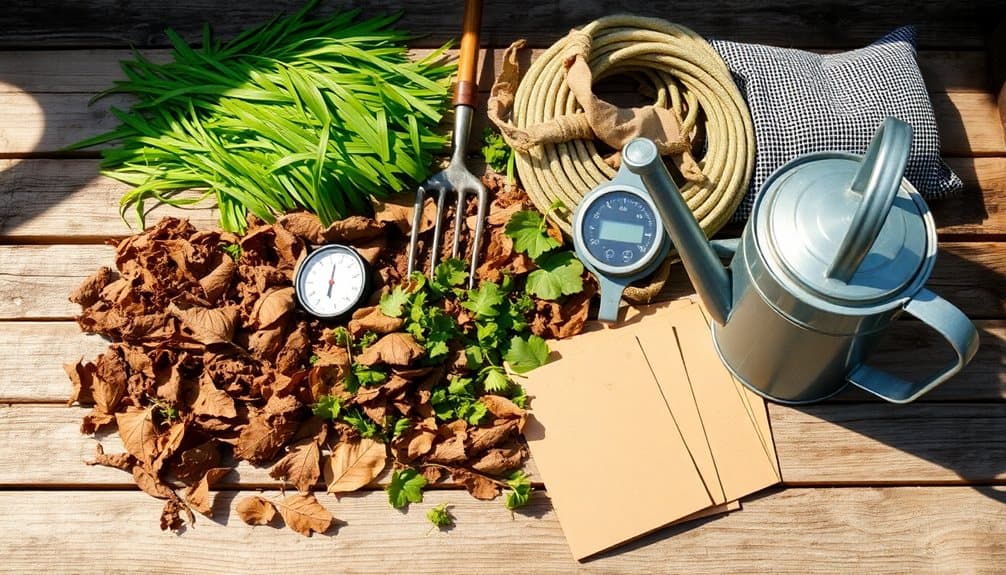
Several essential materials must be gathered before starting your hot composting system. You’ll need both “green” nitrogen-rich materials and “brown” carbon-rich materials in roughly a 1:3 ratio. Collect fresh grass clippings, kitchen scraps, and coffee grounds for your greens. For browns, gather dry leaves, straw, shredded paper, or cardboard.
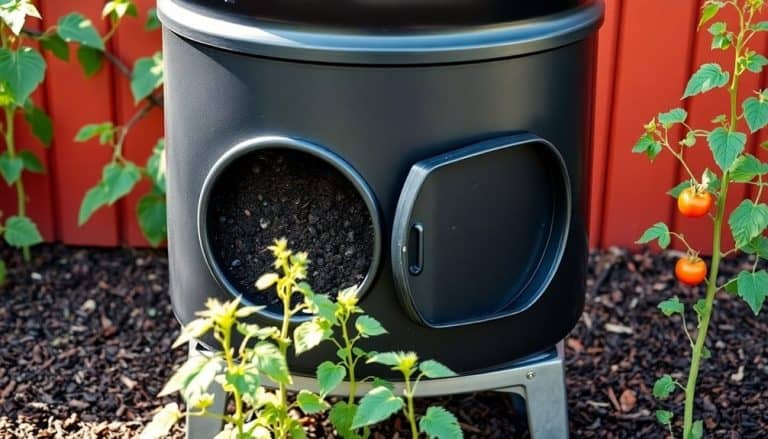
You’ll also need basic tools: a pitchfork or turning fork for mixing, a compost thermometer to monitor internal temperatures, and a water source nearby. Consider acquiring a compost bin or the materials to build one – it should be at least 3x3x3 feet to maintain proper heat. If you’re building one, get hardware cloth or fencing material for proper aeration.
Additional helpful items include a wheelbarrow for transporting materials, pruning shears for cutting larger pieces into manageable sizes, and a tarp to cover your pile during heavy rains or to collect materials. Keep a separate container in your kitchen for collecting food scraps, and consider getting a dry storage bin for your brown materials to maintain the proper carbon-nitrogen balance year-round. Quality soil amendments products can enhance your composting success by providing essential nutrients and beneficial microorganisms.
Balance Green and Brown Ingredients
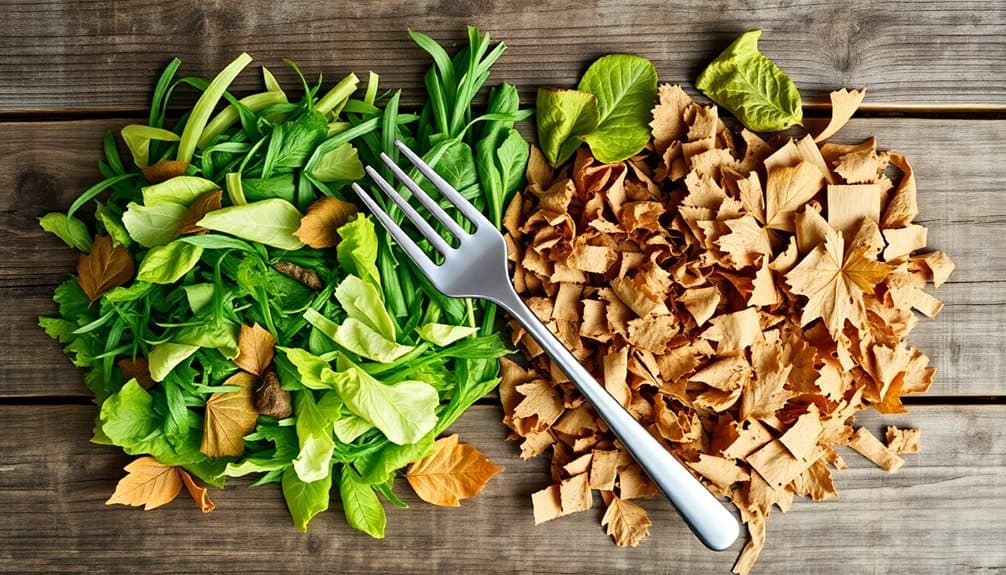
Proper ingredient balance forms the foundation of successful hot composting. You’ll need to maintain a ratio of approximately 25-30 parts carbon-rich “brown” materials to 1 part nitrogen-rich “green” materials by weight. This balance guarantees peak microbial activity and heat generation.
Your brown ingredients should include dry leaves, straw, wood chips, shredded paper, or cardboard. These materials provide the carbon necessary for microbial energy and create air pockets within your pile. For green materials, you’ll want to incorporate fresh grass clippings, kitchen scraps, coffee grounds, or fresh plant trimmings, which supply the nitrogen needed for microbial growth.
Layer your materials as you build the pile, starting with a 4-inch layer of browns, followed by a 1-inch layer of greens. If you notice your pile isn’t heating up properly, add more greens. If it’s developing an ammonia smell, incorporate additional browns. You can test the moisture content by squeezing a handful of material – it should feel like a wrung-out sponge. Maintain this balance throughout the composting process to achieve temperatures between 130-150°F. Using a quality compost sifter helps separate fully decomposed material from larger particles that need more time to break down.
Build Your Compost Pile
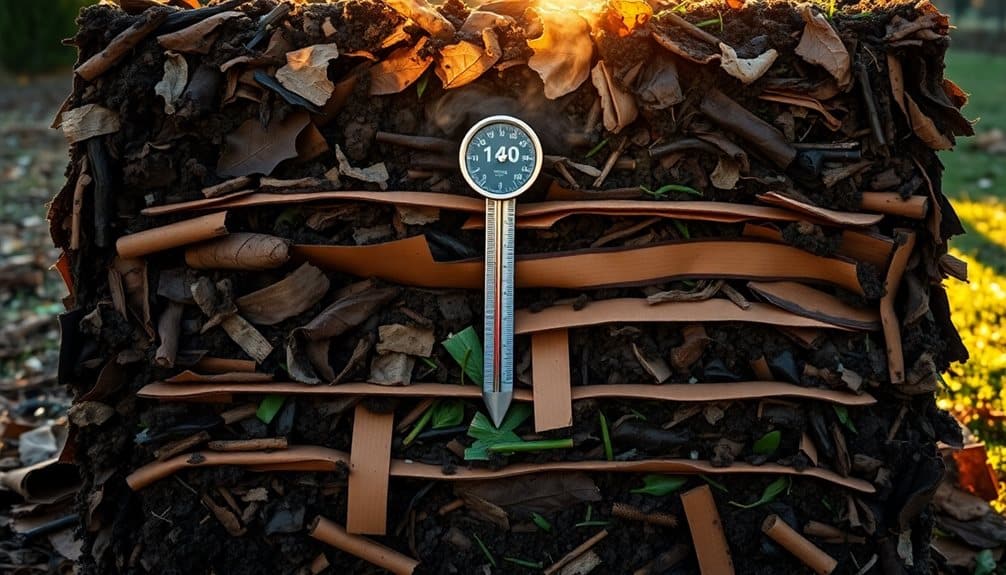
Building a hot compost pile starts with selecting the right location and establishing a strong foundation. Choose a level spot with good drainage, away from structures and direct sunlight. Start with a 6-inch layer of coarse brown materials like small twigs or straw to guarantee proper airflow from below.
Layer your materials in a specific sequence to achieve the best decomposition. Add 3-inch layers, alternating between browns and greens, and lightly water each layer as you build. You’ll want your pile to be at least 3 feet high and 3 feet wide to generate enough heat. Don’t compress the materials too tightly – they need adequate oxygen circulation.
Create a slight depression in the pile’s center as you build upward. This helps capture moisture and maintain even heat distribution throughout. Once you’ve reached the desired height, cover the pile with a layer of brown materials or a breathable tarp to retain heat and moisture. Your pile should feel as damp as a wrung-out sponge. If you’re using a bin, verify it has proper ventilation holes on all sides for the best airflow. For optimal protection, ensure your tarp extends with a 12-18 inch overhang around all sides of the pile.
Monitor Temperature and Moisture

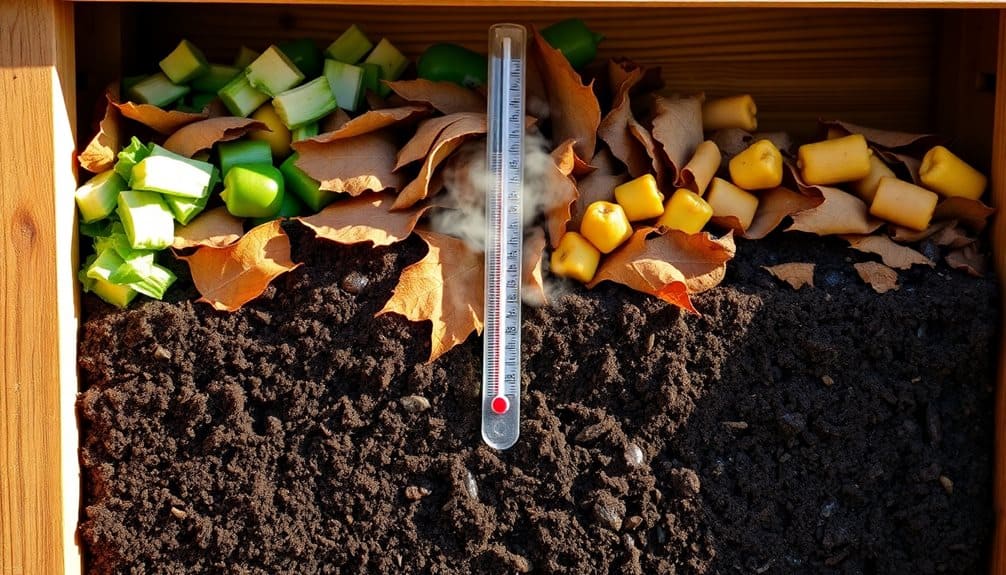
Temperature and moisture monitoring kick off the most critical phase of hot composting. You’ll need to track these levels daily using a compost thermometer and the squeeze test. Insert your thermometer into the center of the pile – the ideal temperature range is 130-150°F (54-66°C). If it exceeds 160°F (71°C), turn the pile immediately to prevent beneficial microbe die-off.
For moisture, grab a handful of compost from the pile’s center. Squeeze it firmly – it should feel like a wrung-out sponge. If water drips out, it’s too wet; add dry brown materials like leaves or straw. If it’s too dry and crumbly, spray water while turning the pile. Maintain 40-60% moisture content for ideal decomposition.
You’ll notice temperature phases as composting progresses. The pile should heat up within 24-48 hours, reaching peak temperature in 4-5 days. When the temperature starts dropping, turn the pile to reactivate the process. Continue this monitoring and turning cycle for 4-6 weeks until the pile no longer reheats after turning, indicating the active composting phase is complete. Using a dual chamber system allows you to maintain continuous composting by processing material in one chamber while filling the other.
Turn the Pile Regularly
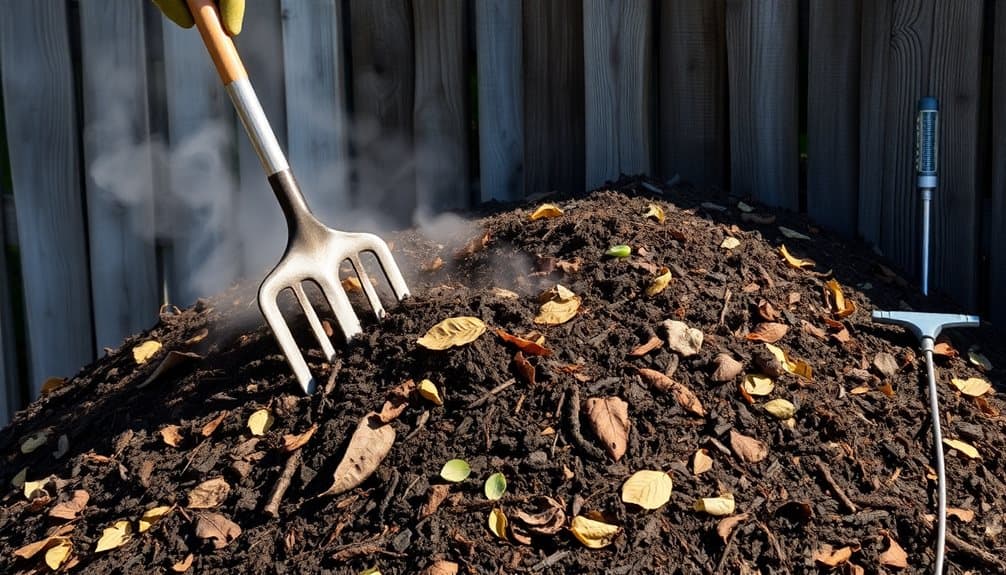
Throughout the hot composting process, you’ll need to turn your pile every 3-5 days to maintain ideal conditions. This regular turning introduces oxygen, redistributes materials, and guarantees even decomposition throughout the pile. When temperatures begin to drop below 130°F (54°C), it’s a clear signal that your pile needs turning.
Use a pitchfork or compost turner to move materials from the outer edges into the center, where decomposition is most active. As you turn, break up any clumps and watch for dry or wet spots that need addressing. You’ll want to maintain the pile’s original shape while guaranteeing that materials from different layers mix thoroughly.
Pay attention to how your pile responds to turning. If you notice a quick temperature spike after turning, you’re on the right track. Continue this turning schedule until the pile no longer heats up noticeably after turning, which typically takes 4-6 weeks. During winter months, you might need to turn less frequently to retain heat, while summer conditions may require more frequent turning to prevent the pile from overheating or drying out.
Maintain Proper Air Flow

Ensuring proper airflow in your compost pile is essential for maintaining aerobic decomposition and preventing unpleasant odors. The beneficial microorganisms that break down organic matter require oxygen to function efficiently, and without adequate airflow, your pile can become anaerobic, slowing decomposition and creating foul-smelling compounds.
To maintain ideal airflow throughout your compost pile, implement these proven techniques:
- Create a base layer of coarse materials like small branches or corn stalks to establish natural air channels from the bottom up
- Insert perforated PVC pipes vertically through your pile to serve as air shafts, spacing them every 2-3 feet
- Maintain a balanced mix of materials, avoiding compaction of wet ingredients by layering them with dry, bulky items like leaves or straw
- Keep the pile’s moisture content at 40-60% – if you can squeeze only a few drops from a handful, you’ve got it right
Don’t let your pile become too dense or waterlogged, as this will restrict airflow. If you notice compaction occurring, use a pitchfork to gently lift and separate materials, creating new air pockets throughout the pile.
Check Compost Progress

While maintaining proper airflow sets the stage for effective decomposition, monitoring your compost pile’s progress helps you optimize the process and identify potential issues early. Check your pile’s temperature daily using a compost thermometer inserted into the center. You’ll want to maintain temperatures between 130-150°F (54-66°C) during the active phase, which typically lasts 2-3 weeks.
Assess moisture content every few days by squeezing a handful of material. It should feel like a wrung-out sponge – damp but not dripping. If it’s too dry, add water; if too wet, incorporate dry brown materials. Monitor the pile’s volume, which should reduce by about 50% when finished. You’ll notice the original materials becoming unrecognizable as they break down.
Track decomposition progress by documenting changes in color and texture. Finished compost should be dark brown to black, crumbly, and smell earthy. If you notice strong odors or see pests, adjust your carbon-to-nitrogen ratio or aeration immediately. Keep a log of your measurements and observations to help you refine your process for future batches.
Screen Your Finished Product
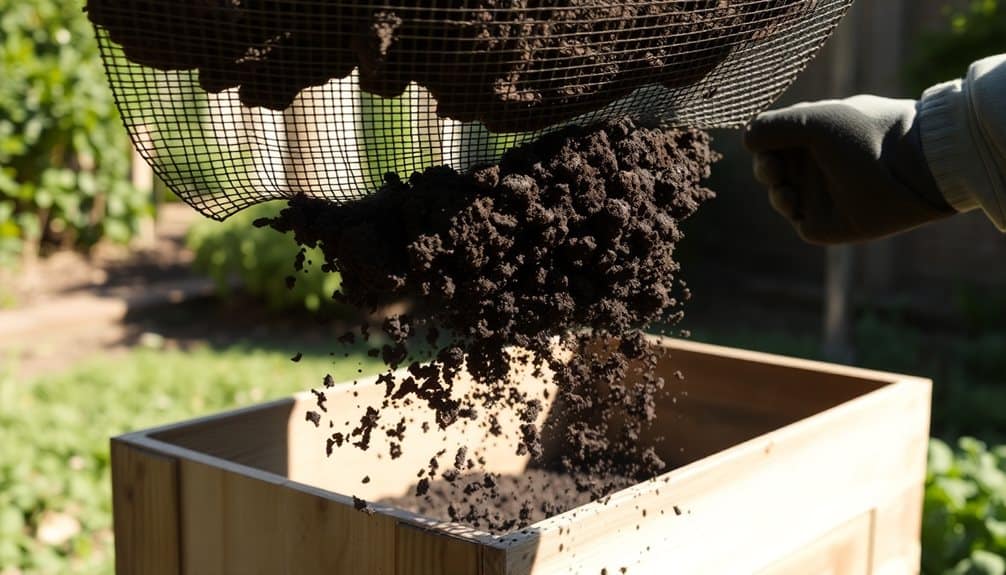
Screening your finished compost through a 1/2-inch mesh sieve separates the fully decomposed material from larger chunks that need more time to break down. You’ll want to screen your compost when it’s relatively dry, as wet material tends to clump and clog the mesh. Position your screening device over a wheelbarrow or collection container to catch the filtered material.
To effectively screen your compost, follow these steps:
- Break up any large clumps in your finished compost pile using a pitchfork or shovel before screening
- Load small amounts of compost onto your mesh screen, avoiding overloading which can slow down the process
- Gently shake the screen side-to-side or use a gloved hand to work the material through the mesh
- Return any unscreened materials back to your active compost pile for further decomposition
The screened compost you’ve collected is now ready for use in your garden. This final product should have a uniform, soil-like texture that’s perfect for incorporating into garden beds, adding to potting mixes, or using as a top dressing for your lawn.
Use Your Hot Compost
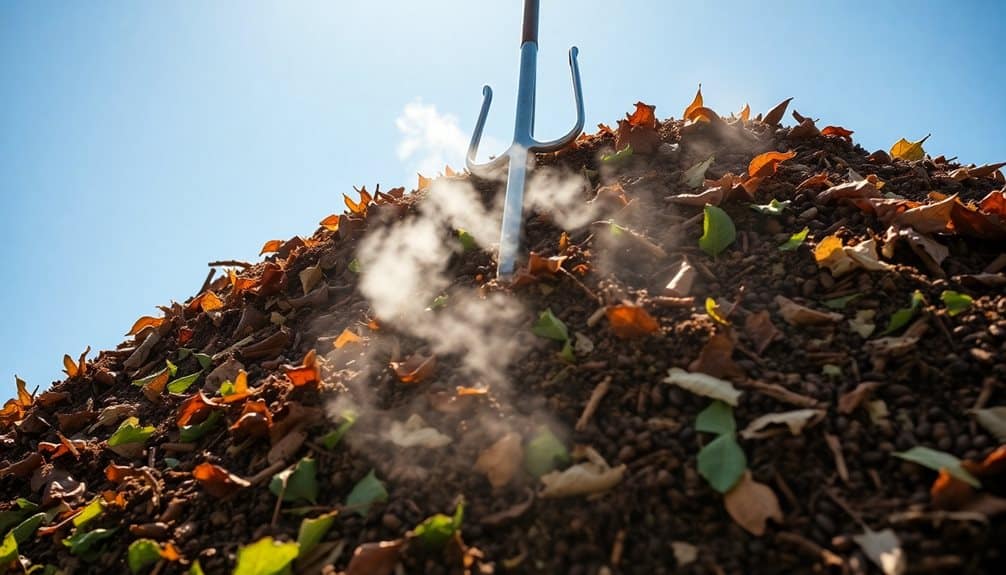
Your finished hot compost delivers concentrated nutrients and beneficial microorganisms that can transform your garden’s productivity. You’ll want to incorporate it into your soil about 2-4 weeks before planting to allow proper integration. Mix 1-2 inches of compost into the top 6-8 inches of soil using a garden fork or tiller.
For established plants, you can use your compost as a side dressing. Apply a 1/2-inch layer around plants, keeping it 2 inches away from stems to prevent rot. When transplanting, add 1-2 tablespoons of compost to each planting hole to reduce transplant shock and boost root development.
You can also brew compost tea by steeping one part compost in five parts water for 24-48 hours. Strain the mixture and use it as a foliar spray or soil drench. For container gardens, blend your compost with potting soil at a ratio of 1:3. If you’ve produced excess compost, store it in a dry, covered location where it’ll maintain its nutrient value for up to a year. Remember to test your soil periodically, as compost can affect pH levels over time.
Frequently Asked Questions
Can Hot Composting Attract Unwanted Pests to My Garden?
Your compost pile can attract pests if you don’t manage it properly. To prevent unwanted visitors, don’t add meat, dairy, oils, or cooked foods to your pile. Keep a balanced ratio of green to brown materials (1:3), and maintain proper moisture levels. Cover exposed food scraps with leaves or soil, and use a sealed bin or tumbler if pests become problematic. Turn your pile regularly to discourage nesting.
How Long Does Hot Composting Take in Different Seasons?
Hot composting duration varies greatly by season. In summer, you’ll achieve finished compost in 4-6 weeks due to ideal temperatures and increased microbial activity. Spring and fall typically require 6-8 weeks, as temperature fluctuations slow decomposition. Winter composting takes longest at 10-12 weeks, but you can speed this up by insulating your pile with straw or using a black compost bin to retain heat.
Should I Add Coffee Grounds or Tea Bags to My Compost?
You’ll find both coffee grounds and tea bags make excellent additions to your compost. Coffee grounds provide nitrogen, magnesium, and potassium, while improving soil structure. Add them with their paper filters – they’ll decompose together. For tea bags, verify they’re plastic-free and remove any staples first. You can add up to 20% coffee grounds to your pile’s volume, but don’t exceed this ratio to maintain proper balance.
What Common Household Items Should Never Go Into Hot Compost?
Don’t add meat, dairy, oils, fats, diseased plants, chemically treated wood, glossy paper, or pet waste to your compost. These items can attract pests, create odors, or introduce harmful pathogens. You’ll also want to avoid citrus peels, onions, bread products, and processed foods. Keep out inorganic materials like plastic, metal, glass, and synthetic fabrics, as they won’t break down and can contaminate your compost.
Does Hot Composting Kill Weed Seeds and Plant Diseases Effectively?
Hot composting effectively kills most weed seeds and plant pathogens when you maintain temperatures between 130-150°F (54-66°C) for at least three consecutive days. You’ll need to sustain these temperatures throughout your pile by proper turning and moisture management. While most seeds die at 138°F (59°C), you’ll achieve the best sanitization of diseases and seeds by keeping temperatures above 140°F (60°C) for a full week.

