This website contains affiliate links. Some products are gifted by the brand to test. As an Amazon Associate, I earn from qualifying purchases. The content on this website was created with the help of AI.
You’ll master home composting by following five essential steps that work together systematically. Start by selecting a shaded, well-drained location at least 2 feet from structures. Next, gather your materials and separate them into greens (nitrogen-rich) and browns (carbon-rich) components. Layer these materials in a 3-2-1 ratio: three parts browns, two parts greens, and one part soil. Monitor your pile’s moisture level, keeping it as damp as a wrung-out sponge, while maintaining core temperatures between 130-150°F. Finally, turn your pile every 2-3 weeks to guarantee proper decomposition. These fundamentals will transform your organic waste into black gold.
Key Takeaways
- Choose a shaded, well-drained outdoor location away from structures and place your compost bin directly on bare soil.
- Collect both “green” nitrogen-rich materials and “brown” carbon-rich materials to maintain a healthy composting balance.
- Layer materials using a 3-2-1 ratio: three parts browns, two parts greens, and one part soil for optimal decomposition.
- Keep compost moisture similar to a wrung-out sponge and monitor core temperature between 130-150°F (54-66°C).
- Turn your compost pile every 2-3 weeks to ensure proper oxygen flow and even decomposition throughout.
Choose Your Composting Location
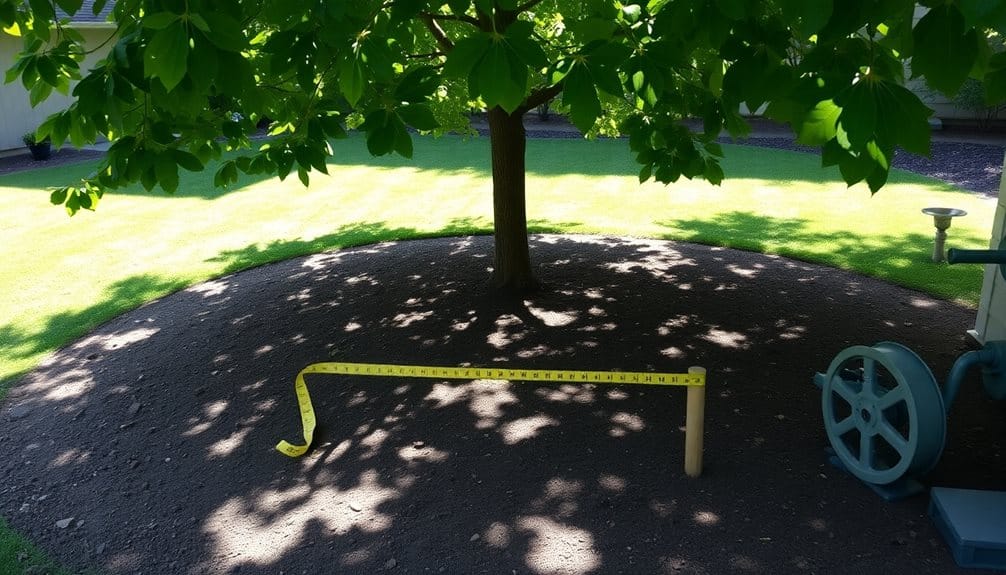
In accordance with local regulations, you’ll need to select an outdoor spot that’s level, well-drained, and partially shaded for your compost bin or pile. The ideal location sits at least 2 feet away from structures and fences, allowing adequate airflow while remaining accessible for maintenance. You’ll want to position it on bare soil rather than concrete or asphalt to allow beneficial organisms to access the pile.
Consider your convenience when choosing the spot. You’ll be making frequent trips to add kitchen scraps and yard waste, so select a location that’s easily reachable from both your kitchen and garden. If you’re using multiple bins, ascertain there’s sufficient space to turn the contents from one bin to another.
The location should have proper drainage to prevent waterlogging, which can lead to anaerobic conditions and unpleasant odors. A slight slope can help excess moisture drain away naturally. If you’re in a windy area, position the bin where it’s somewhat protected by buildings, hedges, or fences to maintain consistent temperature and moisture levels. Keep the spot away from tree roots that might invade the nutrient-rich compost.
Gather Essential Materials
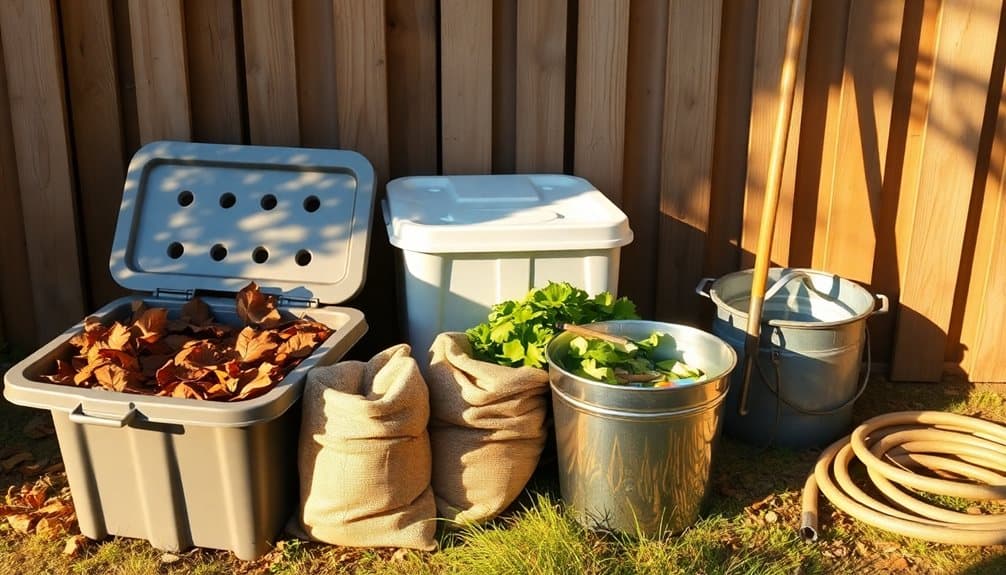
Once you’ve secured the right location, you’ll need to assemble your composting materials in two main categories: “greens” and “browns.” Greens provide nitrogen and include kitchen scraps, fresh grass clippings, and coffee grounds, while browns supply carbon through dry leaves, straw, newspaper, and cardboard.
You’ll need a container or bin to store your composting materials. Choose between a ready-made compost bin, a DIY wooden structure, or a tumbler system. Each container should have adequate ventilation holes and a secure lid to keep pests out while allowing airflow.
Essential tools include a pitchfork or compost turner for mixing materials, a wheelbarrow for transporting ingredients, and pruning shears for cutting larger materials into smaller pieces. You’ll also want a thermometer to monitor your pile’s internal temperature and a water source nearby for maintaining proper moisture levels.
Keep a collection bucket with a tight-fitting lid in your kitchen for gathering food scraps, and designate an area to store your brown materials, protecting them from rain to maintain their carbon content.
For optimal decomposition, cut kitchen scraps into smaller pieces, as chopped materials break down more quickly within 2-4 weeks.
Layer Your Compost Ingredients
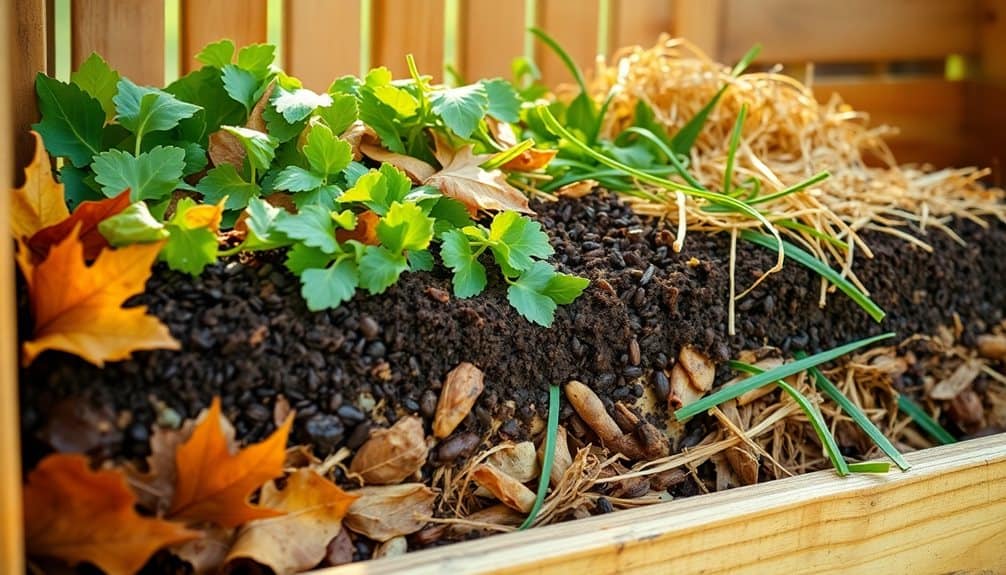
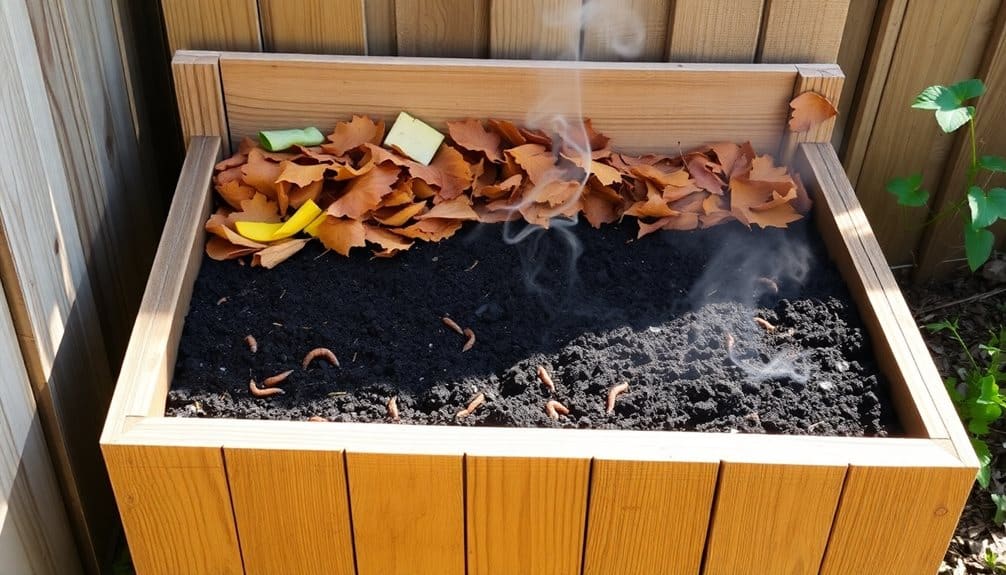
Creating proper layers in your compost pile follows a simple 3-2-1 ratio: three parts browns to two parts greens to one part soil. Start by laying a 4-inch base layer of browns (dry leaves, straw, or shredded paper) directly on the ground to guarantee proper drainage. This foundational layer should be loose and not compacted.
Add your green materials next, spreading them evenly in a 2-3 inch layer. Don’t cluster food scraps together, as this can lead to anaerobic decomposition. Sprinkle a thin layer of soil or finished compost over the greens to introduce beneficial microorganisms. Continue alternating browns and greens, maintaining the 3-2-1 ratio throughout.
Keep each layer slightly moist but not waterlogged – aim for the dampness of a wrung-out sponge. As you build up, verify your layers aren’t packed too tightly; air pockets are essential for aerobic decomposition. Your pile should reach at least 3 feet in height to generate sufficient heat for decomposition. Once you’ve reached your desired height, cap the pile with a thick layer of browns to retain moisture and prevent odors. Using a stainless steel aerator will help maintain proper airflow and accelerate the decomposition process while preventing rust and corrosion.
Monitor Moisture and Temperature
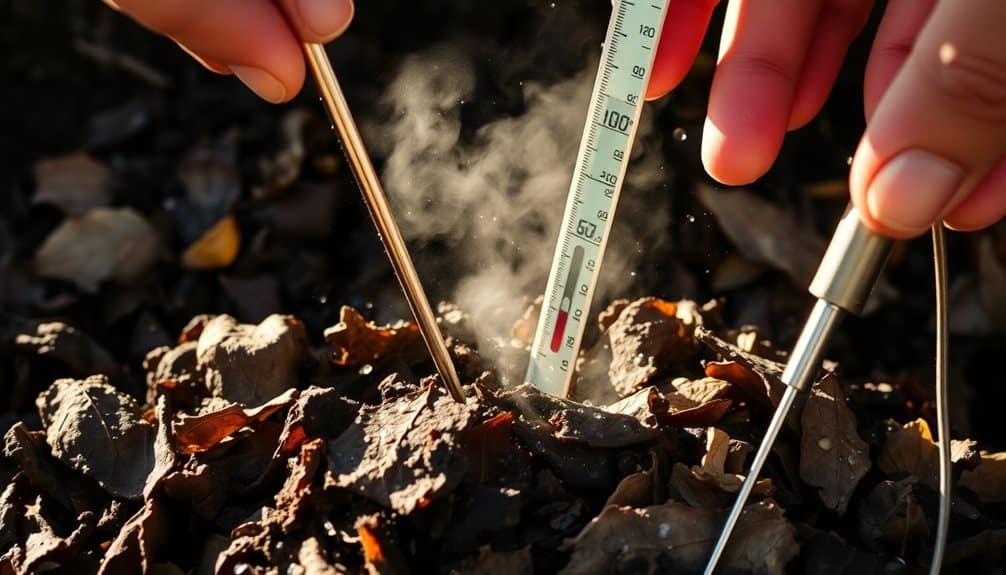
Successful composting requires consistent monitoring of both moisture and temperature levels. Your compost pile should feel like a wrung-out sponge – damp but not soaking wet. Test moisture by squeezing a handful of material; if water drips out, it’s too wet. If it crumbles without holding together, it’s too dry. Adjust by adding water or dry browns accordingly.
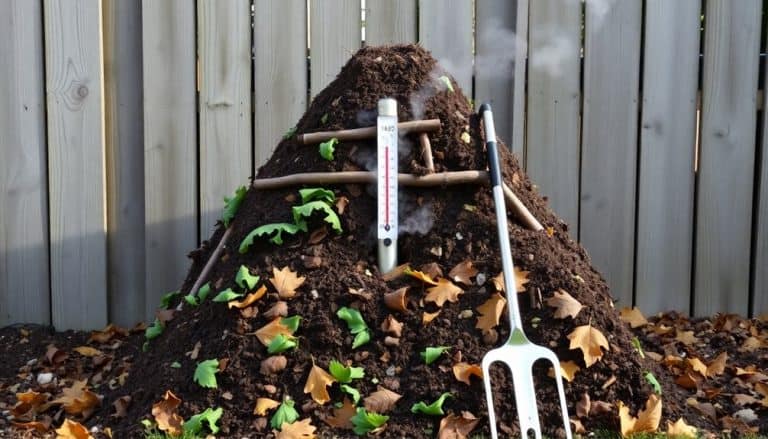
Temperature indicates decomposition activity. Use a compost thermometer to measure the core temperature, which should range between 130-150°F (54-66°C) during active composting. When the pile heats up, you’ll know beneficial microorganisms are breaking down materials effectively. If temperatures don’t rise above 110°F (43°C), your pile may need more nitrogen-rich materials or better aeration.
Monitor these conditions weekly. You’ll notice the pile’s temperature will peak, then gradually decrease as decomposition slows. When the internal temperature matches the ambient temperature and remains stable, your compost is nearly finished. During winter months, you can insulate your pile with straw or leaves to maintain microbial activity, though decomposition will naturally slow in colder weather. For larger compost piles over 4 feet, using multiple thermometer probes ensures accurate temperature readings throughout the entire pile.
Turn and Maintain Balance
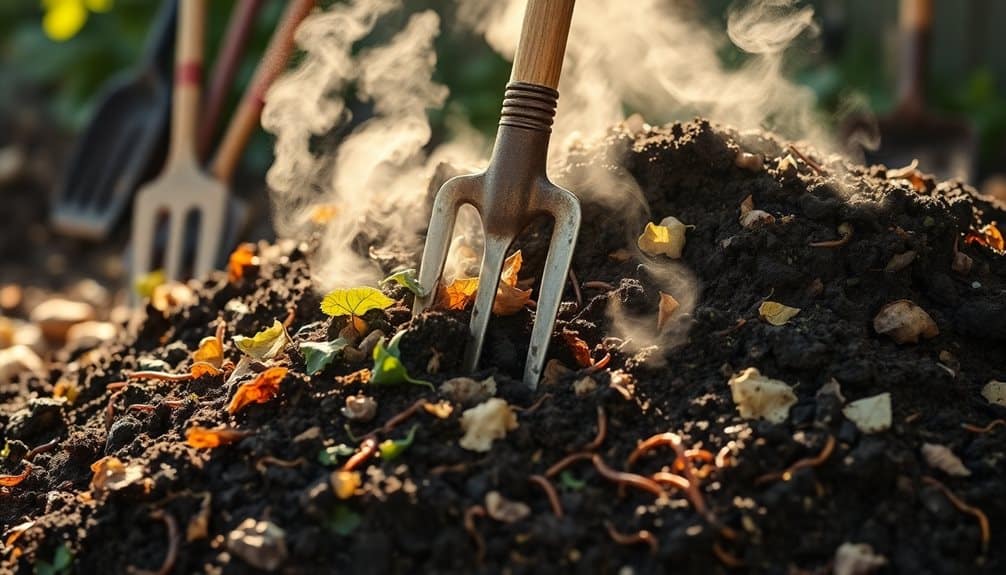
Regular turning of your compost pile works hand-in-hand with proper moisture and temperature control. You’ll need to turn your pile every 2-3 weeks using a pitchfork or compost aerator tool, ensuring oxygen reaches all layers. This process accelerates decomposition and prevents anaerobic conditions that can lead to unpleasant odors and slowed breakdown. Using a specialized aerator tool can make the turning process more efficient and less labor-intensive.
Maintaining the right balance of materials is essential for effective composting. Aim for a carbon-to-nitrogen ratio of approximately 30:1. You’ll achieve this by mixing three parts brown materials (dried leaves, straw, paper) with one part green materials (food scraps, grass clippings). If your pile becomes too wet or develops an ammonia smell, add more browns. If decomposition seems slow, incorporate more greens.
When turning, move materials from the outer edges to the center, where decomposition is most active. Break apart any clumps you find and check for dry pockets that need moisture. You’ll know your turning technique is effective when the pile’s core temperature stays between 130-150°F (54-66°C), and materials decompose evenly throughout the pile.
Frequently Asked Questions
How Long Does It Take for Compost to Be Ready to Use?
You’ll typically wait 2-12 months for compost to be ready, with most piles producing usable material in about 4 months. A well-managed 3x3x3 foot compost pile can process up to 700 pounds of organic waste annually. Your timeline depends on factors like ingredient mix, moisture levels, and turning frequency. You’ll know it’s ready when it’s dark brown, crumbly, and smells earthy like forest soil.
Can I Compost in Winter When Temperatures Are Below Freezing?
You can compost during winter, but the process will slow down considerably when temperatures drop below freezing. Your pile won’t decompose much until it thaws, but you can maintain activity by insulating your compost bin with straw or leaves, using a larger pile (at least 3 feet cubed), and continuing to add nitrogen-rich materials. You’ll still want to collect kitchen scraps and add them to your pile throughout winter.
What Should I Do if My Compost Pile Attracts Unwanted Pests?
Did you know that rats can produce up to 15,000 offspring per year? That’s why you’ll want to act quickly if you notice pests in your compost. Secure your pile by using a rodent-proof bin with a tight lid, bury food scraps 8-12 inches deep, and avoid adding meat, dairy, or oily foods. You can also surround the base with 1/4-inch hardware cloth and maintain proper moisture levels to deter unwanted visitors.
Are Compostable Bags and Packaging Truly Safe for Home Composting?
Not all “compostable” bags and packaging are suitable for home composting. You’ll need to check for specific certifications like “home compostable” or “OK Compost HOME.” Many items labeled as compostable are only designed for industrial facilities with higher temperatures and controlled conditions. True home-compostable materials should break down within 180 days at lower temperatures (20-30°C), without leaving toxic residues in your compost.
How Can I Speed up the Composting Process Naturally?
While patience yields richness, you can accelerate your composting process naturally. Chop materials into smaller pieces to increase surface area for decomposition, maintain a balanced carbon-to-nitrogen ratio (30:1), keep moisture at 40-60%, and turn your pile weekly. Add nitrogen-rich activators like coffee grounds, grass clippings, or manure. You’ll also boost decomposition by layering materials properly and ensuring adequate aeration through strategic placement of twigs.

