This website contains affiliate links. Some products are gifted by the brand to test. As an Amazon Associate, I earn from qualifying purchases. The content on this website was created with the help of AI.
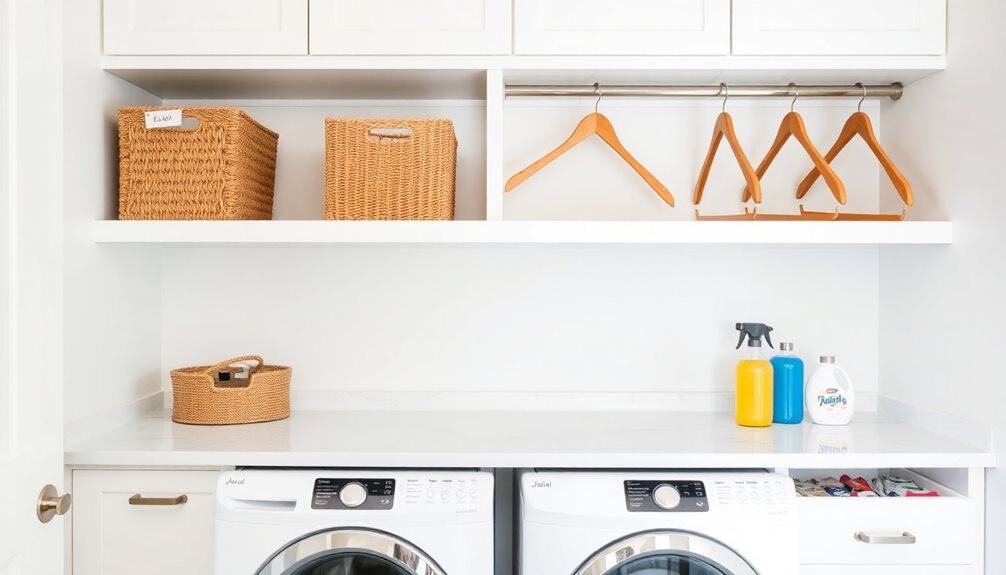
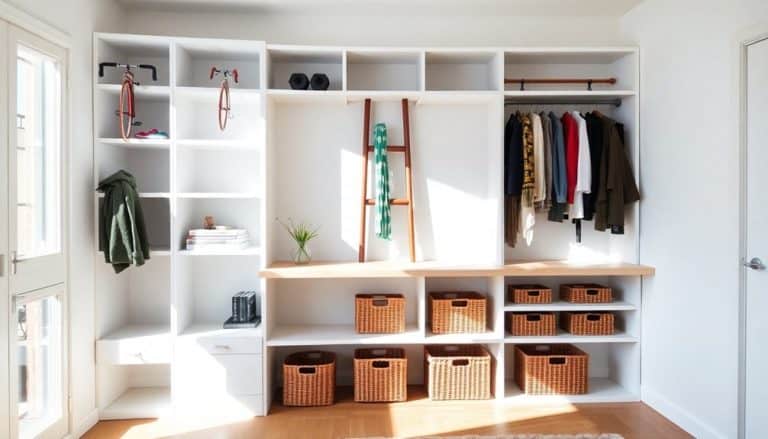
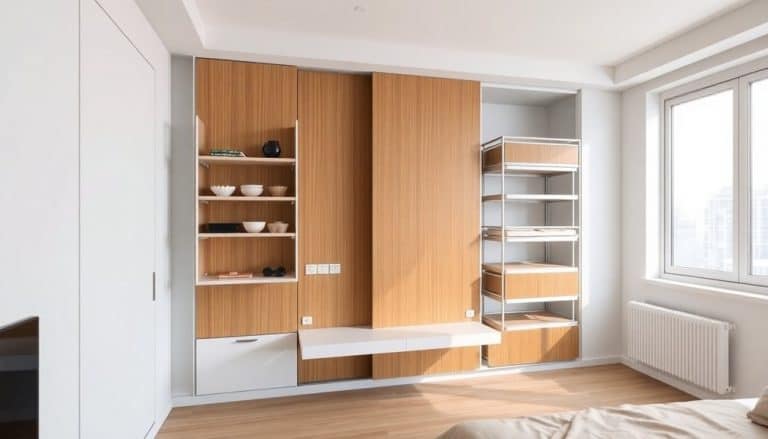
Transform your laundry room into an efficiency powerhouse by maximizing vertical wall space with adjustable shelving, hooks, and pull-down drying racks. Create designated sorting zones near your washer using stackable bins, and install a counter-height folding station with clear storage containers for supplies. Utilize over-the-door organizers and hooks for ironing boards and delicates, while keeping frequently used items at eye level. Label everything clearly with waterproof tags, and use mesh bags for small items. Maintain organization with a whiteboard system for inventory tracking. These foundational tips will set the stage for even more game-changing improvements to your laundry routine.
Key Takeaways
- Install adjustable wall-mounted shelving with hooks underneath to maximize vertical storage and create easy access to frequently used items.
- Implement a clear labeling system for bins, containers, and sorting zones to maintain organization and streamline the laundry process.
- Create designated zones for sorting, pre-treating, and folding with appropriate storage solutions at each station for optimal workflow.
- Use clear containers and dispensers for cleaning supplies, transferring powdered detergents to airtight containers to prevent spills.
- Mount over-the-door organizers and hooks for additional storage of ironing boards, drying racks, and laundry supplies.
Maximize Vertical Wall Space
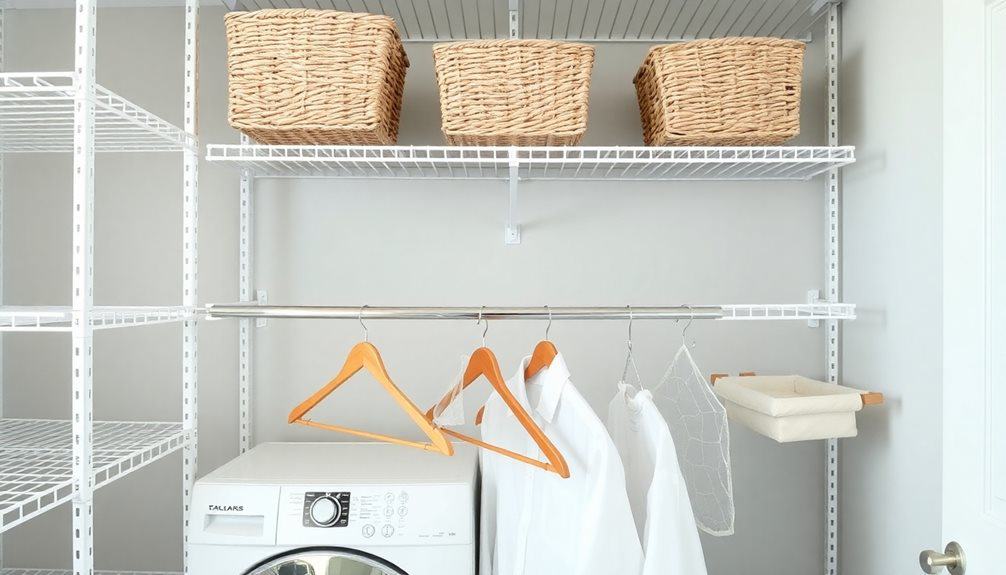
One of the most efficient ways to optimize your laundry room is to take full advantage of the vertical space from floor up to ceiling. Install adjustable wall-mounted shelving systems that let you customize the height between shelves based on your storage needs. Add hooks beneath shelves to hang cleaning tools, ironing boards, and garment bags.
Mount a sturdy rod between upper cabinets or shelves to create an instant hanging area for freshly pressed clothes or air-dry items. You’ll want to position frequently used supplies at eye level, while storing seasonal or rarely used items on higher shelves. Consider installing a pull-down drying rack that folds flat against the wall when not in use.
Make use of the space behind your door by mounting an over-the-door organizer for smaller items like dryer sheets, stain removers, and clothing repair supplies. Install stackable washer-dryer units if possible to free up additional floor space. Add wall-mounted fold-out tables or ironing boards that can be tucked away when not needed. Every vertical inch counts, so don’t overlook the potential of narrow spaces between appliances for sliding storage carts. For maximum organization efficiency, incorporate modular drawer dividers to keep laundry supplies neatly compartmentalized and easily accessible.
Create Smart Sorting Zones
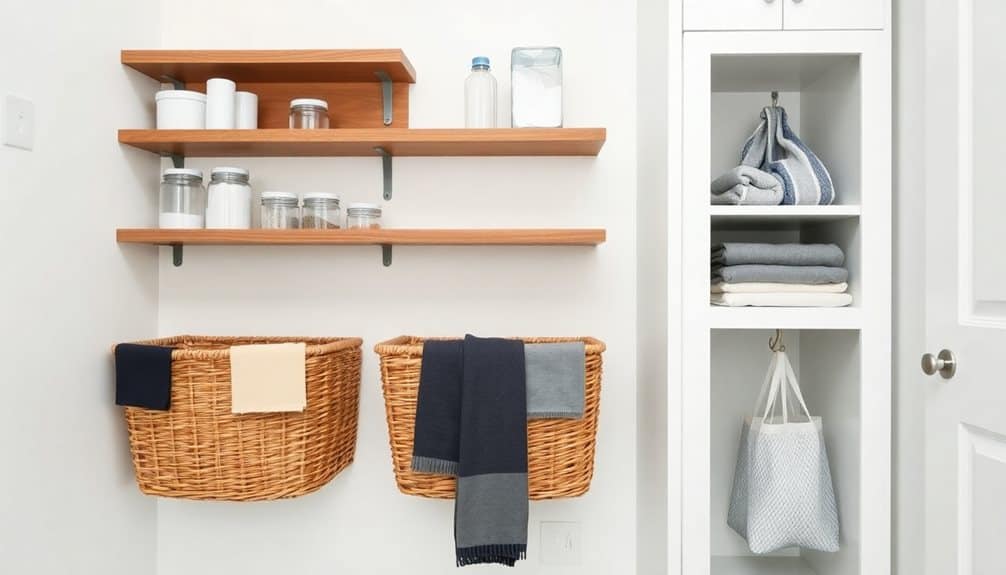
To streamline your laundry process, designate specific sorting zones that align with your washing routine. Consider creating clearly marked areas for lights, darks, delicates, and heavily soiled items. You’ll save time and prevent laundry mix-ups by establishing these dedicated spaces using labeled hampers or sorting bins.
Install a practical sorting system that works with your space’s layout. Position your sorting zones near the washer for efficient transfer, and guarantee there’s enough room to maneuver between areas. If you’re working with limited floor space, opt for stackable sorting bins or collapsible hampers that won’t compromise your movement.
For an efficient sorting setup, incorporate these essential elements:
- Multi-compartment rolling hampers with removable bags for easy transport from bedrooms to laundry room
- Color-coded bins or labels that clearly identify each category (whites, colors, towels, etc.)
- A designated pre-treatment station with a small sorting surface for stained items
Remember to position your sorting zones at a comfortable height to prevent unnecessary bending and strain. You’ll maintain better organization and workflow by keeping all sorting areas visible and easily accessible during your laundry routine.
Hidden Folding Station Solutions
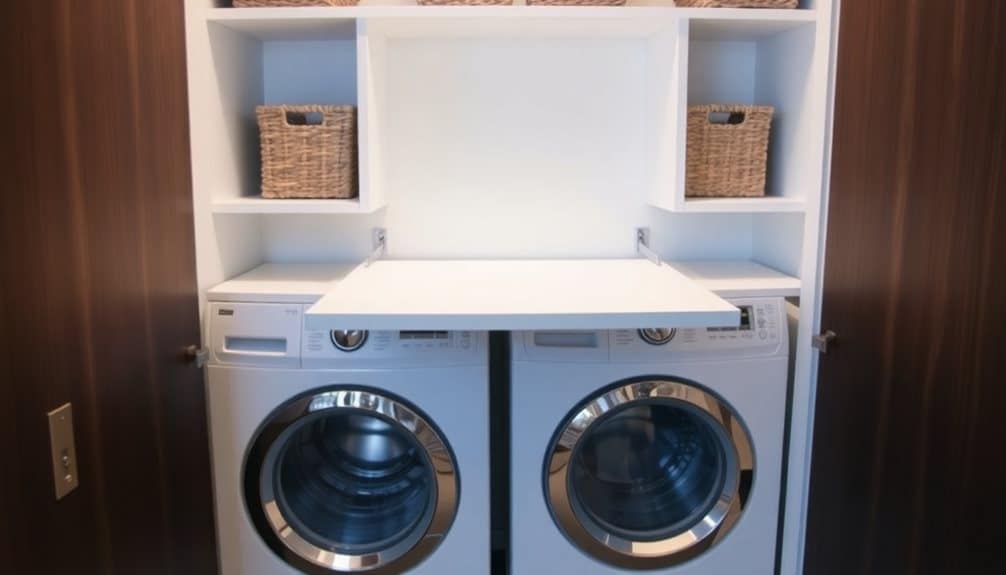
Every laundry room can benefit from a clever folding station that tucks away when not in use. You’ll maximize your space efficiency by installing a wall-mounted drop-down table that folds flat against the wall when you’re done. Look for models with integrated support brackets that can hold up to 50 pounds when extended.
Consider installing a pull-out counter between your washer and dryer if you’ve got a 24-inch gap. These specialty countertops slide out smoothly on heavy-duty rails and provide a stable surface for folding clothes. You can also repurpose a sturdy drawer front by adding hinges to create a fold-down surface above your machines.
For tight spaces, mount a retractable clothesline-style system with parallel cords that extend across your laundry area. You’ll create an instant flat surface for laying out delicates or sorting items. Don’t overlook the potential of your dryer top – add a custom-cut melamine board that fits perfectly and removes easily when needed. Include non-slip rubber feet underneath to prevent sliding, and you’ve got an instant folding station that doesn’t take up any additional space.
Declutter Counter Spaces
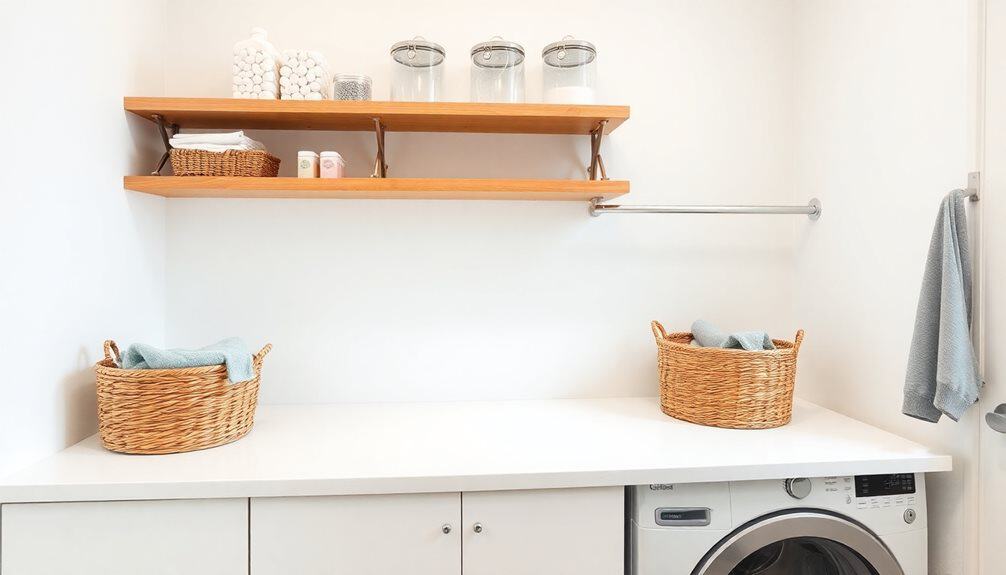
Now that you’ve established your folding surfaces, keeping them clear and functional requires smart organization. Counter clutter accumulates quickly in laundry rooms, turning workspaces into catch-all zones for detergents, dryer sheets, and miscellaneous household items. Maximize your counter efficiency by installing floating shelves above work areas and utilizing vertical wall space for frequently used supplies.
Create designated zones on your counters to maintain order and improve workflow. Store daily essentials in attractive, labeled containers that complement your space while keeping items accessible. Install a pull-out drying rack underneath your counter to free up surface area, and consider mounting a retractable clothesline above the counter for air-drying delicates.
- Position cleaning supplies in a rotating turntable organizer, grouping items by use: stain removers at the front, specialty detergents in the middle, and bleach products at the back
- Mount a magnetic strip under your cabinets to hold small metal tools like safety pins, scissors, and lint brushes
- Use clear, stackable containers with pour spouts for powder detergents and dryer sheets, eliminating bulky packaging that consumes valuable space
Label Everything

Systematic labeling serves as the cornerstone of a well-organized laundry room, enabling you to maintain order and streamline your workflow. Start by creating clear labels for your storage containers, detergent dispensers, and sorting bins. You’ll want to use waterproof labels that can withstand the humid environment of your laundry space.
Label your laundry sorting bins with specific categories like “lights,” “darks,” “delicates,” and “heavy duty.” Don’t forget to mark your cleaning supply containers, especially if you transfer products into clear dispensers. Include essential information such as product type, dilution ratios, and safety warnings.
Create care instruction labels for specialty items and attach them to designated storage areas. You can also label your washer and dryer settings for different fabric types, making it easier for family members to do laundry correctly. Use a label maker or waterproof markers to mark shelves and cabinets, indicating what belongs where. Consider adding wash cycle reminder labels that outline common stain treatments and water temperature guidelines. This extensive labeling system will help you maintain organization and prevent confusion about proper laundry care procedures.
Install Space-Saving Storage Systems
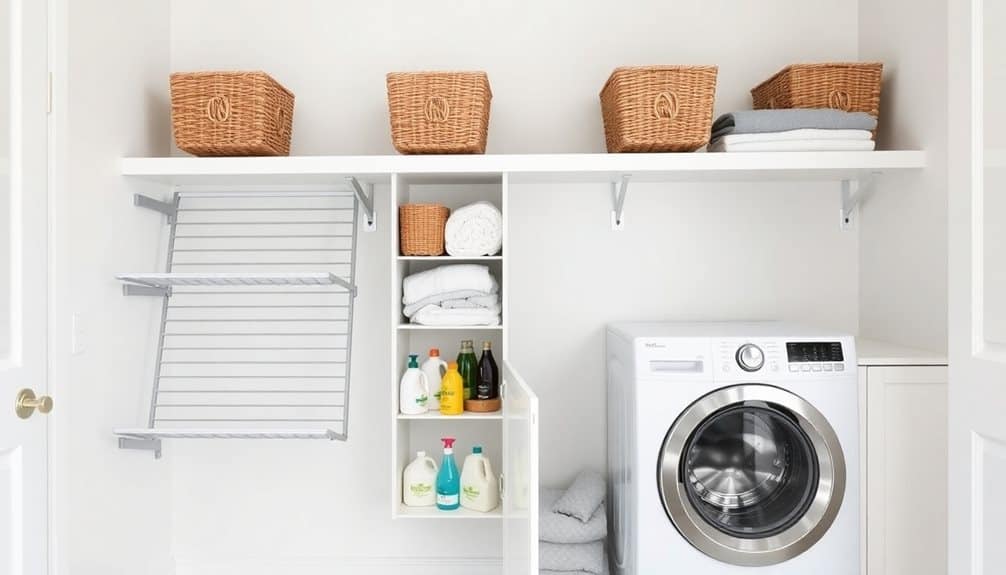
With your labels in place, maximizing vertical space becomes the next key step in laundry room organization. Install adjustable shelving systems that extend from floor to ceiling, taking advantage of often-overlooked wall space. You’ll want to focus on modular components that can be reconfigured as your storage needs change.
Consider these space-maximizing installations:
- Mount a retractable clothing rod between cabinets for hanging delicates and dress shirts, ensuring it’s positioned high enough to accommodate longer garments while keeping them off the floor
- Install pull-out laundry hampers on sliding tracks beneath your folding counter, creating designated spaces for sorting lights, darks, and delicates without sacrificing floor space
- Attach a fold-down ironing board to the wall, which can be tucked away when not in use while remaining easily accessible for quick touch-ups
Don’t forget to utilize the back of your laundry room door by adding an over-the-door organizer for cleaning supplies and small accessories. If you’re working with a compact space, opt for stackable washer and dryer units to free up valuable floor space for additional storage solutions.
Utilize Door Space

Transform your laundry room door into a powerhouse storage zone by maximizing its untapped potential. Install an over-the-door organizer with multiple pockets to store small items like dryer sheets, stain removers, and spare buttons. Choose a clear pocket organizer to easily identify contents, or opt for mesh versions that allow airflow for storing damp items.
Mount sturdy hooks on the door’s back side to hang your ironing board, drying rack, or garment steamer when they’re not in use. Consider installing a towel bar to hold clothes on hangers or to air-dry delicate items. If you’re dealing with a hollow-core door, use adhesive hooks rated for your door’s weight capacity.
Don’t forget the often-overlooked inside door frame, where you can attach magnetic strips to hold safety pins, scissors, and other metal tools. For deeper storage needs, install a narrow door-mounted rack with adjustable shelving to hold detergents and cleaning supplies. Make certain to measure your door’s dimensions and clearance space before purchasing any organizational systems to guarantee proper fit and functionality. For a cohesive look that matches playroom organization, consider using storage cubbies in complementary colors and styles.
Add Functional Shelving
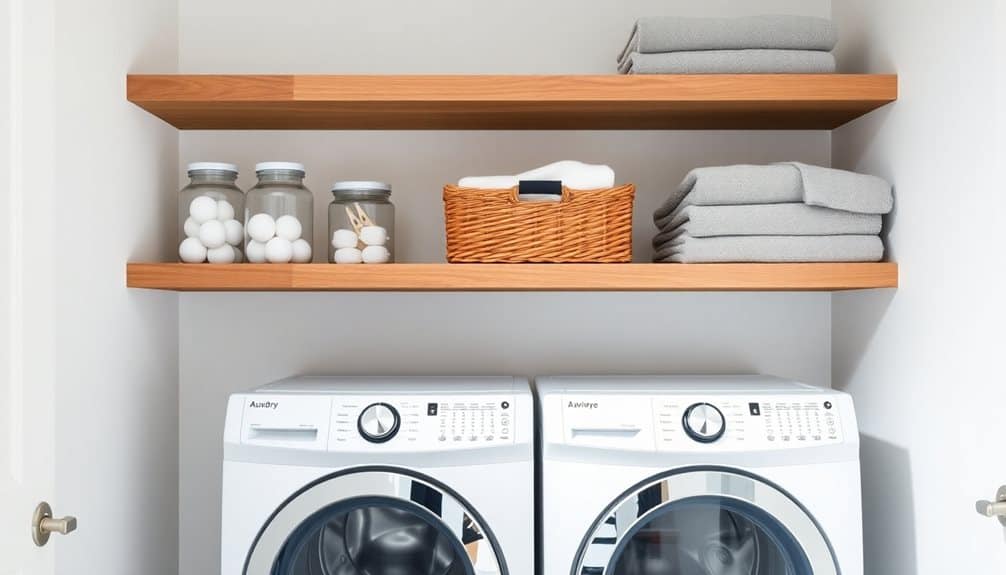
Installing well-planned shelving systems can revolutionize your laundry room’s storage capacity and workflow efficiency. Start by measuring your available wall space and considering your specific storage needs. Choose adjustable shelving units that you can modify as your requirements change over time.
When installing your shelving system, follow a strategic approach to maximize functionality. Position frequently used items at eye level, heavier items on lower shelves, and seasonal or rarely used items up high. Consider incorporating these essential shelving zones:
- Dedicated supply shelf: Position cleaning supplies, detergents, and fabric softeners within arm’s reach of your washer and dryer
- Folding station shelf: Install a sturdy shelf at counter height (36-38 inches) for efficient folding and sorting
- Multi-purpose storage shelf: Create designated spots for laundry baskets, drying racks, and ironing supplies
Don’t forget to leave adequate vertical space between shelves to accommodate tall items and guarantee proper air circulation. Use shelf dividers or bins to keep smaller items organized and prevent clutter from accumulating. Label your shelving zones clearly to maintain organization and help other household members maintain the system.
Organize Cleaning Supplies

Now that your shelving is in place, implementing a smart system for cleaning supplies will streamline your laundry routine. Start by categorizing your products into distinct groups: detergents, stain removers, fabric softeners, and specialty cleaners. Use clear storage bins or baskets to keep each category separate and easily accessible.
Install a tension rod under your sink to hang spray bottles, leaving valuable shelf space for other items. Place frequently used products at eye level, and store rarely used items on higher shelves. Invest in airtight containers for powdered detergents to prevent moisture damage and spills. Don’t forget to label everything clearly with waterproof labels or a label maker.
Create a designated spot for measuring cups and dryer balls, perhaps using a small drawer or magnetic hooks on your washer’s side. Keep a whiteboard nearby to track your cleaning supply inventory and make shopping lists. Store hazardous materials in locked cabinets if you have children or pets. Consider transferring liquid detergents into clear dispensers with pumps for precise measurements and less mess. Position a small caddy with essential supplies between your washer and dryer for quick access during laundry cycles.
Frequently Asked Questions
How Do I Prevent Mold and Mildew in My Laundry Room?
Like a sentinel guarding your home, proper ventilation stands as your first defense against mold and mildew. You’ll need to run an exhaust fan or dehumidifier to keep humidity below 60%. Don’t let wet clothes sit in the washer, and wipe down surfaces regularly with vinegar solution. Fix any leaks immediately, and keep your washer door open between loads to prevent moisture buildup. Consider moisture-absorbing products for tight spaces.
What’s the Ideal Humidity Level for a Laundry Room?
You’ll want to maintain your laundry room’s humidity between 40-50% for ideal conditions. If you’re measuring above 50%, you’re risking mold growth and musty odors. Below 40%, the air becomes too dry and can cause static electricity problems. Install a humidity monitor and use a dehumidifier or ventilation fan to regulate moisture levels. During winter months, you might need a humidifier to boost low levels.
Should I Install a Drain in My Laundry Room Floor?
Installing a laundry room floor drain is a smart preventive measure you’ll appreciate if you ever face appliance leaks or overflows. You’ll need to guarantee proper slope (1/4 inch per foot) toward the drain and waterproof your floor before installation. Consider a deep seal P-trap to prevent sewer gas backup, and check local building codes first. If you’re remodeling, now’s the ideal time to add this safety feature.
How Often Should Dryer Vents Be Professionally Cleaned?
You’ll need to have your dryer vent professionally cleaned every 12-18 months, depending on your dryer usage and household size. If you run multiple loads daily or have a large family, schedule cleanings closer to the 12-month mark. Watch for warning signs like longer drying times, burning smells, or excessive lint buildup, which indicate you need immediate cleaning. Professional cleaning prevents fire hazards and maintains your dryer’s efficiency.
What’s the Best Flooring Material for a Laundry Room?
For your laundry room, you’ll want luxury vinyl tile (LVT) or porcelain tile as your top options. Both materials resist water damage, handle heavy appliance weight, and clean easily. LVT offers better comfort underfoot and costs less, while porcelain tile provides superior durability and moisture resistance. Don’t choose hardwood or laminate, as they’re vulnerable to water damage and warping from laundry activities.

