This website contains affiliate links. Some products are gifted by the brand to test. As an Amazon Associate, I earn from qualifying purchases. The content on this website was created with the help of AI.
Transform your chaotic linen closet into an organized haven with these five essential steps. Start by emptying everything and sorting items into clear categories like bedding, towels, and table linens. Next, remove damaged or excess pieces, keeping only what you’ll realistically use. Group similar items together, matching sets and sizes for easy access. Install strategic storage solutions like adjustable shelves and clear bins to maximize your space. Finally, create a labeling system and maintain order through regular rotation and inspection. These proven organizing principles will help you create a system that lasts.
Key Takeaways
- Empty your linen closet completely and sort items into categories like bedding, towels, and table linens for a fresh start.
- Remove damaged, stained, or excess linens, keeping only essential quantities based on household needs and available storage space.
- Group similar items together by size, purpose, and matching sets to create intuitive organization and easy access.
- Install adjustable shelving and clear storage containers with labels to maximize space and maintain visibility of items.
- Create a labeling system and maintenance schedule to keep linens organized and rotated properly over time.
Empty and Sort Everything
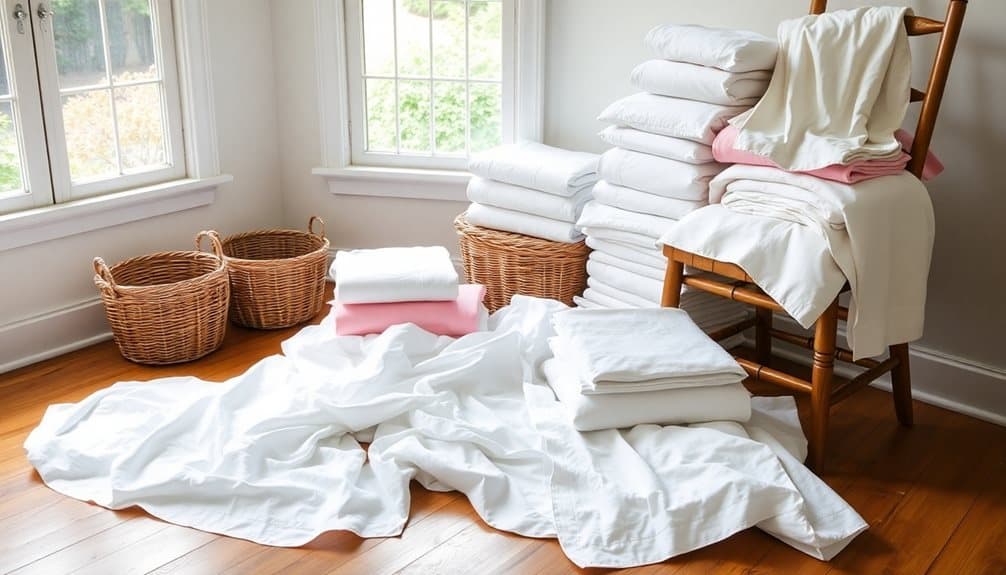
When organizing your linen closet, start by removing every item and placing them on a clean, flat surface. Sort your linens into distinct categories: bed sheets, pillowcases, blankets, bath towels, hand towels, washcloths, and table linens. Create separate piles for each bedroom size: twin, full, queen, and king.
As you sort, inspect each item for damage, stains, or wear. Set aside items that need repair or cleaning, and create a discard pile for linens that are beyond salvaging. Count your items to determine if you’ve got the right quantity for your household’s needs – typically three sets of sheets per bed and 2-3 towels per person.
Group items by both function and color, making sure matching sets stay together. You’ll want to pair fitted sheets with their flat counterparts and matching pillowcases. For towels, arrange them by size and purpose, keeping guest towels separate from everyday ones. Don’t forget to check expiration dates on any stored mothballs or linen sprays you find during this process. Label each pile clearly to maintain organization as you prepare to return items to the closet.
Remove Unwanted Linens
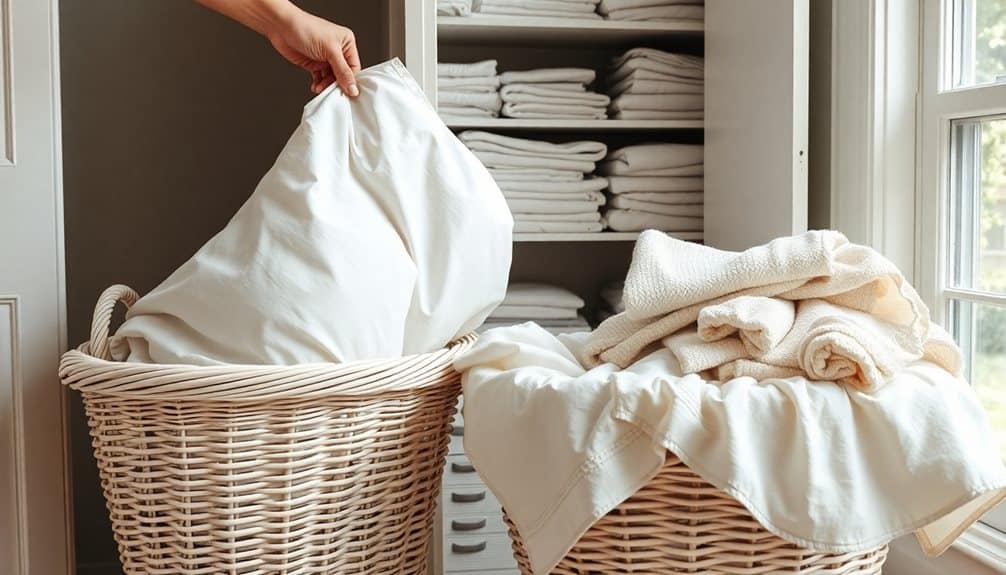
Now that you’ve sorted through your linens, it’s time to streamline your collection. Begin by examining each item’s condition and removing anything that’s torn, stained, or worn beyond repair. Check for yellowing, permanent discoloration, or fabric deterioration that can’t be fixed with washing.
Next, assess duplicates and excess items. Keep two to three sets of sheets per bed and three to four sets of towels per person. For special-occasion linens, retain only what you’ll realistically use within a year. Remove outdated or unused items like old tablecloths that don’t match your current décor or guest towels you’ve never displayed.
Consider your storage space limitations. If you’re tight on space, keep only seasonal items appropriate for current weather conditions. Store or donate items like heavy winter blankets during summer months. Don’t hold onto linens “just in case” – if you haven’t used them in the past year, you likely won’t need them.
Place discarded items into three piles: donate, repurpose, and trash. Clean, gently used linens can go to shelters or thrift stores. Convert worn towels into cleaning rags, and dispose of anything that’s badly damaged or unsanitary.
Group Similar Items Together

The next essential step in linen organization involves grouping your items into clear categories. Start by separating your linens into major categories: bedding, bathroom items, kitchen textiles, and table linens. Within each category, create subcategories based on size and function.
Sort your bedding by size: twin, full, queen, and king sheets together. Group pillowcases with their matching sheets, and keep duvet covers near their corresponding shams. For bathroom items, organize towels by size and purpose: bath sheets, hand towels, washcloths, and guest towels.
In your kitchen textile collection, separate dish towels, cleaning cloths, potholders, and table linens. Group cloth napkins by color or pattern, and keep tablecloths organized by size and occasion. If you’ve got seasonal items, like holiday-themed linens or summer tablecloths, create a separate category for these.
Label each group clearly, whether you’re using shelf dividers, bins, or dedicated drawers. You’ll want to maintain these groupings consistently, making it easier to find what you need and put items away properly after laundering.
Choose Strategic Storage Solutions
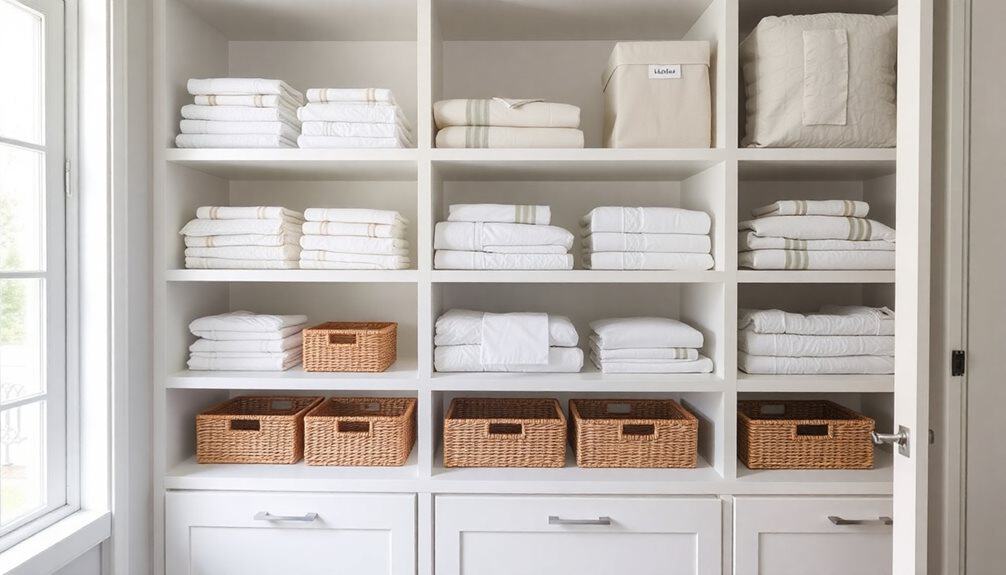
Selecting the right storage solutions sets you up for long-term organization success. Consider your space constraints and linen inventory when choosing storage options. Install adjustable shelving units to maximize vertical space and accommodate items of varying sizes. Use clear bins or baskets with labels to keep categories separate while maintaining visibility of contents.
For frequently used items, opt for pull-out drawers or front-loading containers that provide easy access. Install door-mounted organizers or over-the-door hooks to utilize otherwise wasted space. Choose breathable storage solutions for delicate linens – canvas boxes or cotton bags protect items while allowing air circulation to prevent moisture buildup.
Invest in vacuum storage bags for seasonal items or bulky bedding that you don’t use regularly. Add shelf dividers to prevent stacks from toppling and maintain neat vertical separation. Select stackable containers when dealing with limited space, guaranteeing they’re sturdy enough to support weight. Install under-bed storage systems with wheels for convenient access to extra linens. Remember to measure your storage space precisely before purchasing any organizational tools to ascertain a proper fit. Make the most of under sink space by installing pull-out organizers for cleaning supplies and extra linens.
Label and Maintain Order

Implementing a clear labeling system serves as the foundation for maintaining organized linens long-term. Create waterproof labels for each shelf, bin, or drawer that specify the contents, size, and quantity of items stored. You’ll want to include details like “Queen Sheet Sets,” “Guest Towels,” or “King Pillowcases” to guarantee quick identification.
Establish a rotation system by marking purchase dates or implementing a first-in, first-out method. Place newer items at the bottom or back of storage areas, moving older pieces to the front for immediate use. You’ll need to regularly inspect your linens for wear, stains, or damage, removing items that no longer meet your standards.
Set up a maintenance schedule that includes quarterly reviews of your organization system. During these reviews, verify that items remain in their designated spaces, labels stay intact, and your categorization still makes sense for your needs. Don’t forget to update labels when you add new items or modify your storage arrangement. If you’re storing seasonal items, create separate sections with clear change periods marked on your calendar to swap them out efficiently.
Frequently Asked Questions
How Often Should I Wash Stored Linens to Prevent Musty Odors?
Ever noticed how linens can whisper secrets of neglect through musty scents? You’ll want to wash your stored linens every 3-4 months, even if you haven’t used them. Don’t forget to guarantee they’re completely dry before storing. If you’re in a humid climate, you might need to wash them more frequently—every 2-3 months. Adding silica gel packets or cedar blocks between stored linens helps prevent moisture buildup.
What’s the Best Way to Remove Yellowing From Vintage or Heirloom Linens?
You’ll need to tackle yellowed heirloom linens with a gentle approach. First, soak them in a mixture of warm water and oxygen-based bleach for 4 hours. Next, create a solution of 1/2 cup white vinegar per gallon of water, and soak for 30 minutes. For stubborn stains, try laying the linens in direct sunlight after treating – the natural bleaching effect works wonders without damaging delicate fibers.
Should I Store Linens in Vacuum-Sealed Bags for Long-Term Storage?
While vacuum-sealed bags might seem ideal, you shouldn’t use them for storing linens. The compression can create permanent creases and damage fabric fibers over time. Instead, store your linens in breathable cotton bags or pillowcases. You’ll want to avoid plastic containers, which can trap moisture and lead to mildew. If you must use plastic, add silica gel packets and make certain linens are completely dry before storage.
How Can I Prevent Bed Bugs From Infesting Stored Linens?
Want to keep those pesky bed bugs from turning your stored linens into their personal paradise? Start by washing and drying all linens at high temperatures (at least 120°F) before storage. Seal them in airtight plastic containers or heavy-duty bags, not cardboard boxes. Add cedar blocks or lavender sachets as natural deterrents, and inspect your storage area regularly. Don’t forget to keep storage spaces clean, dry, and well-ventilated.
What’s the Ideal Room Temperature and Humidity for Storing Delicate Linens?
You’ll want to maintain your storage area at 65-75°F (18-24°C) with relative humidity between 45-50%. Don’t let humidity exceed 55%, as it encourages mildew growth. Use a dehumidifier in damp spaces and monitor conditions with a hygrometer. If you’re storing heirloom or antique linens, aim for the cooler end of the range, around 65°F, which helps preserve fibers and prevents yellowing.


