This website contains affiliate links. Some products are gifted by the brand to test. As an Amazon Associate, I earn from qualifying purchases. The content on this website was created with the help of AI.
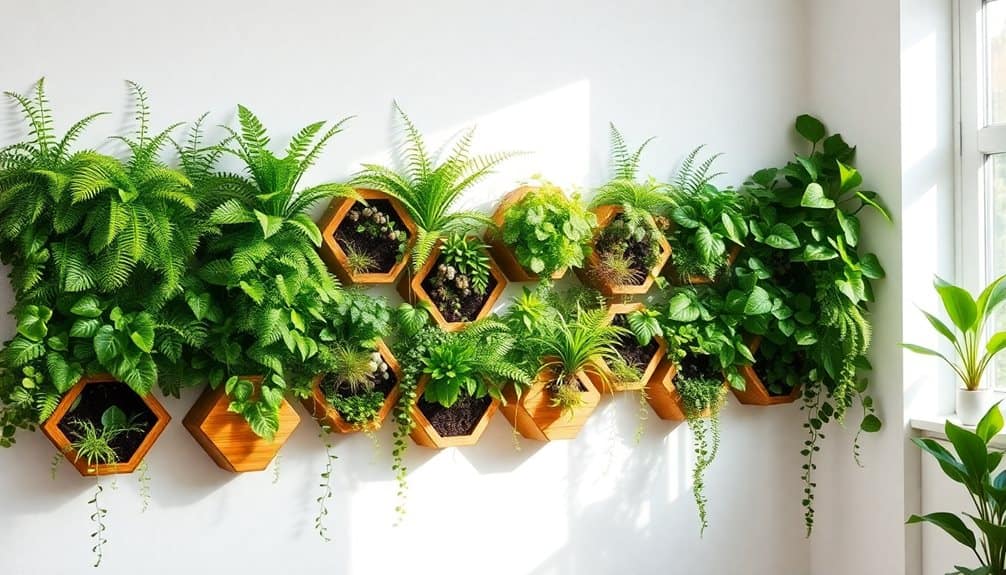
Transform your space with a stunning DIY plant wall in five manageable steps. You’ll start by mapping out your design and gathering essential materials like mounting frames, planters, and tools. Next, install a stable grid system using wall anchors and proper spacing for support. Choose plants that match your wall’s lighting conditions, mixing leaf sizes and textures for visual appeal. Finally, mount everything securely and establish a maintenance routine with regular watering and health checks. With these fundamentals in place, you’re ready to discover the finer points of creating your own vertical garden paradise.
Key Takeaways
- Plan your wall design by mapping dimensions, light exposure, and required support structures before starting the installation process.
- Gather essential materials including mounting frames, plastic modules, tools, and appropriate hardware for your specific wall type.
- Install a sturdy grid system using wall studs for support and ensure proper spacing for plant modules.
- Select compatible plants based on light conditions, mixing different textures while prioritizing low-maintenance varieties for easy care.
- Set up reliable irrigation and implement a weekly maintenance schedule to keep plants healthy and thriving.
Planning Your Living Wall Design

Before diving into your plant wall installation, take time to map out a cohesive design that matches your space and lifestyle needs. Consider your wall’s dimensions, lighting conditions, and structural support capabilities. You’ll want to select a location that receives appropriate light for your chosen plants while ensuring the wall can bear the added weight of planters, soil, and water.
Sketch your design on paper, marking out different planting zones based on light requirements and visual appeal. Create a dynamic layout by varying plant heights, textures, and colors. You’ll need to factor in maintenance access, so don’t position plants too high or in hard-to-reach spots. Calculate the number of planters or modules you’ll need and determine their spacing.
Consider your plant selection carefully. Choose species that share similar care requirements and growth habits. Include a mix of trailing plants for cascading effects, upright varieties for height, and compact plants for filling spaces. Don’t forget to account for seasonal changes and growth patterns. It’s smart to include a water management system in your design, whether it’s self-watering planters or an irrigation setup. Keep pruning tools nearby for regular maintenance to ensure healthy growth and maintain your wall’s aesthetic appeal.
Gathering Essential Materials
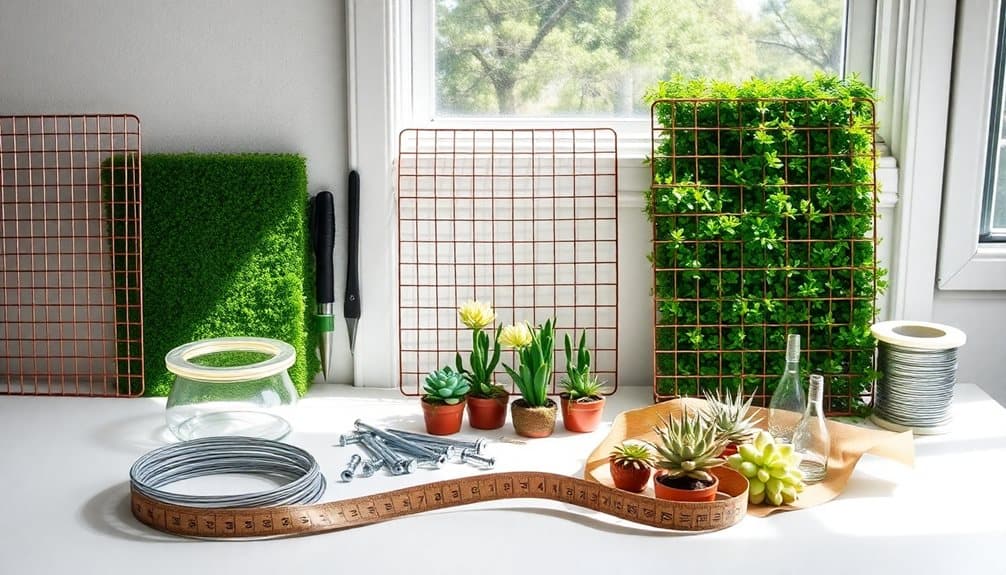
Success in creating your DIY plant wall starts with assembling the right materials and tools. You’ll need a mounting frame system, which can be either a pre-made living wall grid or custom-built wooden frames with wire mesh. For the planting infrastructure, gather plastic planting modules, moisture-resistant backing material, and a drip irrigation system if you’re planning a larger installation.
Essential tools include a drill with various bits, a level, measuring tape, scissors, utility knife, and protective gear like gloves and safety glasses. Don’t forget mounting hardware such as screws, wall anchors, and brackets suitable for your wall type. For the growing medium, you’ll need lightweight potting soil specifically formulated for vertical gardens, which provides better drainage and reduces the overall weight of your installation.
For plant selection, you’ll want small containers or plug trays of your chosen varieties, slow-release fertilizer, and root hormone to encourage strong growth. If you’re including lighting, gather LED grow lights with mounting brackets. Finally, collect maintenance supplies like pruning shears, watering can, and a spray bottle for regular upkeep. Keep several garden bags nearby to collect trimmings and make cleanup easier during installation and maintenance.
Setting Up The Grid
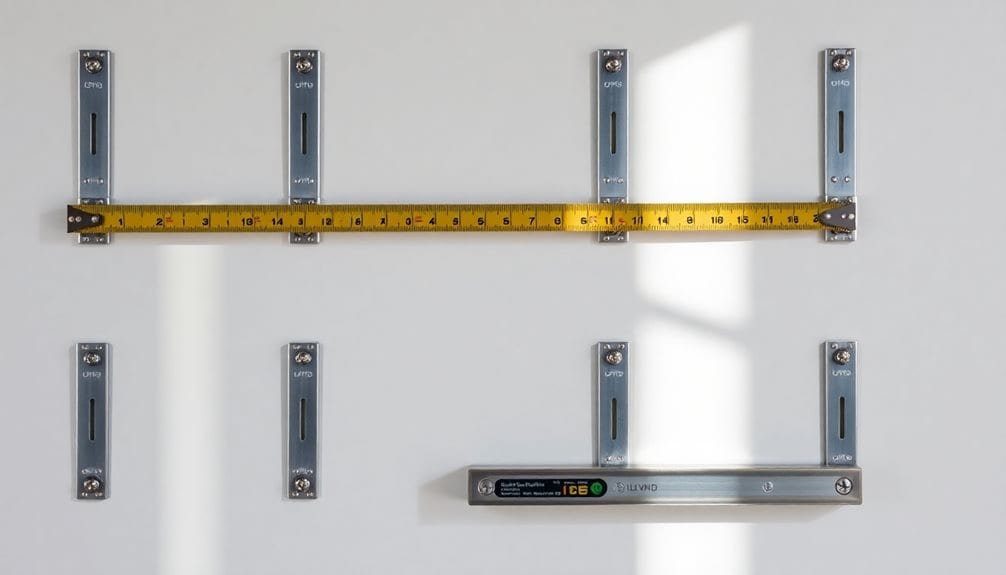
Setting up your plant wall grid starts with mounting the primary frame onto your selected wall surface. Begin by marking your wall’s studs and pre-drilling holes at 16-inch intervals. Secure the frame using heavy-duty mounting screws, ensuring it’s perfectly level using a bubble level tool.
Next, create your grid pattern using either wire mesh or wooden slats. If you’re using wire mesh, attach it to the primary frame using UV-resistant zip ties or metal clips every 6 inches. For wooden slats, space them 8 inches apart horizontally and vertically, creating uniform squares for your plant holders.
Install cross-bracing supports at key intersection points to reinforce the grid’s stability. You’ll want to add extra support where you plan to hang heavier plants. Use rust-resistant hardware throughout, as the grid will be exposed to regular watering. Test the grid’s strength by applying pressure at various points before proceeding with plant installation. Don’t forget to leave access spaces within your grid design for future maintenance and plant rotation. Your grid should be sturdy enough to support at least 1.5 times your planned plant weight. Consider installing stylish wall hooks alongside your grid system to hang gardening tools and watering accessories.
Selecting The Right Plants
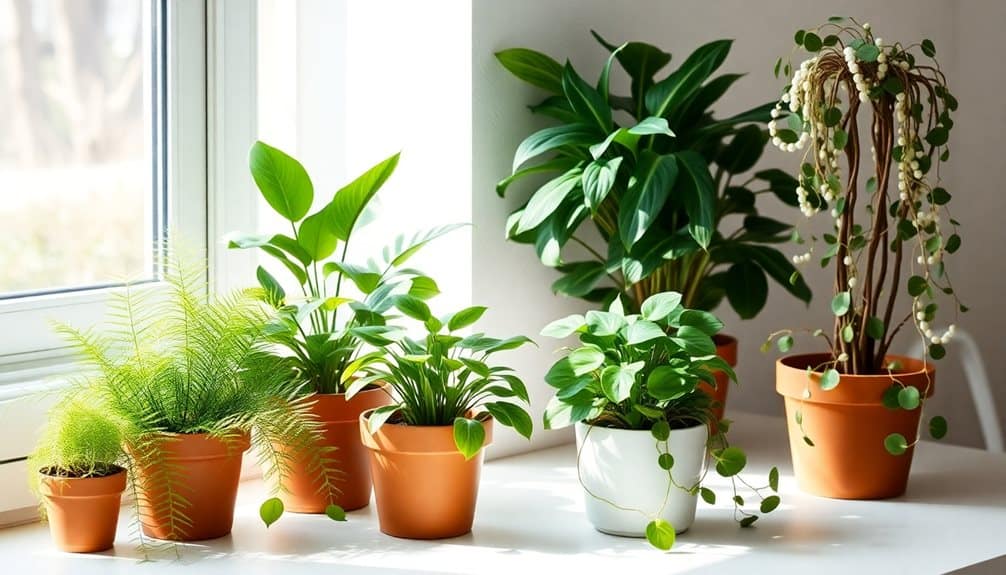
With your grid securely in place, choosing the right plants will make or break your living wall‘s visual impact and longevity. Focus on selecting plants that thrive in vertical settings and share similar care requirements. Pothos, philodendrons, ferns, and succulents are excellent choices that’ll adapt well to vertical growth.
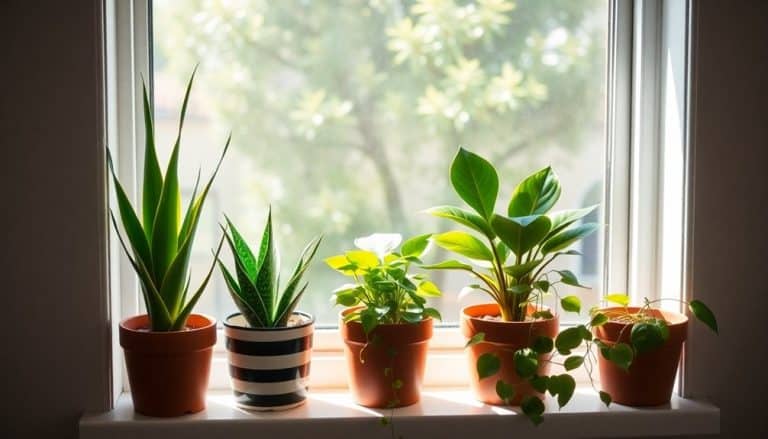
Consider your wall’s light exposure when making selections. For bright, indirect light, try colorful varieties like neon pothos or burgundy rubber plants. In lower-light conditions, stick to hardy options such as ZZ plants or snake plants. You’ll want to create visual interest by mixing different leaf sizes, shapes, and textures.
Don’t overlook maintenance requirements when choosing plants. Select specimens that won’t outgrow their space too quickly and can handle consistent moisture levels. Trailing plants like string of pearls or heart-leaf philodendron add dynamic movement, while upright plants like peace lilies create structural focal points. Aim for a mix of 70% low-maintenance plants and 30% show-stopping varieties to guarantee your wall remains manageable while still delivering dramatic impact. Place quality plant saucers beneath your vertical planters to protect surfaces and maintain proper drainage.
Mounting And Maintenance Tips
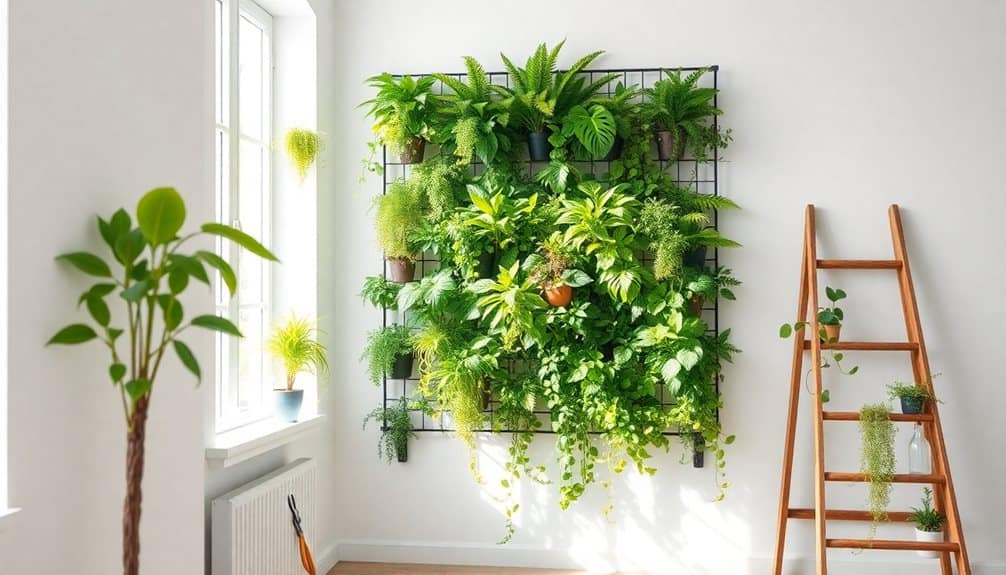
Proper mounting and regular upkeep form the backbone of a thriving plant wall. You’ll need to secure your mounting system to wall studs using appropriate anchors and guarantee proper waterproofing behind your installation. Install a drip irrigation system or easily accessible watering points to maintain consistent moisture levels. Don’t forget to include adequate drainage to prevent water damage to your walls.
Set up a regular maintenance schedule that includes weekly inspections of your plants’ health. You’ll want to check soil moisture levels, trim dead foliage, and monitor for any signs of pest infestation. Rotate plants quarterly to guarantee even growth, and fertilize monthly during growing seasons with a balanced, water-soluble fertilizer.
Clean your plant wall’s surfaces monthly to prevent dust buildup and maintain good air circulation. You should also check all mounting hardware every three months to guarantee everything remains secure. If you notice any loose brackets or failing seals, address these issues immediately. Keep spare parts and replacement plants on hand, as you’ll likely need to swap out specimens occasionally to maintain your wall’s aesthetic appeal. Having the right essential plant tools will make maintenance tasks much easier and more efficient.
Frequently Asked Questions
How Many Hours of Sunlight Does an Indoor Plant Wall Need?
Like a solar-powered battery, your indoor plant wall thrives with proper light exposure. You’ll need to provide 4-6 hours of indirect sunlight daily for most common indoor plants. If you’ve got a wall that’s far from windows, you can supplement with grow lights to maintain healthy growth. You’ll want to avoid direct sunlight, which can scorch leaves and damage delicate plants.
Can I Install a Living Wall in a Rental Property?
You can install a living wall in a rental property if you use removable, non-permanent solutions. Consider freestanding modular systems or portable pocket planters that won’t damage walls. You’ll need your landlord’s permission first, and it’s smart to get it in writing. Opt for self-contained irrigation systems to prevent water damage, and choose mounting methods like tension rods or removable hooks that won’t leave lasting marks.
Will a Plant Wall Increase Humidity in My Room?
Yes, your plant wall will increase room humidity through a natural process called transpiration, where plants release water vapor into the air. You’ll typically see humidity levels rise by 5-10%, depending on your wall’s size and plant density. This increase can be beneficial in dry indoor environments, especially during winter months when heating systems reduce air moisture. Consider adding humidity-loving plants like ferns and peace lilies for maximum effect.
How Much Does a DIY Plant Wall Typically Weigh When Completed?
A completed plant wall’s weight typically ranges from 15 to 40 pounds per square foot, depending on your plant choices, soil volume, and mounting system. You’ll need to account for the structure’s weight (2-5 pounds), growing medium (8-15 pounds when wet), and plants (5-20 pounds). High-moisture plants and larger varieties will add significant weight, so you’ll want to guarantee your wall can support the full load.
Can I Incorporate Artificial Plants With Real Ones in My Wall?
You can definitely mix artificial and real plants in your wall design, but you’ll want to be strategic about placement. Position real plants where they’ll receive appropriate light and care access, while using faux plants in harder-to-reach spots or areas with challenging light conditions. Today’s high-quality artificial plants look incredibly realistic, and when interspersed thoughtfully with living plants, they’ll create a lush, maintenance-friendly display that maintains visual impact year-round.

