This website contains affiliate links. Some products are gifted by the brand to test. As an Amazon Associate, I earn from qualifying purchases. The content on this website was created with the help of AI.
You’ll find superior yields and easier maintenance with 2024’s most efficient raised bed designs. The Basic Cedar Box Bed offers a perfect starting point, requiring just six boards and basic tools for 32 square feet of growing space. For budget-conscious gardeners, transform pallets into durable 4’x6′ beds, while the L-shaped design maximizes corner spaces with ideal sun exposure. Advanced options include the Vertical Tiered System for small spaces, Modern Steel Planters for industrial aesthetics, and Greenhouse-Topped beds for extended growing seasons. Each design incorporates precise soil ratios and drainage specifications to boost your harvest potential. These innovative approaches release garden productivity you never thought possible.
Key Takeaways
- Basic Cedar Box Bed offers a perfect beginner-friendly design with simple construction using six cedar boards and corner posts.
- Upcycled pallet gardens provide a cost-effective solution by transforming wooden shipping pallets into 4′ x 6′ raised beds.
- L-shaped corner designs maximize garden space while creating optimal growing conditions with built-in irrigation systems.
- Vertical tiered systems increase growing capacity through multiple stacked levels with proper drainage and sun exposure.
- Modern steel planters combine durability and style with 25-30 year lifespan and pre-drilled drainage holes for optimal growth.
Basic Cedar Box Bed

A cedar box bed serves as an ideal starting point for novice gardeners looking to build their first raised garden. Cedar’s natural resistance to decay and pest infestation makes it the best choice for constructing a 4′ x 8′ x 12″ bed that’ll last 10-15 years with minimal maintenance.
You’ll need six 2″ x 6″ cedar boards cut to length, creating the sides and ends of your bed. Position the boards horizontally, stacking two boards high to achieve the desired 12″ depth. Install 4″ x 4″ cedar posts at each corner, securing them with 3″ deck screws. These posts serve as anchors, preventing the bed’s walls from bowing under soil pressure.
Pre-drill your screw holes to prevent splitting, and maintain 16″ spacing between screws for the best structural integrity. Line the interior with landscape fabric to prevent cedar oils from leaching into your soil while allowing proper drainage. You’ll want to position your bed on level ground, oriented north-south to maximize sun exposure. This configuration provides 32 square feet of growing space, sufficient for 8-12 vegetable plants depending on species selection. Fill your raised bed with premium potting soil to ensure optimal growing conditions for your plants.
Upcycled Pallet Garden Bed
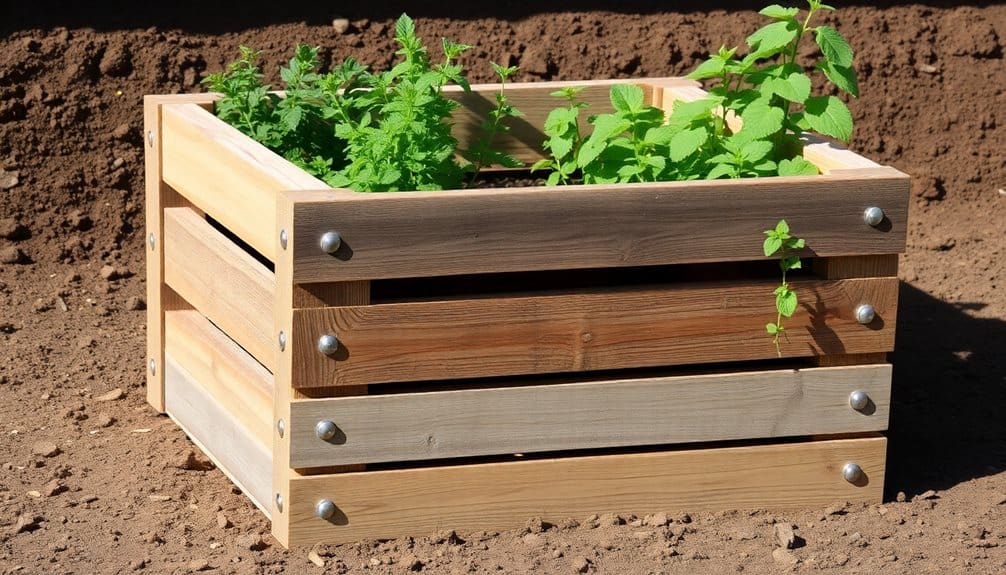
Through careful disassembly and reconstruction, wooden shipping pallets can be transformed into cost-effective raised garden beds that maximize growing space while promoting sustainability. You’ll need to source heat-treated pallets marked with “HT” to guarantee they’re free from harmful chemicals. Select pallets with minimal damage and visible stamps indicating food-grade usage.
Begin by dismantling the pallets using a pry bar and hammer, preserving the longest boards for the bed’s sides. You’ll want to remove all nails and sort the wood by length. Sand any rough areas to prevent splinters and extend the wood’s longevity. Create a rectangular frame using the pallet’s stringers as corner posts, then attach the longer boards horizontally to form walls.
For proper drainage, space the bottom boards 1/4 inch apart and line the interior with landscape fabric. You’ll need to treat any exposed wood with food-safe sealant to resist decay. The completed bed should measure approximately 4′ x 6′ with a depth of 12″. Install cross-support beams every 2 feet to prevent bowing when filled with soil. This design typically accommodates 24 cubic feet of growing medium. To extend the bed’s lifespan up to 10 years, maintain the wood with regular mineral oil applications and seasonal cleaning.
L-Shaped Corner Design

Maximizing corner spaces in your garden becomes effortless with an L-shaped raised bed design that wraps around existing structures or yard boundaries. This configuration optimizes growing space while maintaining accessibility from multiple angles, typically requiring 12-16 linear feet of lumber for construction. You’ll need to guarantee proper soil depth of 12-18 inches to accommodate deep-rooting vegetables and maintain adequate drainage.
The L-shaped design’s primary advantage lies in its microclimate creation, as the two connecting walls provide wind protection and heat retention. When positioning your L-shaped bed, align the longest side facing south to maximize sun exposure for light-hungry crops. The standard dimensions should maintain a 4-foot width for easy reach from either side.
- Calculate interior angles at 90 degrees precisely, using corner braces for structural integrity
- Install cross-supports every 4 feet to prevent soil pressure from bowing the sides
- Incorporate a drip irrigation system along both legs of the L-shape for uniform water distribution
- Layer hardware cloth beneath the structure to deter burrowing pests while maintaining drainage capacity
Fill your raised bed with organic worm castings to improve soil structure and provide essential nutrients for optimal plant growth.
Vertical Tiered Garden System
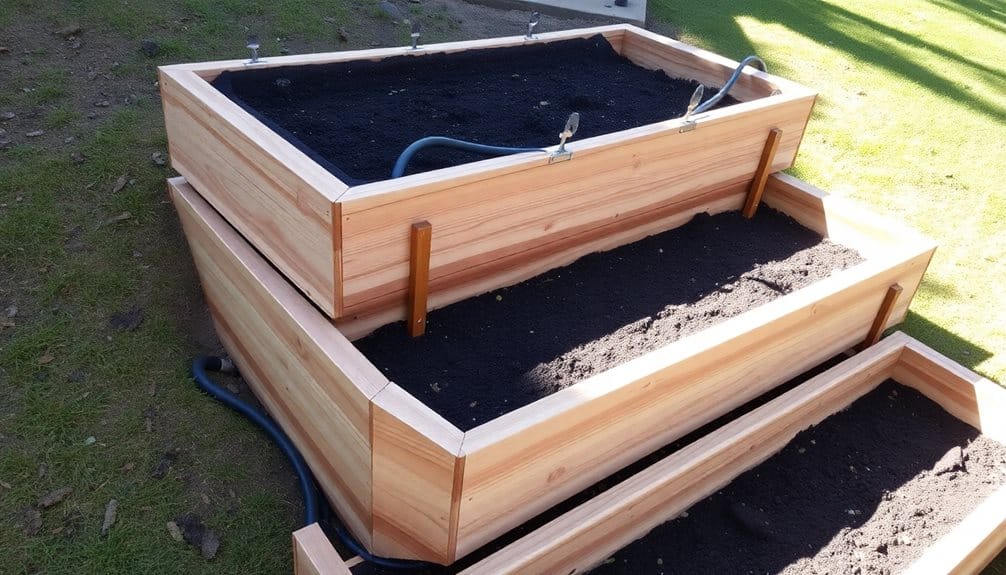
Inside vertical tiered garden systems, multiple growing levels stack progressively to create distinct planting zones while conserving horizontal space. You’ll need to construct each tier with a 6-inch height difference, allowing maximum sun exposure and preventing upper levels from shading lower plantings. The structure requires pressure-treated 2×6 lumber for the frame and 1×6 cedar boards for the growing compartments.
To guarantee proper drainage, you’ll install a 5-degree slope on each tier, incorporating 1/4-inch drainage holes every 12 inches. The system’s backbone consists of vertical support posts anchored 24 inches into the ground with concrete footings. You’ll need to secure cross-bracing every 4 feet to prevent lateral movement and soil pressure deformation.
For soil composition, you’ll use a specialized mix: 60% topsoil, 30% compost, and 10% perlite, providing adequate moisture retention while maintaining proper aeration. Each tier requires individual drip irrigation zones, with main supply lines running through concealed PVC conduits along the vertical supports. This design accommodates root depths of 4-12 inches, making it ideal for herbs, leafy greens, and shallow-rooted vegetables. Similar to greenhouse designs, incorporating UV-resistant panels above each tier can extend your growing season while protecting plants from harsh weather conditions.
Modern Steel Planter Box
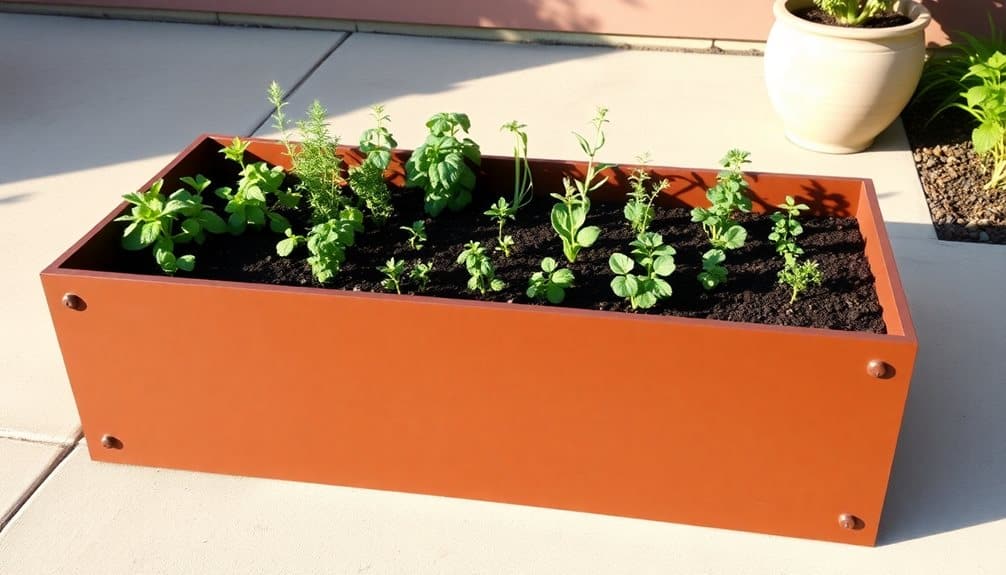
Contemporary steel planter boxes merge industrial aesthetics with functional design, requiring 11-gauge Cor-Ten weathering steel panels cut to precise dimensions. You’ll need to specify panel measurements based on your desired planter dimensions, typically maintaining a minimum depth of 18 inches for root development. The self-weathering properties of Cor-Ten steel create a protective rust patina that prevents structural degradation while providing an oxidized aesthetic that complements modern landscapes.
When constructing your steel planter, follow these critical specifications:
- Pre-drill 3/8-inch drainage holes at 12-inch intervals along the base panels, ensuring proper soil hydration
- Apply food-grade polyurethane sealant to interior surfaces to prevent metal leaching into soil
- Install a geotextile membrane between soil and steel surfaces to maintain soil chemistry
- Incorporate 1-inch steel angle iron at corners, using 3/16-inch self-tapping screws at 6-inch spacing
The completed structure provides ideal growing conditions with superior thermal mass properties, maintaining consistent root zone temperatures. You’ll find the steel construction offers exceptional durability with an estimated service life of 25-30 years when properly maintained. Consider adding a potting bench setup nearby to streamline your planting and maintenance routines throughout the growing season.
Self-Watering Raised Bed
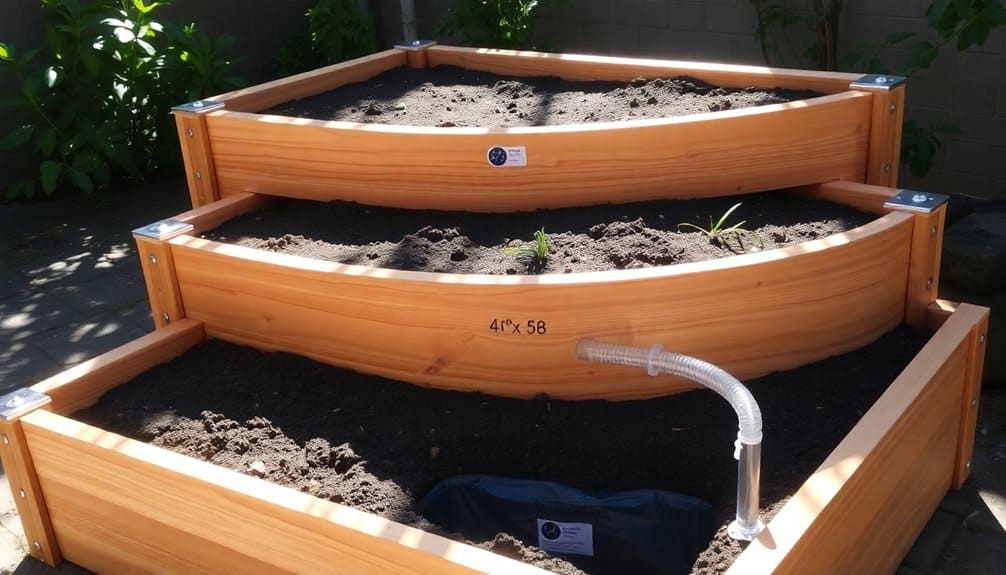
Through innovative water reservoir design, self-watering raised beds enhance moisture delivery while reducing manual irrigation needs. These systems utilize a water chamber at the base, separated from the growing medium by a perforated platform that allows roots to access moisture through capillary action. You’ll create this reservoir using food-grade plastic containers or PVC pipes positioned horizontally along the bed’s bottom.
The key to successful implementation lies in selecting the correct soil mix with 60% potting soil, 30% compost, and 10% perlite to guarantee proper wicking action. You’ll need to install an overflow pipe at the reservoir’s maximum fill line to prevent waterlogging and root rot. The fill tube, typically a 4-inch PVC pipe extending from the reservoir to the soil surface, enables easy monitoring and replenishment of water levels.
For ideal performance, you’ll want to maintain a reservoir depth of 4-6 inches, which provides approximately one week of autonomous irrigation for most vegetable crops. Install a water level indicator using a floating gauge to monitor reservoir status. This system’s efficiency increases with the installation of a moisture-retention fabric barrier between the reservoir and soil layers.
Elevated Container Garden
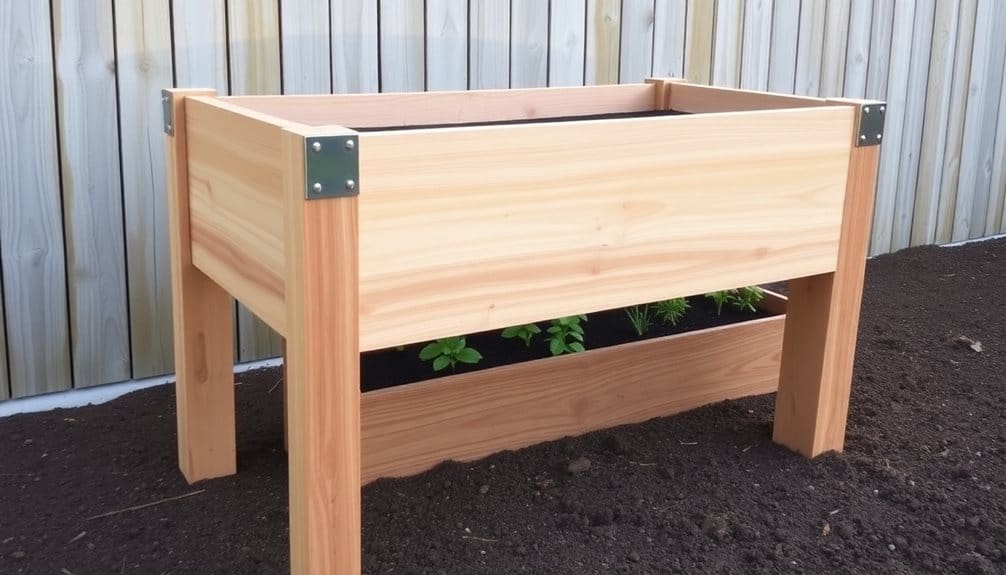
While self-watering systems optimize ground-level gardens, elevated container gardens offer distinct advantages for spaces with limited accessibility or poor soil conditions. You’ll find these raised structures particularly beneficial when dealing with mobility challenges or when you’re working with areas that have contaminated soil. The elevated design typically positions the growing space at waist height, reducing strain on your back and knees during planting, maintenance, and harvesting activities.
To construct an effective elevated container garden, you’ll need to take into account these critical specifications:
- Support framework must withstand 20-25 pounds per square foot of soil weight, plus additional load from mature plants and water saturation
- Container depth should measure 12-18 inches minimum to accommodate root systems of vegetables and herbs
- Bottom drainage holes should be placed every 12 inches in a grid pattern, using 1/2-inch diameter openings
- Cross-bracing must be installed at 24-inch intervals to prevent structural bowing under soil weight
Your elevated container system should incorporate pressure-treated lumber for the frame and cedar or composite boards for the planting container to guarantee longevity and food safety standards.
Natural Stone Border Bed
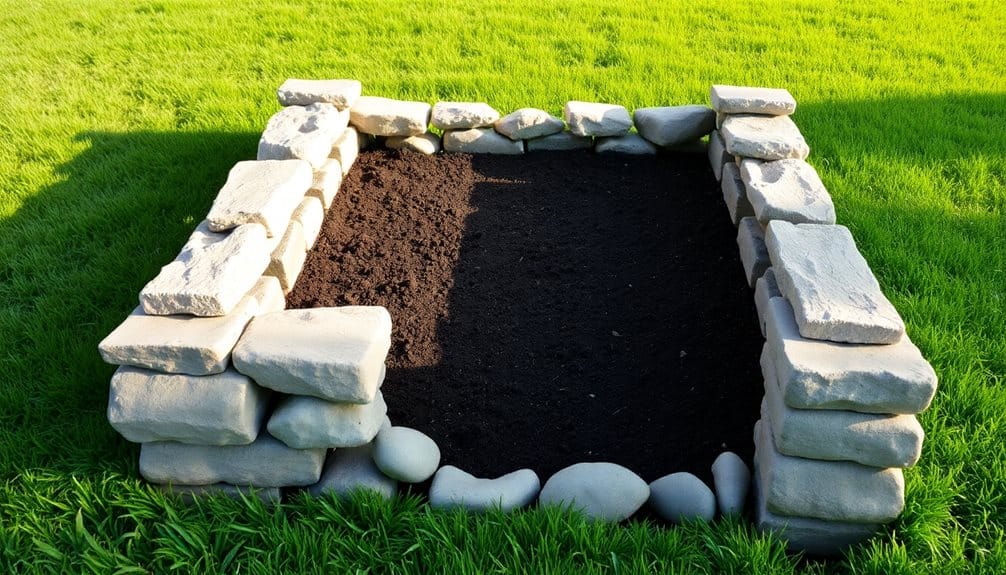
Natural stone border beds create a stunning, permanent edge for your garden while providing excellent thermal mass properties for plant growth. You’ll find these stone borders regulate soil temperature effectively, maintaining warmth during cool nights and moderating heat during peak daylight hours. Select flat-faced stones with minimum dimensions of 8×12 inches and 4 inches in thickness for ideal stability.
Begin by excavating a 6-inch deep trench around your planned bed perimeter, ensuring it’s 2 inches wider than your stones. Add a 2-inch layer of crushed gravel for drainage, then compact it firmly. Position your stones tightly together, using a rubber mallet to set them securely. You’ll want to maintain consistent height throughout, using a level to check alignment.
For soil retention, angle the stones slightly inward at 15 degrees. Fill the bed with a mixture of 60% topsoil, 30% compost, and 10% coarse sand, maintaining a 2-inch gap between soil level and stone top. This prevents soil washout during heavy rains. Your stone border will last decades with minimal maintenance, while continuously releasing mineral nutrients into your soil through natural weathering.
Modular Connecting Planters
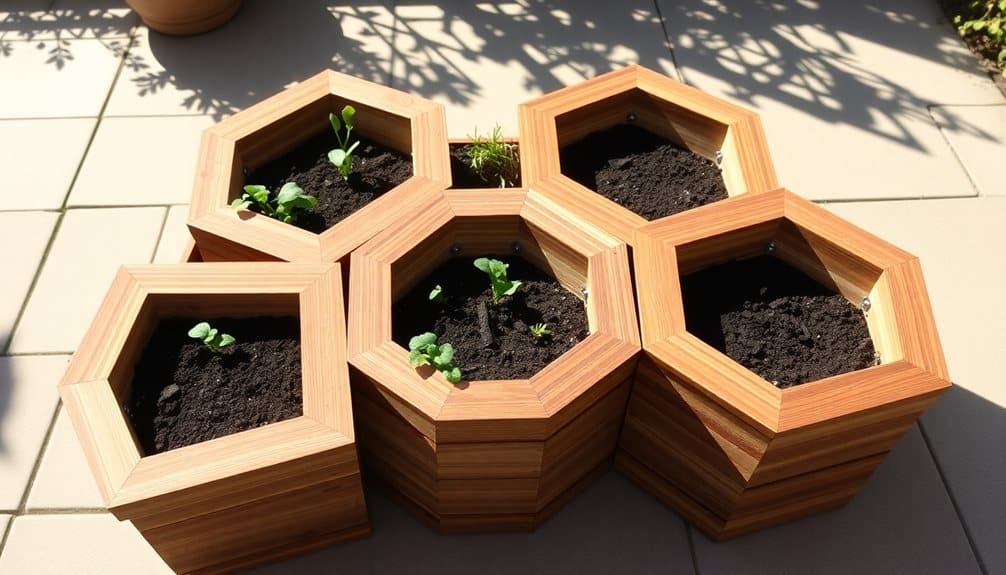
Modular connecting planters offer remarkable versatility compared to permanent stone installations, letting you reconfigure your garden layout seasonally. These interlocking systems utilize precision-engineered connection points that distribute soil weight evenly while maintaining structural integrity. You’ll find that high-density polyethylene (HDPE) or composite materials provide ideal durability against UV exposure and moisture penetration.
When implementing modular systems, you’ll need to take into account these critical factors:
- Connection mechanism strength – Select units rated for 450+ pounds of soil capacity per cubic foot
- Drainage optimization – Install interconnected channels with 1/4 inch grade per linear foot
- Expansion capability – Choose systems with universal connecting points supporting 90° and 45° angles
- Soil depth requirements – Match module height to crop root zones (12-24 inches typical)
The modular design allows for vertical stacking configurations, maximizing growing space in limited areas. You’ll achieve ideal results by installing a permeable landscape fabric barrier between connection points to prevent soil migration while maintaining water flow. For maximum stability, establish your first layer on a 2-inch leveled bed of crushed stone or paver base material.
Greenhouse-Topped Raised Bed
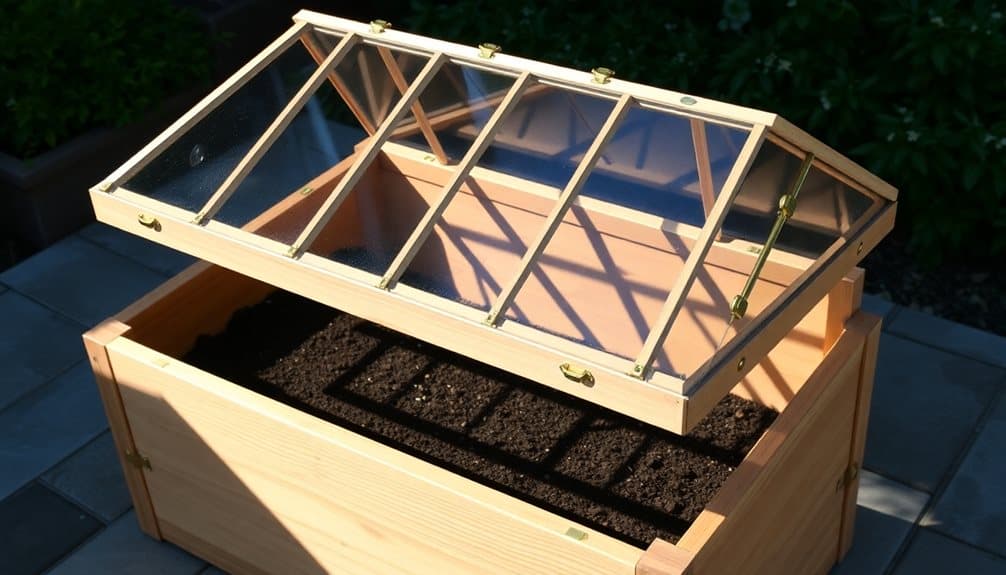
A greenhouse-topped raised bed‘s microclimate control lets you extend your growing season by 2-3 months in most climate zones. You’ll create this system by installing adjustable polycarbonate panels or UV-resistant greenhouse plastic over your existing raised bed using 1/2-inch PVC hoops spaced 4 feet apart. The hoops connect to PVC T-joints anchored along the bed’s sides, creating a tunnel approximately 30 inches high at its apex.
You’ll need to incorporate automated ventilation through spring-loaded window openers or solar-powered vent fans to prevent heat buildup exceeding 85°F. Install a drip irrigation system beneath the covering, as hand-watering becomes impractical. The greenhouse top should feature a 15-degree minimum slope to shed rain and snow effectively.
For ideal temperature regulation, add thermal mass using water-filled black containers along the north side. You can achieve precise climate control by installing a thermometer-activated louver system at each end. During summer, remove or replace the panels with shade cloth to prevent overheating. The structure’s modular design allows for quick assembly and disassembly as seasons change.
Frequently Asked Questions
How Long Does Pressure-Treated Lumber Leach Chemicals Into Garden Soil?
When your daughter’s organic tomatoes fail to thrive, you’ll want answers about chemical leaching. Modern pressure-treated lumber, using copper azole or ACQ treatments, actively leaches chemicals for 2-3 years, with the most significant release occurring in the first 90 days. You’ll see diminishing levels thereafter, though trace amounts can persist up to 10 years in wet, acidic soils.
Can I Install Raised Beds Over Existing Tree Roots?
You shouldn’t install raised beds directly over tree roots, as this practice can harm both the tree and your garden. The added soil depth reduces oxygen to the roots and disrupts their natural water absorption. Additionally, tree roots will compete with your garden plants for nutrients and moisture, while potentially growing up into your raised bed. If you must build near trees, maintain a distance equal to the tree’s drip line.
What Is the Minimum Soil Depth Needed for Growing Root Vegetables?
You’ll need at least 12-14 inches of soil depth for most root vegetables: carrots, parsnips, and turnips thrive at this range. Deeper-rooting vegetables like sweet potatoes and long daikon radishes require 18-24 inches for ideal development. For smaller root crops like radishes and baby carrots, you can get by with 8-10 inches. Your soil should be loose, well-draining, and free from rocks to allow proper root formation.
Should Raised Beds Be Anchored to Prevent Shifting During Freeze-Thaw Cycles?
You’ll need to anchor your raised beds if you’re in an area that experiences significant freeze-thaw cycles. Install corner posts that extend 12-18 inches below the frost line, using pressure-treated 4×4 lumber or galvanized steel posts. Secure these to your bed’s frame using galvanized lag bolts. In regions with severe frost heave, consider adding midpoint anchors along beds longer than 8 feet for additional stability.
How Far Should Raised Beds Be Placed From House Foundations?
You’ll want to keep your raised beds at least 2-3 feet away from your home’s foundation, but that’s just the minimum. For ideal safety, place them 5-6 feet from the walls to prevent moisture damage and allow proper air circulation. This spacing also protects your foundation from root intrusion and creates enough room for maintenance access between the bed and house while keeping soil moisture from affecting your foundation’s stability.


