This website contains affiliate links. Some products are gifted by the brand to test. As an Amazon Associate, I earn from qualifying purchases. The content on this website was created with the help of AI.
You’ll need to start with proper containers (2-3 inches deep with drainage) and high-quality seed starting mix that combines peat moss, vermiculite, and perlite. Time your planting by counting backward from your last frost date, giving most seedlings 6-8 weeks of indoor growth. Maintain temperatures between 65-75°F and provide 14-16 hours of direct light daily, positioning grow lights just 2-3 inches above seedlings. Water consistently with room temperature water, and never let soil dry completely. Once seedlings develop true leaves, begin the critical hardening-off process to guarantee your plants thrive after transplanting outdoors. Let’s explore each step in detail to maximize your success rate.
Key Takeaways
- Use high-quality, sterile seed-starting mix and containers with proper drainage to prevent disease and promote healthy root development.
- Maintain consistent soil moisture and temperatures between 65-75°F for optimal germination and seedling growth.
- Provide 14-16 hours of direct light daily, keeping grow lights 2-3 inches above seedlings to prevent leggy growth.
- Start seeds at the right time by counting backward from your last frost date based on each plant’s growing requirements.
- Harden off seedlings gradually over 7-10 days before transplanting outdoors to prevent shock and ensure survival.
Choose the Right Containers

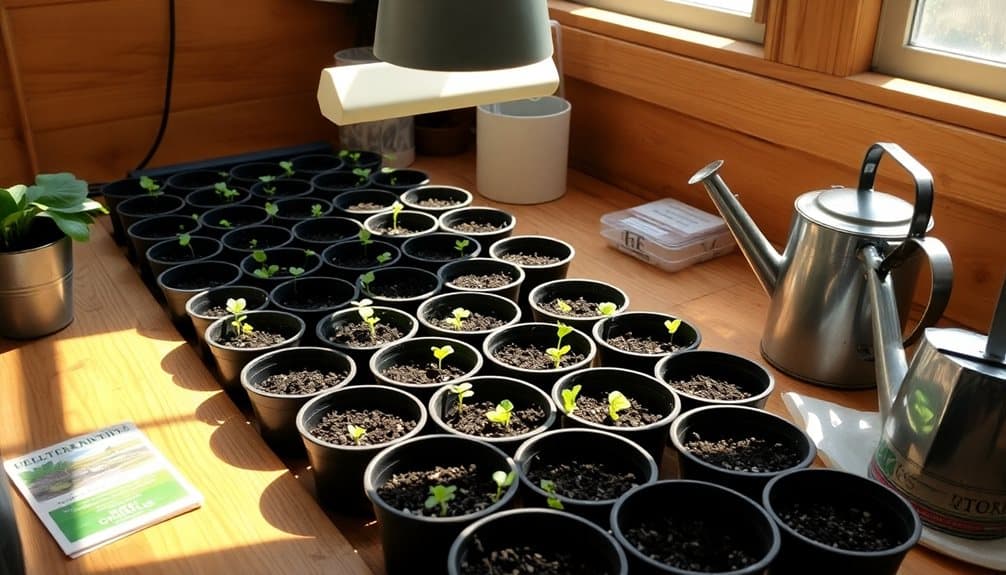
Gardeners face an essential decision when selecting containers for starting seeds. The container’s depth, drainage capacity, and material composition directly impact seedling health and root development. You’ll need containers at least 2-3 inches deep with adequate drainage holes to prevent waterlogging and root rot.
When choosing materials, consider plastic cell packs, peat pots, or recycled containers. Plastic cells offer durability and reusability, while peat pots allow for direct planting as they’re biodegradable. If you’re reusing containers, guarantee thorough sterilization with a 10% bleach solution to prevent disease transmission.
Container size varies by crop type. Large seeds like squash and cucumber require individual 3-4 inch pots, while smaller seeds such as lettuce and herbs can thrive in standard cell trays with 1-2 inch compartments. You’ll want to avoid overcrowding by providing adequate space between seedlings.
For moisture retention and temperature regulation, place your containers in solid bottom trays. These trays facilitate bottom watering and protect surfaces from water damage. Remember to label each container with plant variety and sowing date for accurate tracking and succession planting. Many gardeners achieve 80-100% germination rates using high-quality cell trays with proper drainage and ventilation.
Select Quality Potting Mix

For successful seed starting, choosing the right potting mix serves as a critical foundation for healthy seedling development. You’ll want to avoid using garden soil, as it’s too dense and may harbor pathogens that can harm delicate seedlings. Instead, select a sterile, soilless seed-starting mix that combines peat moss, vermiculite, and perlite.
The ideal potting mix should maintain consistent moisture while providing adequate drainage and aeration. Look for mixes specifically labeled for seed starting, as they’re finely textured and won’t impede emerging shoots. If you’re mixing your own, combine three parts peat moss, one part vermiculite, and one part perlite. You’ll also want to guarantee the pH level falls between 6.0 and 7.0 for the best nutrient absorption.
Before filling your containers, moisten the mix thoroughly. When it’s properly dampened, it should hold together when squeezed but not drip water. Don’t compress the mix too firmly in your containers – seedlings need loose, friable material for proper root development. Consider sterilizing homemade mixes by heating them to 180°F for 30 minutes to eliminate potential pathogens. To maintain optimal aeration throughout the growing process, use a compost aerator tool to gently turn and loosen the mix periodically.
Timing Matters

Success with seed starting hinges on precise timing, as each plant species has a perfect window for germination and transplanting. You’ll need to count backward from your region’s last frost date to determine when to sow each variety. Most seed packets indicate the number of weeks needed before transplanting outdoors.
Fast-growing plants like lettuce and radishes can be started 4-6 weeks before the last frost, while slower-growing vegetables like tomatoes and peppers require 6-8 weeks. You’ll want to give eggplants and celery even more time, typically 8-10 weeks. Don’t start too early, as leggy seedlings struggling for light won’t produce strong plants.
Consider creating a seed-starting calendar that accounts for your specific growing zone. You’ll need to factor in germination time, growing time under lights, and hardening off periods. If you’re growing multiple varieties, stagger your planting dates to prevent overwhelming yourself during transplant time. For succession planting, schedule additional sowings every 2-3 weeks to guarantee continuous harvests. Remember that weather patterns and microclimates in your garden can affect ideal planting times, so keep detailed records for future seasons.
Proper Light Requirements
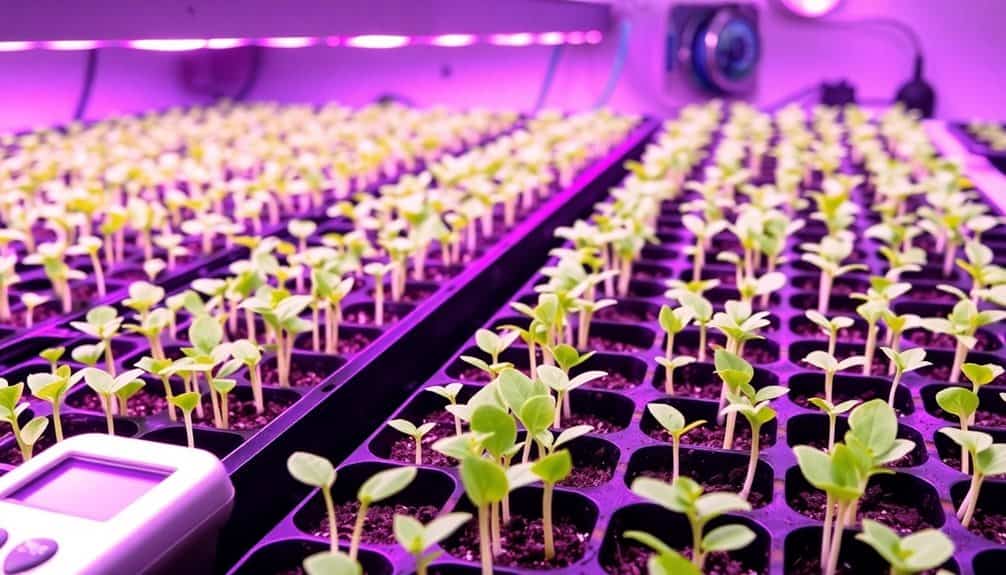
Once seedlings emerge, they require intense light to develop into sturdy plants. You’ll need to provide 14-16 hours of direct light daily, whether from natural sunlight or artificial grow lights. Position your grow lights just 2-3 inches above the seedlings to prevent leggy, weak stems from stretching toward distant light sources.
For artificial lighting, choose full-spectrum LED or fluorescent grow lights with a color temperature between 5000-6500K. T5 fluorescent fixtures work especially well for seed starting, providing ideal light intensity without excessive heat. You’ll need to adjust the height of your lights as plants grow, maintaining that vital 2-3 inch distance.
If you’re using natural sunlight, place seedlings in a south-facing window that receives direct light. However, even the brightest windows typically don’t provide enough light intensity in winter months. You’ll notice seedlings becoming leggy if they’re not receiving sufficient light – a clear sign you need supplemental lighting. Monitor your plants daily, rotating containers regularly to guarantee even growth, as seedlings will naturally lean toward their light source.
Consider reducing light intensity to 30-40% brightness during the initial seedling stage to prevent light stress and promote healthy development.
Temperature and Humidity Control
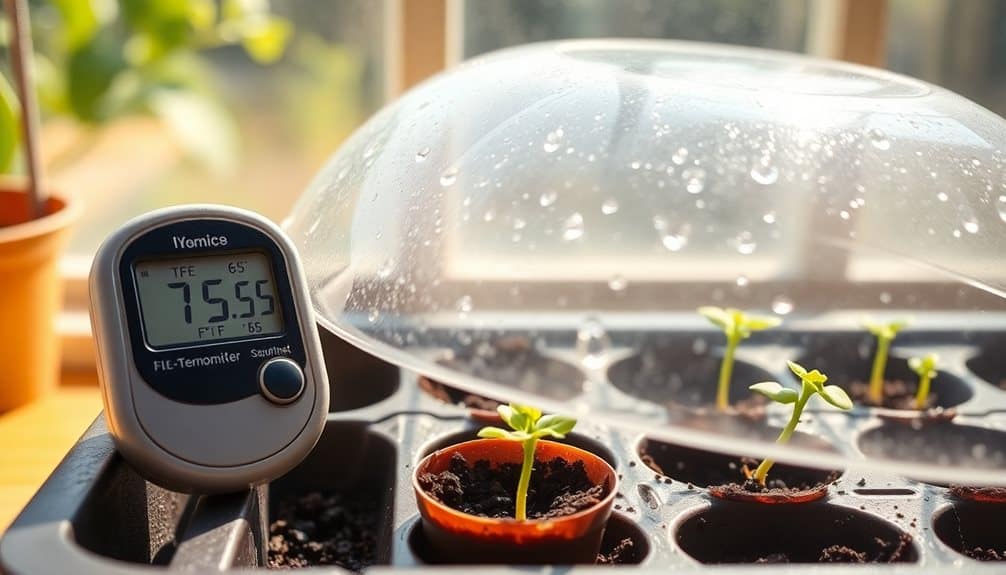
Most seed varieties require consistent temperatures between 65-75°F (18-24°C) to germinate successfully, with many warm-season crops preferring the higher end of this range. You’ll want to monitor soil temperature using a probe thermometer, as ambient room temperature doesn’t always reflect what’s happening at root level. Consider using a heat mat with a thermostat to maintain ideal germination temperatures, especially for heat-loving plants like tomatoes and peppers.
Humidity control is equally critical during the germination phase. You’ll need to maintain 70-90% relative humidity until seedlings emerge. Place clear plastic domes over seed trays, or use plastic wrap to create a greenhouse effect. Once seedlings appear, gradually reduce humidity by removing covers for increasingly longer periods over 3-5 days. This hardening process prevents damping-off disease and strengthens stems.
Monitor moisture levels daily, keeping soil consistently damp but not waterlogged. You can test moisture by pressing your finger into the soil – it should feel like a wrung-out sponge. If you’re using heat mats, you’ll likely need to water more frequently, as they increase evaporation rates. Using full spectrum lighting during germination helps ensure robust seedling development by mimicking natural sunlight conditions.
Smart Watering Practices

Proper watering technique can make or break your seed starting success. You’ll need to maintain consistent moisture levels without waterlogging your growing medium, which can lead to damping-off disease and root rot. Using a spray bottle or misting nozzle, apply water to keep the soil surface evenly moist but never soggy.
Bottom watering is often the most effective method for seedlings. Place your containers in a shallow tray with about an inch of water, allowing the growing medium to absorb moisture from below. This encourages strong root development and prevents soil displacement that can occur with top watering.
- Monitor soil moisture daily by touching the surface and lifting containers to assess their weight – lighter pots need water
- Use room temperature water to avoid shocking delicate seedlings, and always drain excess water from collection trays
- Consider using self-watering systems with wicking mechanisms for consistent moisture delivery
As your seedlings develop, gradually reduce watering frequency but increase the volume when you do water. This strategy promotes deeper root growth and helps prepare your plants for eventual transplanting. Always water early in the day to allow excess moisture to evaporate before nightfall. Hydroponic misting systems can increase oxygen levels by 80% while providing optimal moisture for faster herb growth.
Hardening Off Your Seedlings

After nurturing your seedlings indoors with careful watering practices, they’ll need preparation for outdoor conditions. The hardening off process gradually exposes tender plants to wind, sun, and temperature fluctuations over 7-10 days, strengthening their stems and leaves while preventing transplant shock.
Begin by placing your seedlings outdoors in a sheltered spot for 1-2 hours on day one. Choose a location with filtered sunlight and protection from strong winds. Each subsequent day, increase outdoor time by 1-2 hours and gradually expose plants to more direct sunlight. By day 5-6, you’ll want your seedlings spending the full day outside, but still bring them in at night.
During the final days of hardening off, leave your plants outside overnight if temperatures won’t drop below 50°F (10°C). Monitor weather forecasts carefully and protect seedlings from frost or severe conditions. You’ll know your plants are ready for transplanting when they show vigorous growth and don’t wilt during their outdoor stays. Water thoroughly before and after each outdoor session, as wind exposure increases moisture loss through transpiration.
Frequently Asked Questions
Can I Reuse Old Seed Packets From Last Year?
Ever wondered if those forgotten seed packets still hold life? You can absolutely reuse last year’s seeds, but their viability decreases over time. Store them in a cool, dry, dark place to maintain germination rates. Test older seeds by placing 10 in a damp paper towel – if 6+ sprout, they’re still good. Different varieties have varying shelf lives: lettuce lasts 1 year, while tomatoes can go 4-5 years.
How Do I Prevent Mold Growth on Seedling Soil?
To prevent mold growth on seedling soil, you’ll need to manage moisture and airflow carefully. Use sterile potting mix, avoid overwatering by letting the soil surface dry slightly between waterings, and maintain good air circulation with a small fan. Remove any fallen leaves promptly, and consider applying a thin layer of fine sand or vermiculite on the soil surface to deter mold development.
Should I Use Fertilizer When Starting Seeds Indoors?
Your tiny seeds pack all the nutrients they need, like nature’s own lunchbox, until their first true leaves unfold. Hold off on fertilizer during germination – it can actually harm delicate seedlings. Once those true leaves appear (typically 2-3 weeks after sprouting), start with a quarter-strength liquid fertilizer solution. Apply weekly, gradually increasing to half-strength as your seedlings grow stronger and develop more leaves.
What Causes Seedlings to Grow Tall and Leggy Despite Good Light?
Even with good light, your seedlings can become leggy if they’re not receiving the right light intensity or duration. You’ll need 14-16 hours of strong light daily, with LED or fluorescent bulbs positioned just 2-4 inches above seedling tops. Temperature also plays a role – if it’s too warm, seedlings will stretch. Keep temperatures between 65-75°F and use a small fan to strengthen stems.
Can I Start Seeds in Egg Cartons or Toilet Paper Rolls?
You can use both egg cartons and toilet paper rolls as biodegradable seed starting containers, but they have limitations. Paper egg cartons break down quickly and don’t provide enough depth for proper root development. Cardboard toilet paper rolls offer better depth but can develop mold. If you use either, guarantee proper drainage holes, use sterile seed starting mix, and transplant seedlings before the containers deteriorate.

