This website contains affiliate links. Some products are gifted by the brand to test. As an Amazon Associate, I earn from qualifying purchases. The content on this website was created with the help of AI.
You’ll find several budget-friendly storage solutions to organize your art supplies under $50. Start with mason jars ($20 for 12) to store brushes, markers, and small items while maintaining visibility. Add a three-tier rolling cart ($30-40) for mobile storage of larger supplies and works-in-progress. Maximize vertical space with over-the-door organizers ($15-25) featuring clear pockets for easy access. Repurpose kitchen containers like coffee cans and spice jars for free additional storage. For custom organization, transform cardboard boxes into compartmentalized storage using basic supplies. These practical solutions are just the beginning of your studio’s organizational transformation.
Key Takeaways
- Mason jars offer transparent storage for art supplies, with 12-packs available under $20 for organizing brushes, markers, and small items.
- Over-the-door organizers ($15-25) provide 24-36 clear pockets for sorting materials while maximizing vertical space.
- Three-tier rolling metal carts ($30-40) offer mobile storage with customizable levels for supplies of various sizes.
- Pegboard wall systems ($25-40 total with attachments) create customizable vertical storage with hooks, baskets, and adjustable shelving.
- Repurposed kitchen containers like coffee cans and spice jars provide free storage solutions for art supplies with secure lids.
Mason Jar Supply Organization

Mason jars serve as versatile and cost-effective organizers for your art supplies, offering both visibility and protection for frequently used items. You’ll need quart-sized jars for larger supplies and pint-sized ones for smaller materials. Consider purchasing a 12-pack of jars for under $20, maximizing your storage potential while staying within budget.
Start by categorizing your supplies based on type and frequency of use. Designate specific jars for brushes, markers, colored pencils, and drawing tools. For paint brushes, position them handle-down to protect the bristles. Store water-based markers tip-down to extend their lifespan. Place erasers, pencil sharpeners, and small tools in smaller jars for easy access.
To optimize your workspace, arrange the jars in groups based on your workflow. Label each jar using waterproof markers or adhesive labels for quick identification. If you’re concerned about jars tipping over, secure them to a wooden base using industrial-strength adhesive. For additional organization, add rubber bands around jar necks to create sections within each container, particularly useful for separating brush types or pen colors. If you have limited desk space, consider installing small mesh hammocks above your workspace to store overflow supplies while keeping them visible and accessible.
Rolling Cart Storage Systems

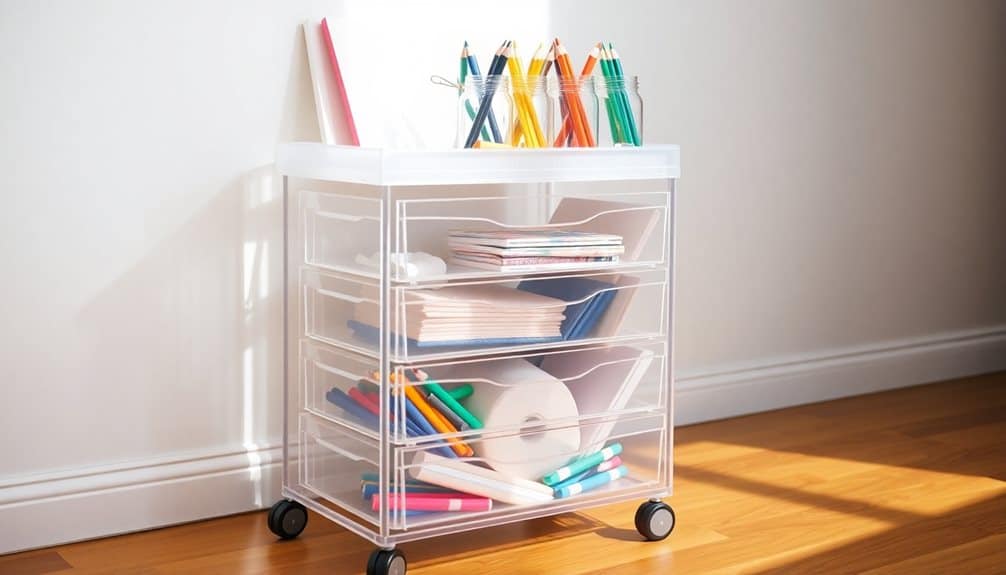
While mason jars work well for desktop organization, rolling cart systems offer a mobile storage solution that can transform your creative workspace. A three-tier metal rolling cart, typically priced between $30-40, provides distinct advantages for organizing art supplies by frequency of use and project type. You’ll maximize efficiency by designating each tier for specific purposes: commonly used items on top, project-specific materials in the middle, and bulk supplies on the bottom.
To optimize your cart’s storage capacity, add small bins or drawer organizers to separate materials within each tier. The top level works perfectly for daily essentials like brushes, pencils, and current project supplies. Your middle tier can house medium-sized items such as paint tubes, markers, and paper pads. Reserve the bottom tier for bulkier supplies like canvas rolls, large paper sheets, and rarely used materials. The cart’s wheels allow you to position your supplies exactly where you need them, then roll them away when you’re finished. You’ll find the mobility particularly useful when switching between different work areas or storing supplies in tight spaces. Consider adding fun toy storage bins to the bottom tier for a playful touch while keeping craft materials organized.
Over-the-Door Organizers
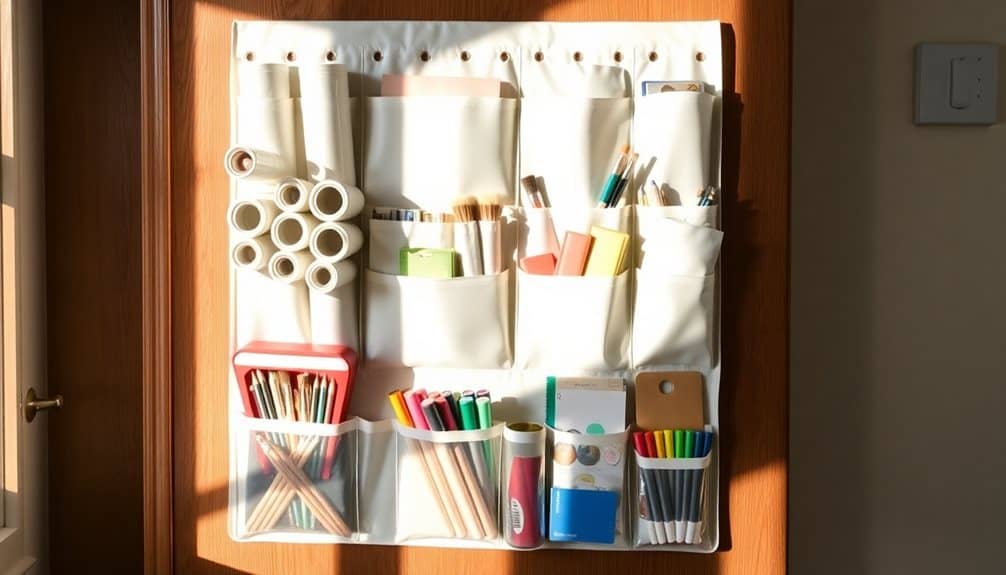
Versatile over-the-door organizers transform unused vertical space into a systematic storage solution for art supplies, typically costing between $15-25. These hanging systems feature multiple clear pockets of varying sizes, allowing you to sort and categorize materials while maintaining visual access to all contents. You’ll find most models include 24-36 pockets, providing ample space for markers, brushes, colored pencils, and other frequently used items.
To maximize your over-the-door organizer’s efficiency, group similar items together and label each pocket clearly. The top rows work best for lighter materials like paper, stencils, and drawing tools, while lower pockets can hold heavier items such as paint tubes and craft scissors. You can also customize pocket sizes by combining adjacent compartments using heavy-duty safety pins or strategic stitching.
When selecting an organizer, look for reinforced seams and sturdy hanging hooks that won’t damage your door. Choose models with UV-resistant vinyl to prevent yellowing and extend the product’s lifespan. For added stability, install adhesive hooks at the bottom corners to prevent unwanted swinging when accessing supplies. Most organizers can be cleaned easily with mild detergent and hand washing to maintain their clarity and durability.
Hanging Closet Storage Solutions
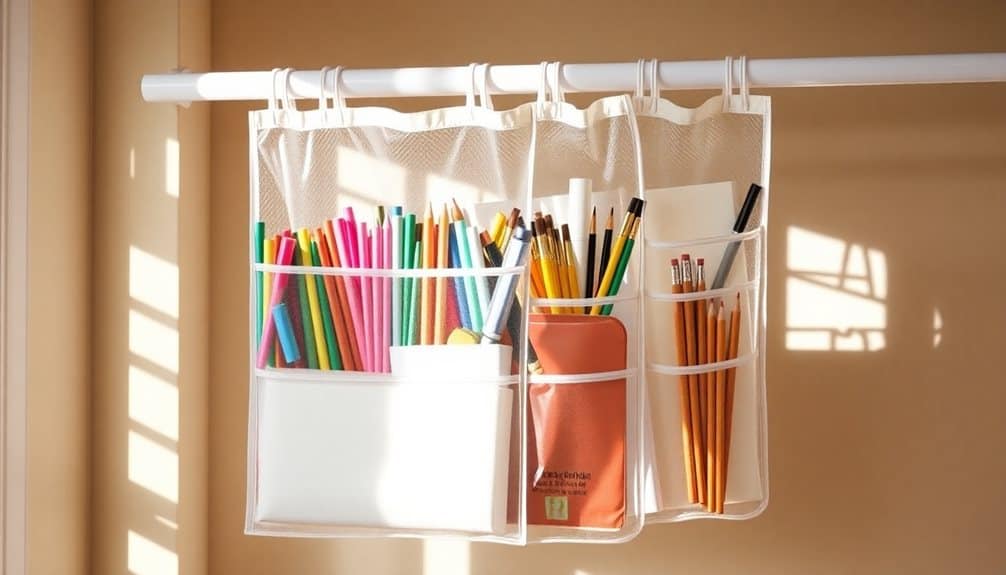
Similar to over-the-door options, hanging closet organizers expand your art supply storage into vertical territory, with prices ranging from $20-40 for quality units. These systems typically feature multiple fabric shelves and pockets that suspend from your closet rod, instantly creating organized zones for your supplies.
You’ll find the most success using these organizers by designating specific compartments for different categories. The larger shelf spaces work well for paper pads, canvases, and bulky items like paint sets, while mesh pockets can hold brushes, markers, and drawing tools. Most units include 6-8 main compartments and 3-4 side pockets, giving you ample space to organize materials by size, type, or frequency of use.
For maximum efficiency, install clear plastic pouches within the compartments to protect delicate supplies from dust. You can also add removable drawer organizers to subdivide larger shelves into smaller sections. When selecting a hanging organizer, look for reinforced seams, metal grommets at hanging points, and breathable fabric that won’t trap moisture. Consider units with clear front panels that let you quickly identify contents without rummaging through compartments. Storage cubes can be added to any remaining floor space beneath the hanging organizer for additional supply storage.
Repurposed Kitchen Containers
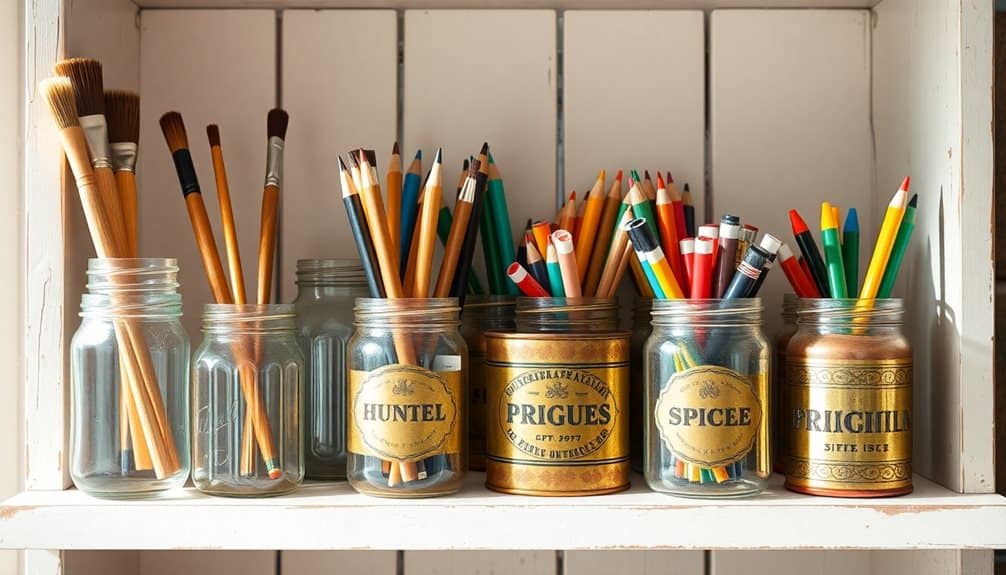
Everyday kitchen containers offer an economical way to store and organize art supplies, with most items costing under $5 each. Mason jars work perfectly for storing brushes, colored pencils, and markers vertically, while their clear glass allows you to quickly identify contents. You’ll find that pasta sauce jars, once cleaned and labels removed, serve the same purpose at no cost.
Large plastic coffee containers provide ideal storage for bulky items like modeling clay, craft pom-poms, and yarn balls. Their wide openings and secure lids make them particularly practical. Empty spice containers can house glitter, sequins, and small beads, while their shaker tops help control dispensing. Metal cookie tins stack efficiently and protect delicate supplies like chalk pastels and oil crayons from breaking.
Don’t overlook plastic food storage containers – they’re perfect for organizing watercolor tablets, stamp pads, and small paint tubes. You can label them clearly, stack them efficiently, and see the contents through their transparent sides. Old tea tins work well for storing paper clips, push pins, and other metallic supplies, with their magnetic properties keeping items contained. For optimal organization, look for containers with airtight seal features to protect moisture-sensitive art materials from humidity damage.
Dollar Store Storage Hacks

Dollar stores provide a goldmine of practical storage solutions that can transform your art space without straining your budget. You’ll find plastic bins, desk organizers, and stackable containers that typically cost between $1-5 each, allowing you to create customized storage systems for various art supplies.
For small items like beads, sequins, and pins, utilize the store’s plastic food containers with snap-on lids. Clear shoe organizers can be mounted on doors or walls to store paint tubes, markers, and brushes in visible, easy-to-access pockets. Magazine holders, typically $2-3 each, work perfectly for storing paper, canvases, and sketch pads vertically.
You can maximize vertical space by purchasing multiple plastic drawer units that stack securely. Use drawer dividers, often sold in packs of six, to create compartments for colored pencils, pastels, and drawing tools. Clear plastic cups work well as brush holders, while plastic baskets with handles make portable supply caddies. To organize ribbons and string, repurpose paper towel holders or tension rods mounted inside cabinet doors. Label everything using dollar store adhesive labels or masking tape for efficient categorization.
Pegboard Wall Organization
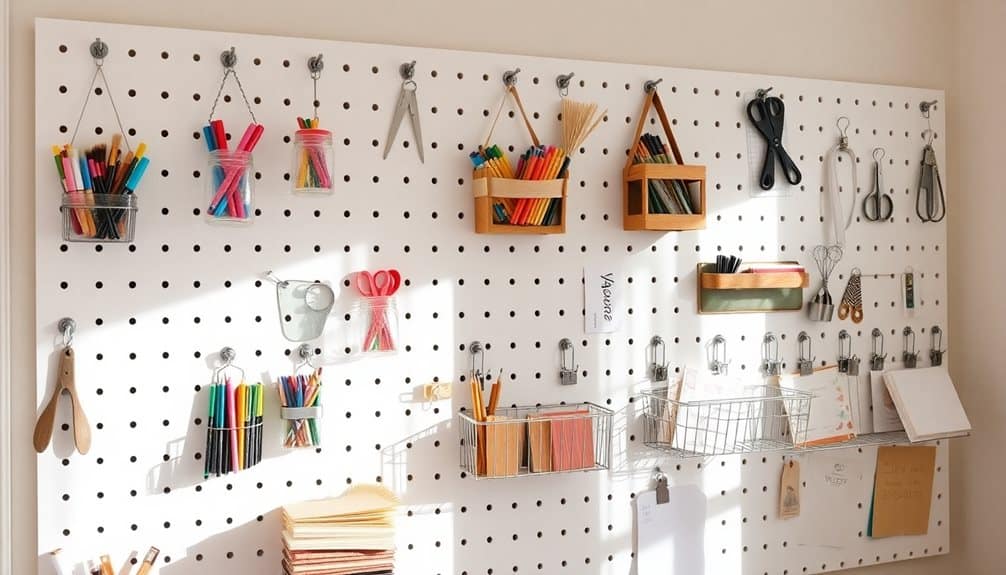
Through the versatility of pegboard systems, you can create a highly adaptable wall storage solution that maximizes vertical space while keeping art supplies visible and accessible. Standard pegboards cost $15-25 at hardware stores, and you’ll need hooks, baskets, and shelving attachments ($10-15 total) to customize your setup. Install the pegboard with proper wall anchors, leaving a 1/2-inch gap between the wall and board for hook insertion.
Organize your supplies by category using a combination of attachments. Mount pencil cups vertically to store brushes, markers, and drawing tools. Install straight hooks at 45-degree angles to hang scissors, rulers, and cutting mats. Add small baskets for loose items like erasers and sharpeners. Position shallow shelves to hold paint bottles, ink pads, and spray cans with labels facing forward. Use deeper bins for paper rolls, canvases, and bulkier materials.
You’ll maximize efficiency by positioning frequently used items at eye level and arranging tools in workflow order. Label each section clearly, and leave room for expansion as your collection grows. Pegboard systems allow quick reconfigurations when your needs change, making them ideal for evolving art practices.
Clear Drawer Storage Units
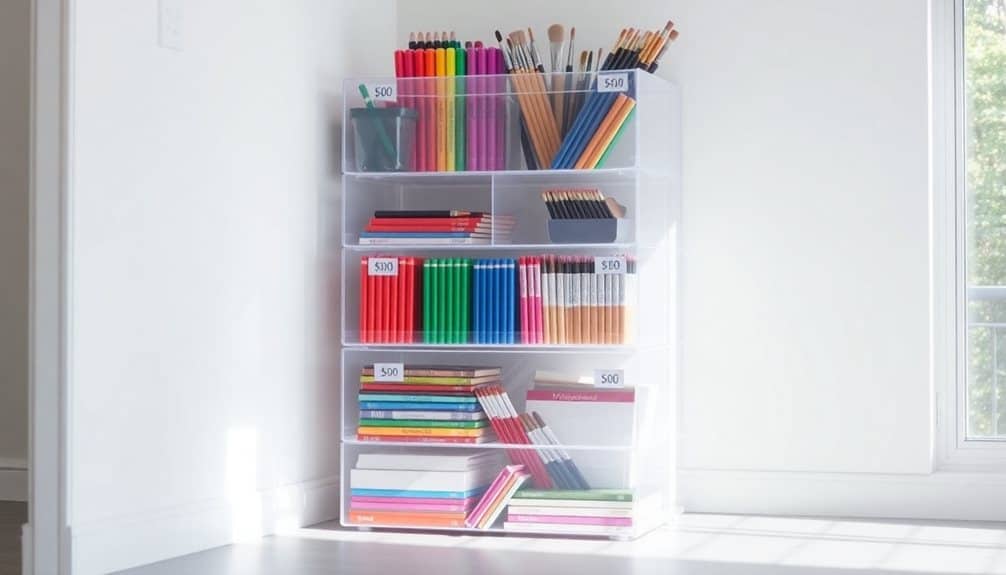
Clear drawer storage units offer a complementary solution to wall-mounted organization, letting you sort and protect smaller art supplies while maintaining visual access to everything inside. You’ll find these units particularly useful for storing markers, colored pencils, erasers, and other compact items that tend to get lost in larger containers.
Look for units with multiple drawer sizes to accommodate different supply types. Small drawers work well for items like pencil sharpeners and drawing pins, while medium drawers can hold marker sets and paint tubes. Choose units with drawer-stops to prevent accidental spills, and make sure the plastic is sturdy enough to withstand daily use.
To maximize efficiency, label each drawer clearly and group similar items together. You can stack multiple units to save space, but don’t exceed three units high for stability. Consider placing rubber feet or non-slip mats underneath to prevent sliding. The best placement is within arm’s reach of your work area, preferably on a flat, stable surface away from direct sunlight to prevent plastic degradation. For additional organization, use small dividers or repurposed containers within drawers to create customized compartments.
DIY Cardboard Storage Boxes

Making custom storage boxes from cardboard offers an ultra-affordable way to organize your art supplies while reducing waste. You’ll need sturdy cardboard boxes, a utility knife, packing tape, and a ruler to create compartmentalized storage units that fit your specific needs. Cut your boxes to your desired heights, typically 4-6 inches for most art supplies, and reinforce the corners with packing tape for durability.
Create dividers by measuring and cutting cardboard strips that match your box’s height. Insert these dividers in a grid pattern to form smaller compartments – perfect for separating markers, brushes, and other supplies by type or color. You can maximize vertical space by stacking similarly-sized boxes, and label each compartment using masking tape or adhesive labels for easy identification.
To protect your supplies from dust, fashion simple lift-off lids using cardboard pieces cut slightly larger than your box dimensions. Waterproof your storage by covering the cardboard with clear contact paper or adding a coat of polyurethane. These boxes cost virtually nothing to make and can be customized to fit any shelf or drawer space in your art area.
Frequently Asked Questions
How Do I Prevent Art Supplies From Drying Out in Storage?
Store your art supplies in airtight containers to prevent oxidation and moisture loss. You’ll want to keep markers horizontal, paints tightly sealed, and clay wrapped in plastic. Add silica gel packets to absorb excess moisture. Don’t expose materials to direct sunlight or extreme temperatures. For watercolors and acrylics, you’ll need to check seals monthly and refresh any dried edges with appropriate mediums.
What’s the Best Way to Store Oil Paints Without Them Separating?
While your morning coffee separates when left too long, your oil paints don’t have to suffer the same fate. Store your tubes upside down to prevent oil separation, and keep them at a consistent room temperature (60-75°F). You’ll want to gently squeeze out any air before sealing the caps tightly. For long-term storage, place them in a sealed plastic container with silica gel packets to control moisture.
Can Temperature Changes Affect Stored Art Supplies?
Temperature changes can greatly affect your art supplies. You’ll find that heat can cause paints to separate, dry out, or change consistency. Cold temperatures can make inks freeze and mediums crack. Your brushes’ bristles might become brittle, and pencils’ wood casings could warp. To protect your materials, you’ll want to maintain a consistent room temperature between 65-75°F and avoid storing supplies near windows, heaters, or air conditioners.
Should I Keep Different Types of Art Supplies in Separate Storage Areas?
You’ll want to separate your art supplies by type to prevent cross-contamination and chemical reactions. Keep solvents, paints, and adhesives away from each other, as their fumes can interact. Store paper products separately from liquid materials to avoid moisture damage. Place oil-based supplies away from water-based ones, and keep sharp tools in their own designated space to prevent accidents and maintain organization.
How Often Should I Rotate Stored Art Supplies to Prevent Deterioration?
You’ll need to inspect and rotate your art supplies every 3-4 months to maintain their quality. Check markers, paints, and adhesives monthly, as they’re most prone to drying out. Turn pencils and pastels quarterly to prevent warping, and shuffle paper stocks to avoid yellowing from uneven exposure. Keep a rotation schedule on your calendar, and always move older supplies to the front while placing newer items at the back.

