This website contains affiliate links. Some products are gifted by the brand to test. As an Amazon Associate, I earn from qualifying purchases. The content on this website was created with the help of AI.
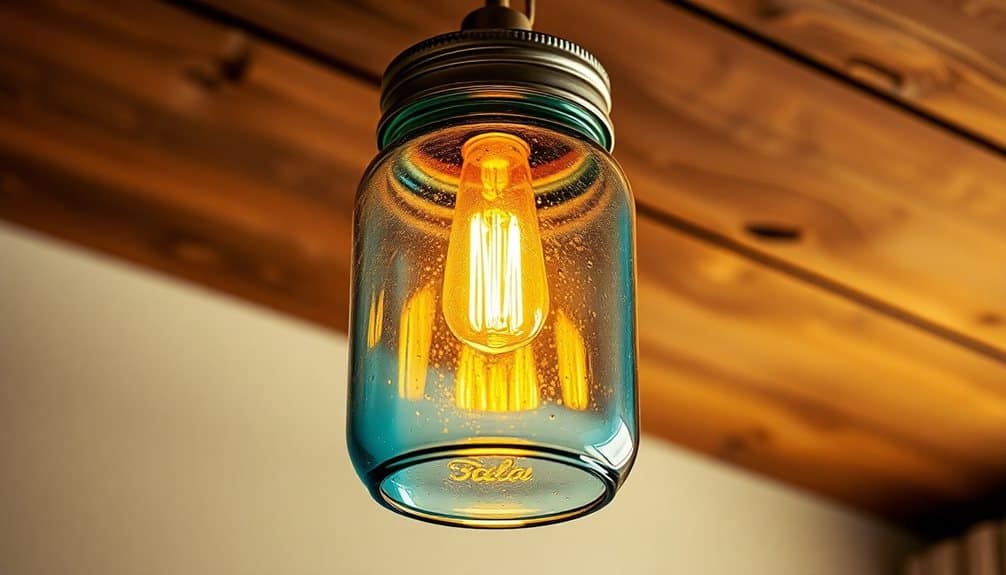
You can create beautiful DIY mason jar lighting fixtures on a budget with these affordable projects under $30 each. Transform quart-sized jars into pendant lights, chandeliers, wall sconces, or bedside lamps using basic materials like pendant light kits, drill bits, and vintage Edison bulbs. For outdoor spaces, try solar-powered garden lanterns or string light displays. Add personalized touches with spray paint, decorative wire, or twine for rustic charm. Whether you’re lighting up your bathroom vanity or creating ambient patio lighting, these versatile projects offer endless possibilities to illuminate your space with vintage style. Let’s explore ten creative ways to brighten your home with mason jar magic.
Key Takeaways
- Simple mason jar pendant lights can be created for under $20 using a jar, pendant kit, and basic tools.
- Transform outdoor spaces with solar-powered mason jar lanterns using LED light caps and decorative wire for hanging.
- Create bedside table lamps by drilling holes in jar lids and adding vintage Edison bulbs and metallic paint.
- Make rustic wall sconces using mason jars, mounting brackets, and wood planks for under $25 per fixture.
- String together party lights using mason jars and outdoor-rated light strands for affordable patio illumination.
Simple Mason Jar Pendant Light
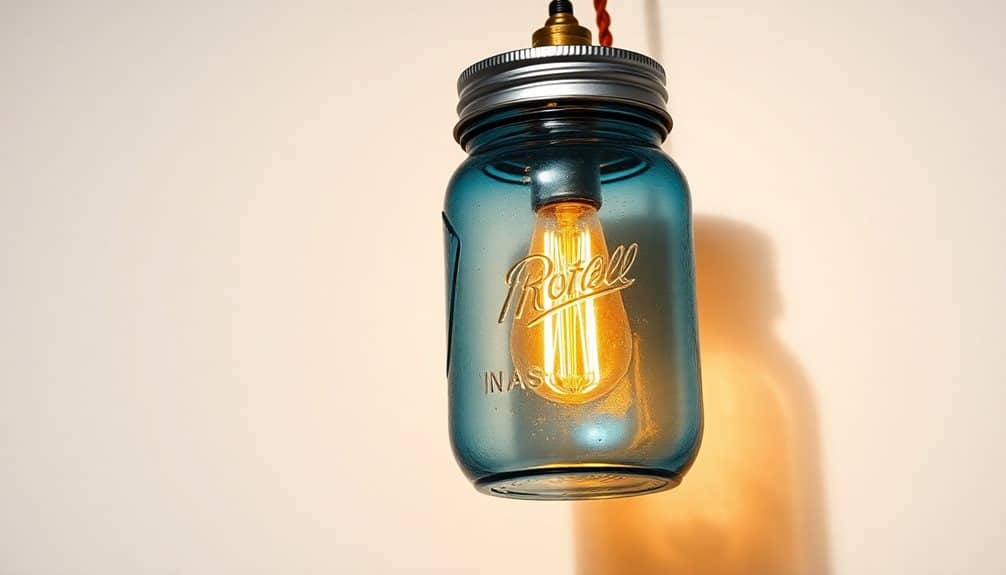
Creating a pendant light from a mason jar offers an elegant yet rustic lighting solution for any room. You’ll need a quart-sized mason jar, pendant light kit, drill with glass bit, spray paint (optional), and basic tools. Before starting, verify your work area is well-ventilated and protected with newspaper.
Begin by marking the center point on the mason jar’s lid with a marker. Using your glass drill bit at low speed, carefully drill through the lid. Remove any sharp edges with sandpaper. If you’re planning to paint the lid or band, do so now and allow it to dry completely.
Thread the pendant light kit’s cord through the drilled hole, following the manufacturer’s instructions for wiring. Secure the socket to the lid using the kit’s hardware. Place the jar over the socket and secure it with the band. Make sure all connections are tight and properly insulated.
For safety, hire a licensed electrician to hardwire your pendant light to the ceiling junction box. If you prefer a plug-in option, you can hang the light using ceiling hooks and chain, then plug it into a nearby outlet.
For optimal lighting performance and durability, consider applying a UV-resistant clear coat to protect your mason jar pendant from fading and discoloration over time.
Rustic Bathroom Vanity Sconces

Mason jar lighting takes on a charming new form when mounted as bathroom vanity sconces. You’ll need quart-sized mason jars, galvanized pipe flanges, metal mounting brackets, and vintage-style Edison bulbs to create these wall-mounted fixtures.
Start by removing the jar’s lid band and spray painting the flange and mounting bracket in your chosen finish – oil-rubbed bronze and antique brass work well for rustic appeal. Drill a hole in the jar’s lid center large enough for your light socket, then attach the socket through the lid. Wire your fixture following local electrical codes, ensuring you’ve got proper ground connections.
Mount the pipe flange to your wall bracket, securing it firmly into wall studs or using heavy-duty anchors. Thread your wiring through the flange, make your connections inside an electrical box, and attach your mounting plate. Screw the lid onto the flange, then carefully twist your mason jar onto the lid band. For extra character, you can frost your jars using etching cream or add a wire cage around the exterior.
Position your sconces at eye level, typically 65-70 inches from the floor, and space them evenly on either side of your mirror for balanced lighting. Choose warm white bulbs around 2700K-3000K to create an inviting atmosphere while minimizing insect attraction.
Hanging Mason Jar Chandelier
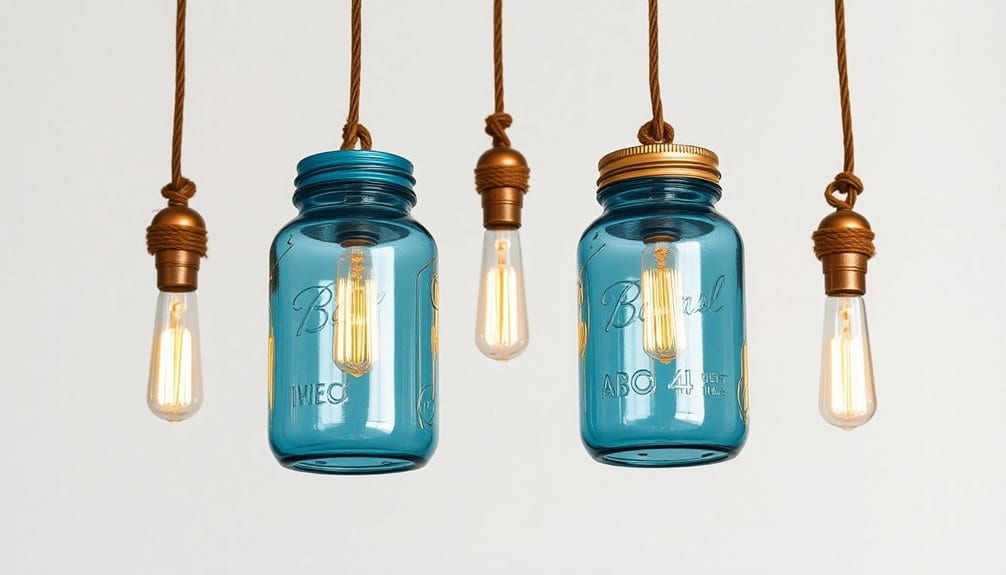
Transform your dining space with a stunning chandelier made up of multiple mason jars suspended at varying heights. You’ll need six quart-sized mason jars, a wooden plank (24″x12″), eye hooks, pendant light cords, and mounting hardware. Start by sanding and staining your wooden plank to match your decor.
Drill 1-inch holes through the plank for each pendant cord, spacing them evenly. Screw the eye hooks into the plank’s corners for mounting. Remove the center disk from each mason jar lid and drill a hole that matches your pendant cord size. Thread the cords through the plank holes and wire them together above the board, connecting them to your ceiling’s electrical box.
Attach the cord ends to your mason jar lids, then secure the jars by screwing them into place. Vary the cord lengths between 12 and 24 inches to create visual interest. Install vintage-style Edison bulbs in each jar for warm, ambient lighting. Mount the plank securely to ceiling joists using heavy-duty brackets. This chandelier works best over dining tables or kitchen islands, providing both task lighting and rustic charm while costing under $30 in materials. The IP65 waterproof rating makes this project suitable for covered outdoor spaces like porches or patios too.
Outdoor String Light Display

Bring enchanting ambiance out onto your patio with a magical mason jar string light display. This budget-friendly project transforms basic string lights and mason jars into a stunning outdoor lighting feature that’s perfect for summer evenings or year-round entertainment. You’ll need clear mason jars, outdoor-rated string lights, galvanized wire, and basic tools to complete this project. Office lighting solutions can be adapted to create a similar cozy atmosphere in your workspace.
Start by drilling a 1/2-inch hole in each jar lid using a metal drill bit. Thread the string light bulbs through the holes, ensuring each jar houses one bulb. Create hanging loops using galvanized wire wrapped securely around the jar necks. Space your jars evenly along the light strand, positioning them approximately 24 inches apart.
- Mount sturdy hooks or eye screws into your patio posts, fence, or overhead beams at 3-foot intervals
- String your mason jar lights in a zigzag or straight pattern, maintaining consistent tension
- Secure any loose wires with UV-resistant zip ties, and add rubber washers around lid holes for water resistance
For added stability in windy conditions, fill each jar bottom with an inch of pebbles. Always use weather-resistant extension cords and keep plugs protected from moisture.
Farmhouse Kitchen Island Lights

A rustic pendant lighting arrangement can elevate your kitchen island with farmhouse charm using clustered mason jar fixtures. You’ll need quart-sized mason jars, pendant light kits, Edison bulbs, and mounting hardware to create this budget-friendly focal point.
Start by drilling a 3/8-inch hole in each jar lid’s center using a metal drill bit. Thread the pendant cord through the lid and secure it with the kit’s mounting hardware. You’ll want to position three to five jars at varying heights, typically between 24-30 inches above your counter surface. Space them 12-18 inches apart for ideal lighting distribution.
Install a ceiling mounting plate where your wiring comes through, guaranteeing it can support multiple pendant connections. Wire each pendant according to your kit’s instructions, maintaining consistent spacing between cords. For added character, use vintage-style Edison bulbs ranging from 25-40 watts each. Consider mixing clear and frosted mason jars to create depth and interest while controlling light intensity.
Secure all electrical connections inside junction boxes and verify your total wattage doesn’t exceed your circuit’s capacity. You can customize this project by adding copper wire wrapping or subtle rope details around the jar necks. Annual safety inspections are essential to ensure all lighting components remain securely mounted and properly functioning.
Solar-Powered Garden Lanterns
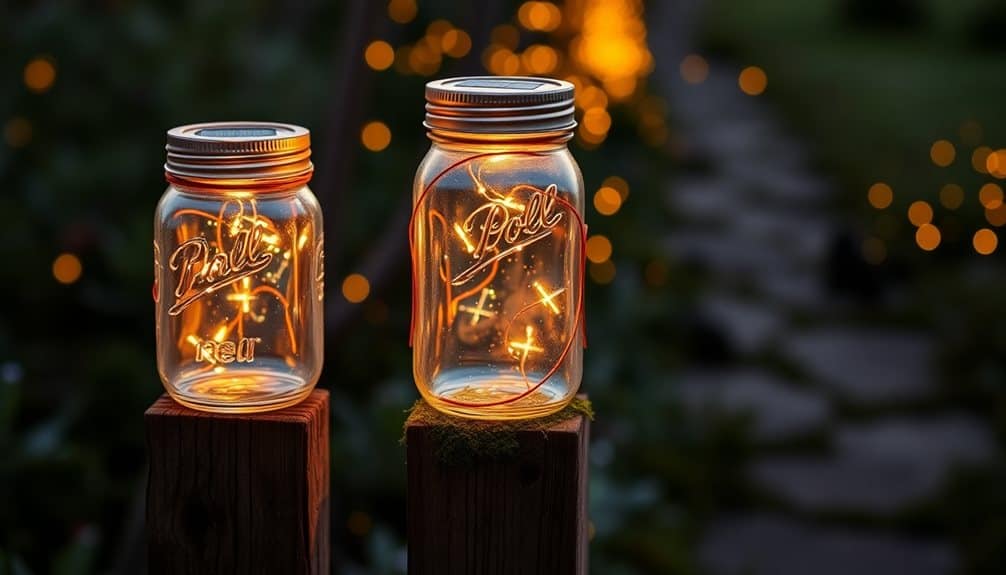
Looking to illuminate your garden paths with eco-friendly charm? Transform regular mason jars into magical solar-powered lanterns that’ll light up your outdoor space without increasing your electricity bill. You’ll need wide-mouth mason jars, solar-powered LED light caps (available for under $8 each), and decorative wire for hanging.
To create these sustainable garden lights, start by thoroughly cleaning your mason jars, then attach the solar light caps securely to the jar lids. Wrap decorative wire around the jar’s neck, creating a secure handle for hanging. Position your lanterns in spots that receive direct sunlight during the day to guarantee ideal charging.
- Space lanterns 4-6 feet apart along pathways to create even illumination and prevent dark spots
- Hang them at varying heights (between 12-24 inches) from shepherd’s hooks or tree branches for visual interest
- Place them on flat surfaces like steps or retaining walls, using the wire handles as stabilizers
For added weatherproofing, apply a thin layer of clear silicone sealant around the cap’s edge. Your solar mason jar lights will automatically illuminate at dusk, providing up to 8 hours of gentle, ambient lighting throughout your garden.
Mason Jar Wall Sconces
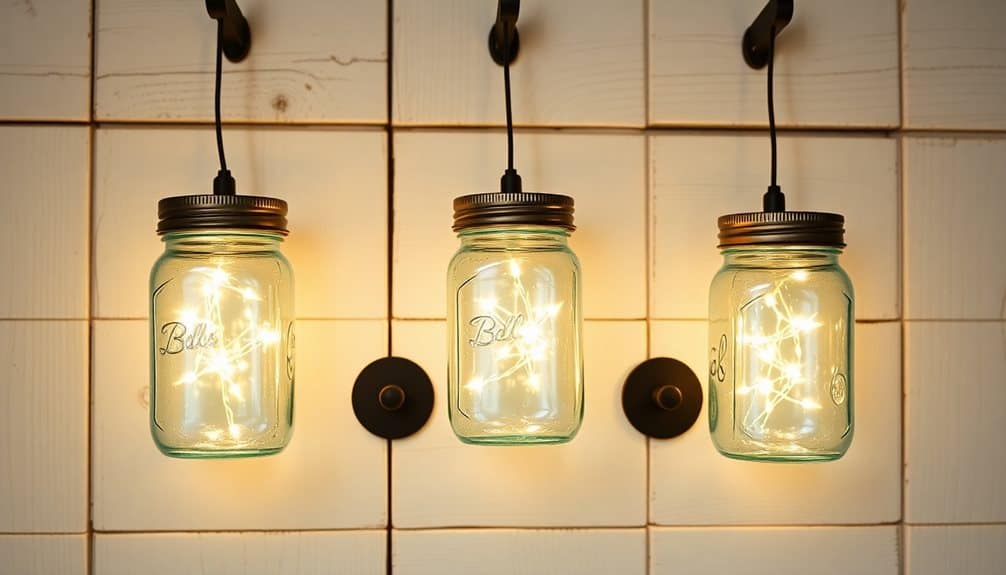
Transform your indoor space with rustic-chic mason jar wall sconces that combine vintage charm with modern lighting solutions. You’ll need quart-sized mason jars, mounting brackets, wood planks (6″ x 12″), LED bulbs, lamp cord kits, and basic tools like a drill and screwdriver. Sand and stain your wood planks first, allowing them to dry completely before assembly.
Drill a 1/2-inch hole through the wood plank’s center and another through the mason jar’s metal lid. Thread the lamp cord through both holes, securing the socket inside the jar. Attach mounting brackets to the wood plank’s back, spacing them 8 inches apart for stability. Secure the jar to the plank using a pipe clamp or decorative metal strap, ensuring it’s tight enough to prevent wobbling.
For a professional finish, hide excess cord behind the wood plank and install a small cord cover. You can customize your sconces by frosting the jars, adding metallic paint, or filling them with fairy lights instead of traditional bulbs. Mount your sconces 60-65 inches from the floor, ensuring they’re anchored into wall studs for proper support.
Bedside Table Lamp
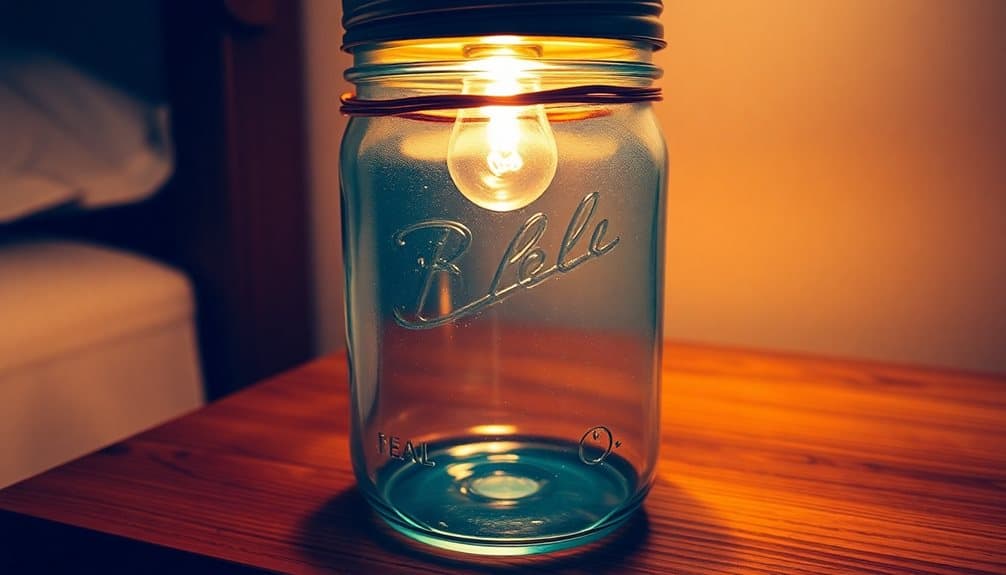
Create a cozy bedside reading light out of a large mason jar for an elegant nighttime companion. This charming DIY project requires a quart-sized mason jar, an electrical cord kit with socket, and your choice of vintage-style Edison bulb. You’ll transform these simple materials into a practical lamp that adds character to your bedroom while providing perfect illumination for late-night reading.
- Start by drilling a 3/8-inch hole in the center of the jar’s lid using a metal drill bit, then feed the cord through and secure the socket according to the kit’s instructions
- Sand the hole’s edges until smooth, then spray paint the lid and band in your preferred metallic finish – copper, brass, or brushed nickel work beautifully
- Install a 40-watt Edison bulb, which provides warm ambient lighting without overwhelming the space
Position your completed lamp on a small platform or wooden base for added stability. For extra charm, consider filling the bottom third of the jar with decorative elements like sea glass, fairy lights, or copper wire strands. Remember to keep these items away from the bulb to prevent any heat-related issues.
Patio Party Lights
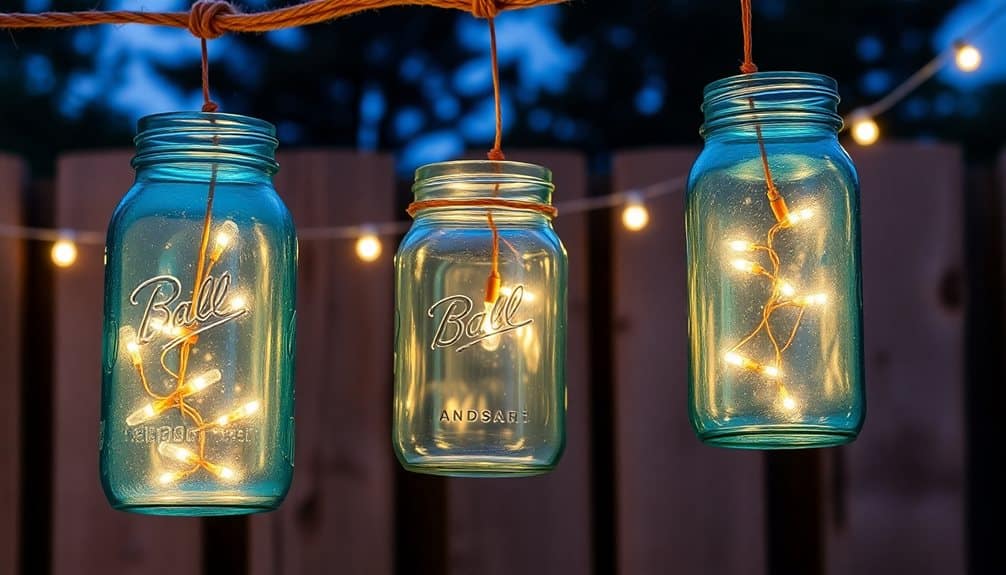
When summer evenings call for outdoor entertaining, mason jar party lights can illuminate your patio with a magical glow. You’ll need quart-sized mason jars, 25-foot outdoor string lights, rust-resistant wire, and solar-powered LED fairy lights that cost around $15 total.
Start by drilling a 1/2-inch hole in each jar lid’s center. Thread the string lights through the holes, spacing jars 2-3 feet apart. Wrap wire around the jar neck’s grooves to create hanging loops. For solar-powered versions, insert fairy light strands through the lid holes and secure the solar collectors to the lids with weatherproof adhesive.
You can enhance the lighting effect by adding different materials inside the jars. Fill them halfway with epsom salt for a frosted look, or add small river rocks to diffuse the light. For colored effects, use glass paint on the jar interiors – just mix with water and swirl. Space your lights 8-10 feet above the ground, anchoring them to posts, trees, or your patio cover. The jars will protect the bulbs from rain while creating beautiful patterns on your patio surface.
Vintage Edison Bulb Centerpiece

Mason jar centerpieces take on industrial elegance when paired with vintage Edison bulbs and antique-style fixtures. You’ll need a wide-mouth quart-sized mason jar, a pendant light kit, a 40-watt Edison bulb, and basic tools to create this conversation-starting centerpiece that costs under $25. The key is selecting a cord kit that includes a vintage-style socket and matches your desired aesthetic – brass, copper, or black metal all work beautifully.
When assembled, your vintage-inspired centerpiece will feature:
- A warm, amber glow from the Edison bulb’s exposed filament, creating intimate lighting perfect for dining spaces
- Industrial-style cloth-covered wiring that adds authentic vintage charm while meeting modern safety standards
- A metallic socket collar that creates an eye-catching contrast against the clear glass jar
Start by drilling a 3/8-inch hole in the jar’s lid for the cord. Thread the pendant kit through, securing it with the included washers and nuts. Screw in your Edison bulb, then attach the lid to your jar. Position the cord’s plug near an outlet or use an extension cord hidden under your table runner. You can add decorative elements like twine wrapping or copper wire for extra rustic appeal.
Frequently Asked Questions
Can Mason Jar Lights Be Safely Used in Humid or Steamy Environments?
You’ll need to take extra precautions when using mason jar lights in humid areas. While the jars themselves are moisture-resistant, the electrical components aren’t. Install proper waterproof seals around wire entry points, use outdoor-rated LED bulbs and wiring, and guarantee adequate ventilation. You’re better off placing them in semi-humid spaces like covered porches rather than directly in bathrooms or near shower areas where constant moisture exposure occurs.
How Long Do LED Bulbs Typically Last Inside Sealed Mason Jars?
LED bulbs in mason jars typically last 25,000-50,000 hours, which equals about 10-20 years of regular use. You’ll get the best longevity by drilling small ventilation holes in your jar’s lid to prevent heat buildup and condensation. Choose low-wattage LED bulbs (4-6 watts) to minimize heat generation, and guarantee your jar’s seal isn’t completely airtight. Regular cleaning of the jar’s interior will also extend your bulb’s lifespan.
What Size Mason Jars Work Best for Lighting Projects?
For lighting projects, you’ll want to use quart-size (32 oz) or pint-size (16 oz) mason jars. The quart size gives you more space to work with and accommodates larger light fixtures, while pint jars create a cozier, more compact look. If you’re using standard-size LED bulbs, stick with wide-mouth jars – they’ll give you about 3 inches of clearance for installation and proper heat ventilation.
Are Special Tools Required to Drill Holes in Mason Jars?
Ever wondered if you’ll need fancy tools to turn a mason jar into a light fixture? You’ll need a diamond-tipped drill bit (around $10) and a regular power drill to safely create holes in glass. Start with a slow speed, keep the drilling area wet to prevent overheating, and apply gentle pressure. Don’t forget safety gear – wear protective goggles and gloves to shield yourself from glass particles.
Can Colored Mason Jars Affect the Brightness of the Light Output?
Yes, colored mason jars will reduce the light output compared to clear ones. Blue and green tinted jars typically decrease brightness by 30-40%, while amber and purple can diminish it by up to 50%. If you’re using colored jars, you’ll want to choose a higher wattage bulb to compensate. You can also opt for frosted or partially tinted jars for a softer glow while maintaining better light transmission.

