This website contains affiliate links. Some products are gifted by the brand to test. As an Amazon Associate, I earn from qualifying purchases. The content on this website was created with the help of AI.
You’ll transform discarded wooden pallets into stunning home furnishings with these beginner-friendly DIY projects. From rustic coffee tables and outdoor lounge chairs to practical storage solutions like shoe racks and garden planters, each project requires minimal tools and experience. Create a cozy porch swing for summer evenings, build a stylish bar cart for entertaining, or craft a vertical herb garden to maximize your space. With basic tools, some sandpaper, and weather-resistant sealants, you can complete most of these projects in a weekend. Let’s explore these creative ways to upcycle pallets into beautiful, functional pieces for your home.
Key Takeaways
- Transform wooden pallets into a rustic coffee table with basic tools, screws, and wood stain in under 4 hours.
- Build a simple entryway shoe rack from a single pallet to organize footwear and add storage hooks for accessories.
- Create an outdoor lounge chair using three pallets, featuring angled backrest and optional weather-resistant cushions.
- Construct a space-saving pet feeding station with hidden storage using one pallet and stainless steel bowls.
- Install floating bookshelves from pallet wood using basic mounting brackets and wall anchors for minimalist storage.
Rustic Coffee Table

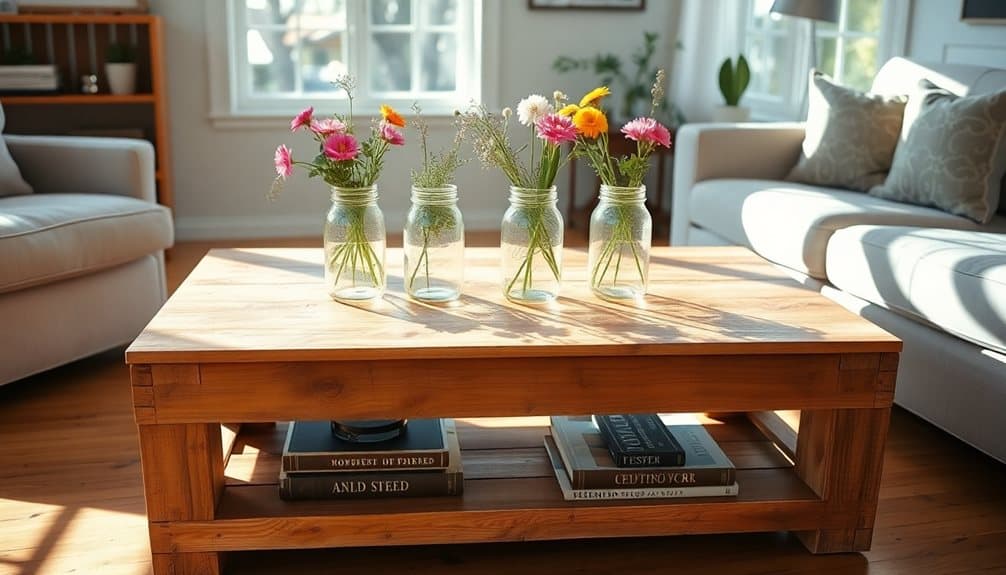
Once you’ve gathered a few sturdy wooden pallets, you can transform them into a charming rustic coffee table that’ll become the centerpiece of your living room. Start by carefully dismantling two pallets, removing all nails and hardware. Sand each board thoroughly to prevent splinters and achieve a smooth finish.
For the tabletop, select the best boards and arrange them side by side. Connect them using two support boards underneath, screwing them securely. Create the base by cutting four equal-length legs from the remaining pallet wood, aiming for a height of 18 inches. Attach crossbeams between the legs for stability, forming a rectangular frame.
Mount the tabletop to the base using L-brackets or screws from underneath. Apply wood filler to cover any gaps or imperfections, then sand again. You’ll need to seal your coffee table with polyurethane or wood stain to protect it from moisture and daily wear. Choose a finish that complements your decor – dark walnut for a traditional look or whitewash for a coastal vibe. Add rubber feet to protect your floors and prevent scratching. Regular seasonal maintenance every 3-4 months will help prevent moisture damage and extend your coffee table’s lifespan.
Garden Planter Box
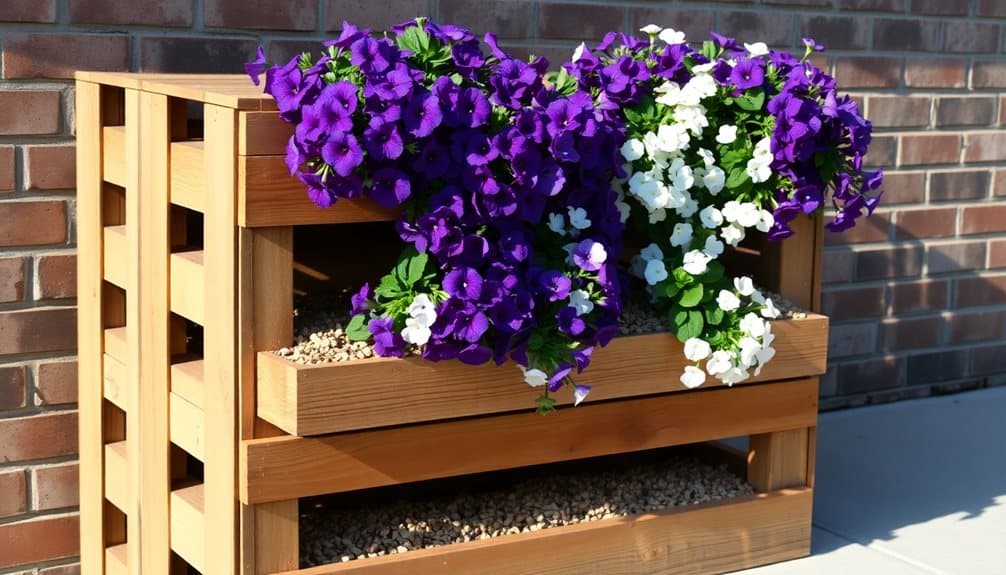
Transform your outdoor space with a DIY pallet planter box that adds both greenery and rustic charm to your garden. This project requires just one pallet, basic tools, and about two hours of your time. You’ll need a hammer, saw, screwdriver, sandpaper, and weather-resistant wood sealer to complete the build.
For optimal comfort while working on this project, consider creating a designated potting bench workspace nearby to organize your supplies and tools.
Start by dismantling your pallet carefully, preserving the longest boards for the sides and bottom. Cut four pieces to your desired length for the vertical corners, typically 24-30 inches. Create the box frame by attaching these corner posts to two pallet boards for each side. Secure the bottom boards with 2-inch screws, spacing them ½ inch apart for drainage. Add support braces across each corner for stability.
Sand all surfaces thoroughly to prevent splinters and create a smooth finish. Apply two coats of weather-resistant sealer to protect the wood from moisture and extend its lifespan. Line the interior with landscape fabric before adding soil to prevent wood rot. Don’t forget to drill additional drainage holes in the bottom boards and elevate your planter slightly off the ground using cedar blocks or bricks.
Outdoor Lounge Chair
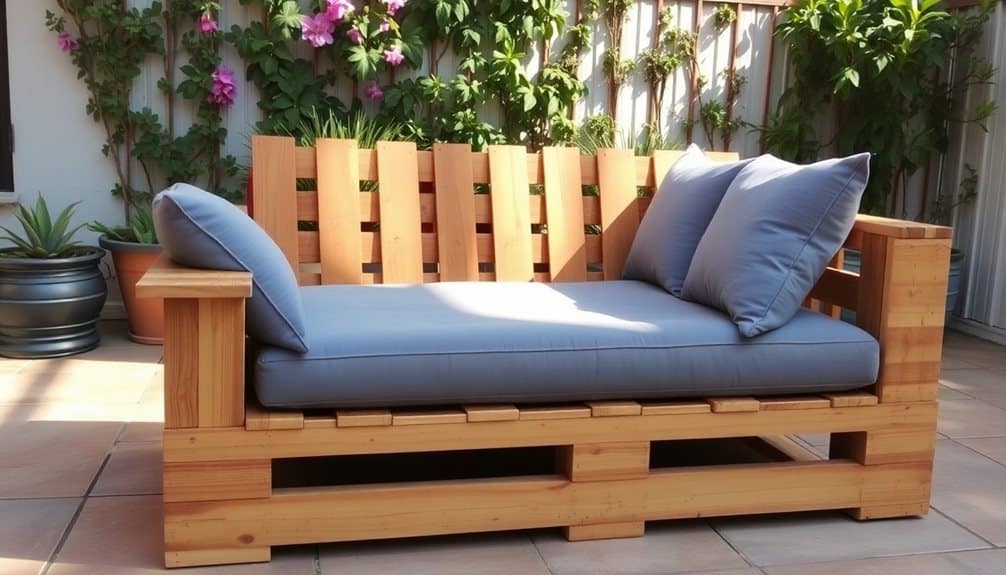
Building a comfortable outdoor lounge chair from pallets lets you create custom patio furniture while recycling materials. You’ll need three pallets in good condition, screws, sandpaper, a saw, drill, and weather-resistant finish. Start by disassembling one pallet completely for extra wood pieces, while keeping two pallets intact for the chair’s base and backrest.
Cut one intact pallet to 48 inches for the seat base, removing any excess. Angle-cut the second intact pallet at 110 degrees for a comfortable recline, then attach it to the base using heavy-duty hinges. Use the salvaged wood from the third pallet to create armrests and reinforce the frame. Sand all surfaces thoroughly, paying special attention to areas that will contact skin.
Add support beams underneath the seat for stability, and create a solid foundation by connecting additional slats across the base. You’ll want to fill any gaps between pallet boards for comfort. Apply two coats of exterior-grade sealant to protect against weather damage. Consider adding cushions made from outdoor fabric for extra comfort and style. Your custom lounge chair should last several seasons with proper maintenance. Keep a gardening bag nearby to store your maintenance supplies and cushions when not in use.
Vertical Herb Garden

A vertical herb garden sets up perfectly on a repurposed pallet, making efficient use of limited outdoor space. You’ll need a heat-treated pallet, landscape fabric, potting soil, herb seedlings, a staple gun, and galvanized screws. Before starting, sand any rough spots and check for loose boards that need securing.
Start by laying the landscape fabric across the back of the pallet, wrapping it around to create individual pockets between the slats. Secure the fabric with staples every few inches, ensuring it’s pulled taut. Add a double layer at the bottom to prevent soil from washing out. You’ll want to reinforce the corners with extra staples.
Fill each pocket with potting soil, leaving about an inch of space at the top. Plant your herbs strategically – put shade-loving varieties like mint and parsley in the lower pockets, while sun-seeking herbs like basil and rosemary should go in the upper sections. Keep the pallet flat for two weeks while the roots establish, then gradually tilt it upright against a sunny wall. Secure it to the wall using L-brackets for stability. Water your vertical garden from top to bottom, allowing excess moisture to drain naturally. The wall-mounted herb garden should be positioned 3-4 feet apart from other garden structures to ensure adequate airflow and maintenance access.
Entryway Shoe Rack
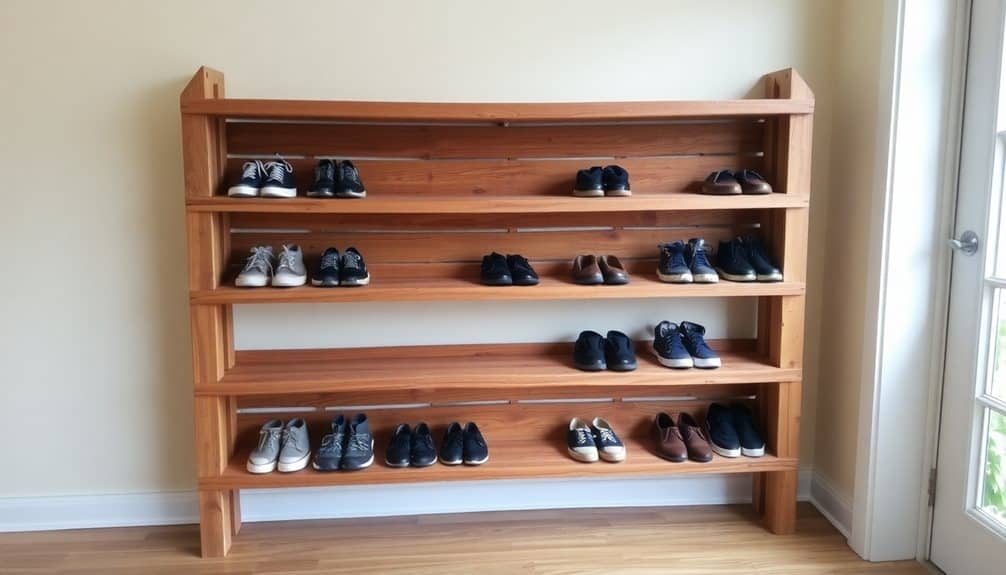
One of the most practical pallet projects you’ll tackle is a rustic shoe rack for your entryway. This space-saving solution requires one standard pallet, sandpaper, wood stain, and basic tools. You’ll need to disassemble half of the pallet’s top boards while keeping the frame intact, creating space for shoe storage levels.
Start by thoroughly sanding all surfaces to prevent splinters and achieve a smooth finish. Cut two additional pallet boards to match the width of your pallet frame, which will serve as the middle shelf supports. Secure these supports using 2-inch wood screws, spacing them evenly to create three storage levels. Ascertain each level has enough clearance for your tallest shoes or boots.
Apply your chosen wood stain to enhance the rack’s appearance and protect the wood from daily wear. Once dry, you can add optional features like small hooks on the sides for hanging umbrellas or keys. The finished rack can hold 6-8 pairs of shoes while maintaining a slim profile against your wall. For extra stability, attach the unit to your wall using L-brackets, especially if you’re placing it in a high-traffic area. Consider adding wall-mounted hooks above the rack to maximize vertical storage space for bags and coats.
Pallet Wood Accent Wall
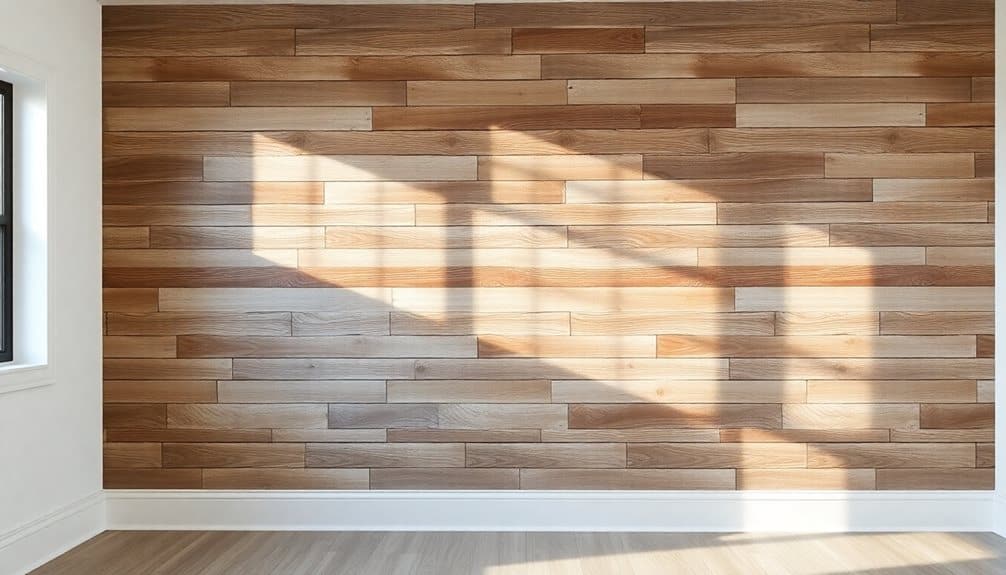
Creating a stunning pallet wood accent wall transforms any room into a warm, rustic showcase while requiring minimal investment. You’ll need 8-12 wooden pallets, depending on your wall size, plus basic tools including a pry bar, hammer, saw, level, and nail gun.
Start by dismantling your pallets carefully to preserve the wood’s integrity. Remove all nails and sand each board thoroughly to prevent splinters. Sort the boards by length, width, and color variation to plan your pattern. Before installation, let the wood acclimate to your room’s climate for 48 hours to prevent warping.
Install a plywood backing on your wall first, ensuring it’s anchored to the studs. Create a staggered pattern by attaching the pallet boards horizontally, starting from the bottom. Use a level frequently to maintain straight lines. Mix different wood tones throughout the wall for visual interest. Add spacers between boards if needed for consistency.
Seal your completed wall with a clear polyurethane to protect the wood and enhance its natural beauty. You’ll want to apply at least two coats, sanding lightly between each application for a professional finish.
Wine Storage Rack
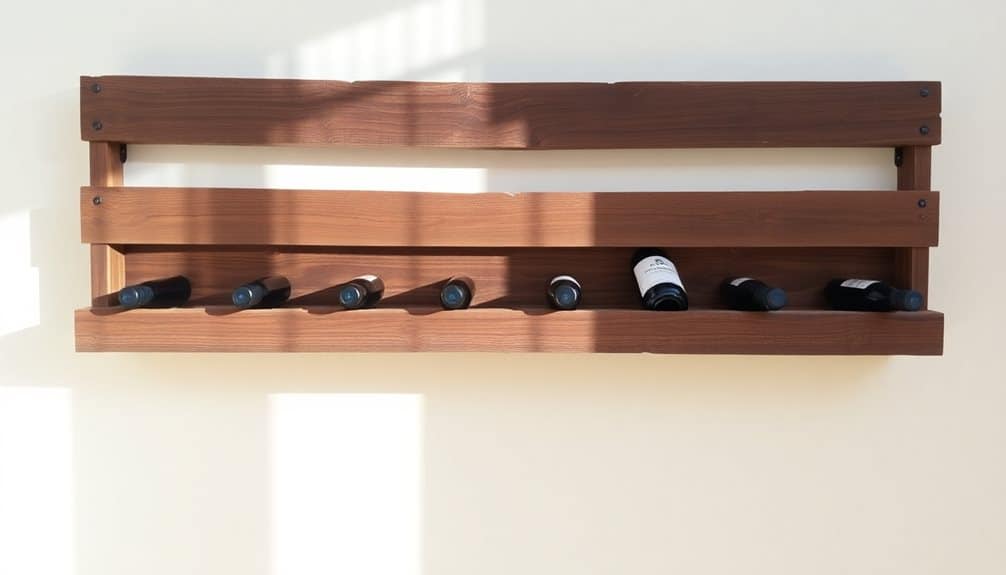
Wine enthusiasts’ storage dilemmas can be solved with this elegant pallet wood rack that holds up to 24 bottles. This functional design combines aesthetics with practicality, creating an attractive display piece that won’t break your budget. You’ll need two clean pallets, wood screws, a saw, sandpaper, and your choice of wood stain or paint.
Begin by dismantling your pallets and removing all nails. Cut the boards to create six identical rectangular frames that’ll form your rack’s structure. Each frame should measure 24 inches wide by 36 inches tall. Sand all pieces thoroughly to prevent splinters and achieve a smooth finish. Assemble the frames using wood screws at each joint, ensuring they’re perfectly square.
Create the bottle holders by cutting remaining pallet boards into 4-inch sections. Attach these pieces horizontally across each frame, spacing them 4 inches apart. This creates the perfect-sized slots for standard wine bottles. Once assembled, sand any rough spots and apply your chosen finish. Mount the rack securely to wall studs using heavy-duty brackets, making sure it’s level. The completed rack provides organized storage while showcasing your wine collection in rustic style.
Floating Bookshelf
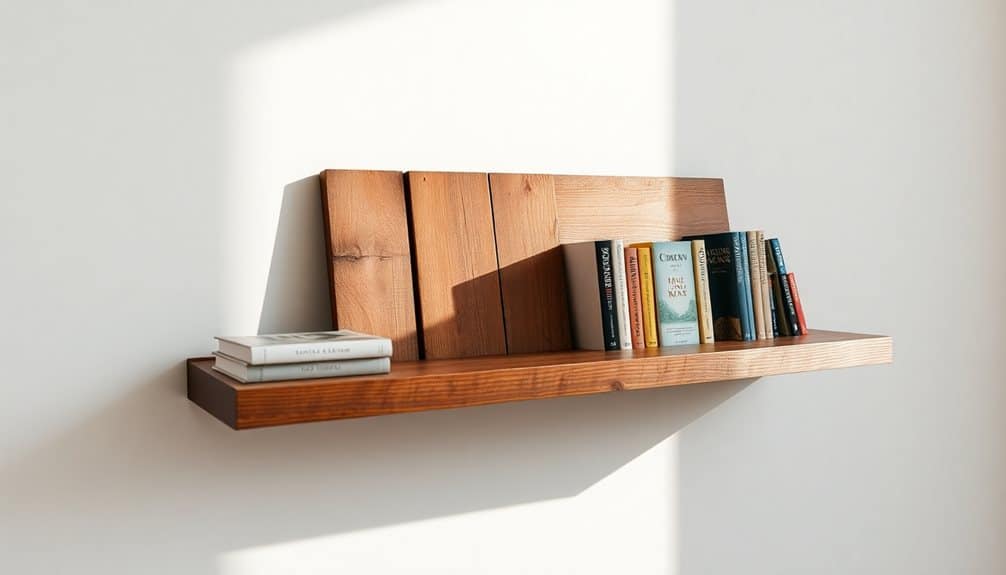
Moving from wine storage to literary display, this innovative floating bookshelf project transforms ordinary pallet wood into a striking wall feature. You’ll need one dismantled pallet, wood screws, a level, wall anchors, and your basic tool kit to create this minimalist design that makes your books appear to float on the wall.
Start by selecting the best boards from your pallet, ensuring they’re free from splits or serious damage. Cut them to your desired length, typically 24-36 inches for ideal stability. Sand each board thoroughly, progressing from rough to fine-grit sandpaper until smooth. Create the hidden mounting bracket by cutting a 45-degree angle along one edge of your support piece, with a matching angle on your wall piece.
Secure the wall bracket using heavy-duty anchors, ensuring it’s perfectly level. The shelf piece slides onto this bracket, creating an invisible support system. You’ll want to space these floating shelves about 12 inches apart for paperbacks, or 15 inches for larger books. Finish with your choice of stain or paint, and seal to protect against moisture and wear.
Pet Feeding Station
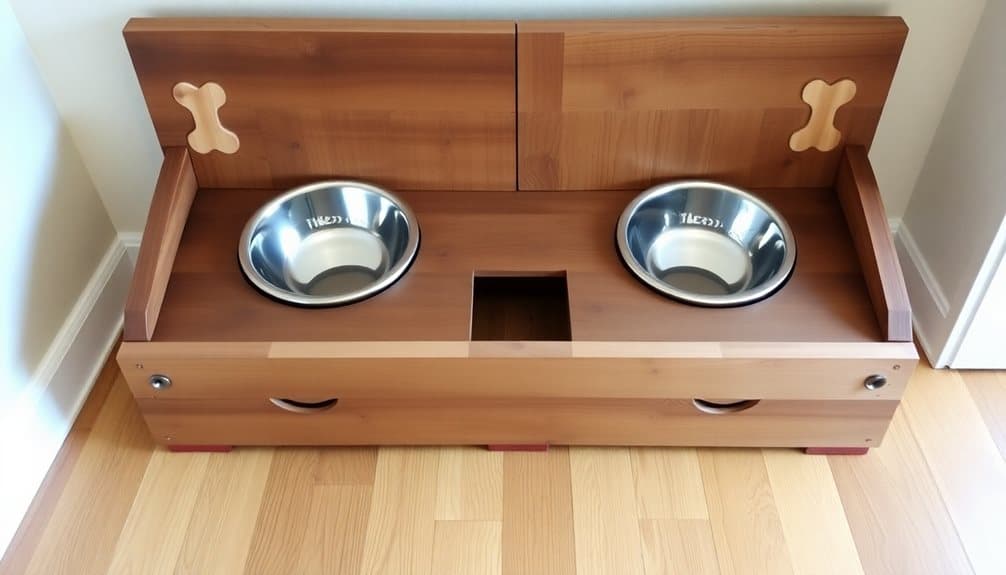
Three essential components make up this space-saving pet feeding station: an elevated platform, built-in bowls, and hidden storage for food and treats. This practical design keeps your pet’s dining area organized while adding a rustic touch to your home. You’ll need one pallet, four sturdy legs, stainless steel bowls, and basic hardware to complete this project.
Start by disassembling the pallet and selecting the best boards for your station’s frame and top surface. Cut the pieces to size, guaranteeing the platform height matches your pet’s needs. The hidden storage compartment requires a hinged lid that seamlessly blends with the top surface.
- Build the base frame using 2x4s for stability, attaching the legs at each corner
- Create the storage box with pallet boards, including the hinged top that will hold the feeding bowls
- Cut holes in the top surface to fit your pet’s bowls, and sand all surfaces thoroughly
Finish by sealing the wood with pet-safe stain or paint. You’ll want to confirm all edges are smooth and corners are rounded for safety. Add rubber feet to prevent sliding and maintain stability during feeding time.
Outdoor Kitchen Island

A weatherproof outdoor kitchen island crafted from pallets transforms your backyard into an entertainer’s paradise. You’ll need 4-6 sturdy pallets, weather-resistant wood sealer, stainless steel hardware, and a waterproof countertop material like sealed butcher block or concrete board.
Start by dismantling two pallets for additional lumber, keeping the remaining ones intact for the base structure. Create a rectangular frame using the intact pallets, securing them vertically with rust-resistant screws. Add cross-bracing for stability and install shelf supports at your desired heights. You can incorporate pull-out trash bins, a paper towel holder, and hooks for grilling tools.
For the countertop, apply multiple layers of marine-grade sealer to your chosen surface material. Install locking casters on the bottom for mobility, and add cabinet doors using pallet wood planks and exterior-grade hinges. Consider including a drop-leaf extension for extra prep space.
Don’t forget to seal all wood surfaces thoroughly with multiple coats of outdoor sealant. Adding a clear roof overhang will extend your island’s lifespan, while strategically placed LED strips underneath the countertop edge provide ambiance for evening gatherings.
Living Room Media Console
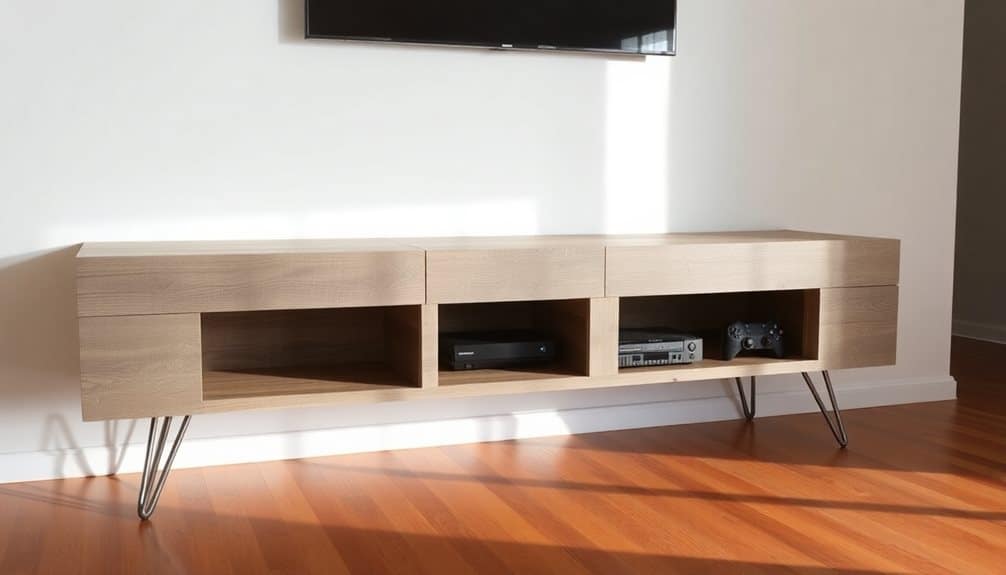
Transform your entertainment space with a rustic-modern media console built entirely from reclaimed pallets. This functional piece offers ample storage for your electronics while bringing industrial charm to your living room. You’ll need three to four pallets, basic tools, and a weekend to complete this eye-catching project.
Start by dismantling your pallets carefully, removing all nails and sorting boards by condition. Sand each board thoroughly to prevent splinters and create a smooth finish. When building the frame, focus on creating a stable base that can support your TV and equipment’s weight.
- Create the console’s body by building two side panels and connecting them with horizontal supports, leaving space for adjustable shelving
- Install a solid back panel using overlapping pallet boards to prevent electronics from collecting dust and hide unsightly cords
- Add sliding doors using pallet slats mounted on industrial-style hardware for easy access to components
Customize your console with strategically placed holes for cable management and ventilation. A dark wood stain followed by clear polyurethane will protect the wood while enhancing its natural grain patterns. Add metal brackets and casters for industrial flair and mobility.
Firewood Storage Rack
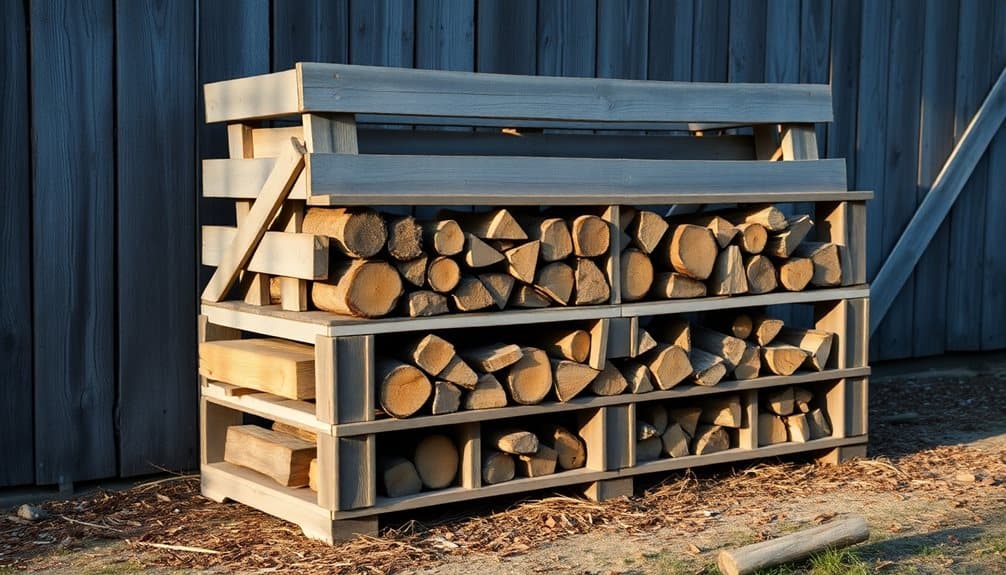
Winter comfort starts with a well-organized firewood storage rack crafted from sturdy pallet wood. This practical project requires three pallets, galvanized screws, and basic tools to create a durable storage solution that’ll keep your firewood dry and accessible.
Begin by dismantling two pallets, saving both the deck boards and support beams. Use the third pallet as your base, keeping it intact for stability. Cut four support beams to your desired height (typically 4-5 feet) and attach them vertically at each corner of the base pallet. Connect horizontal supports between these posts at the top and middle points for reinforcement.
Add the salvaged deck boards to create the back wall, leaving small gaps between boards for airflow. Install angled supports from the front posts to the base for added stability. You’ll want to position your completed rack against an exterior wall, preferably under an overhang for weather protection. Apply a weather-resistant sealer to protect the wood and extend its lifespan. The finished rack will hold approximately 1/4 cord of wood, making it perfect for regular fireplace users while maintaining a tidy outdoor space.
Decorative Picture Frames
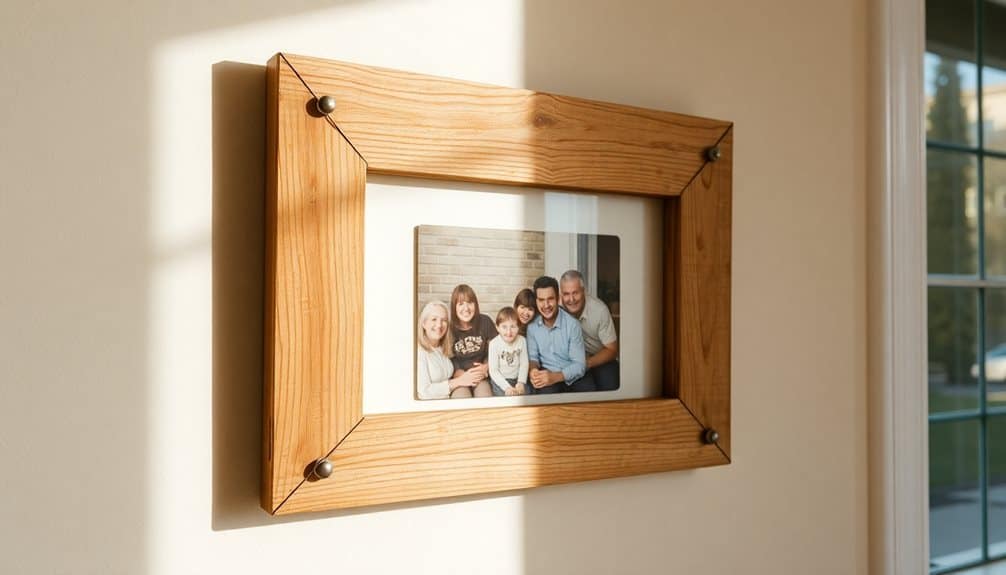
Picture-perfect memories deserve custom frames, and pallet wood provides the ideal rustic material for showcasing your favorite photos. You’ll need to dismantle your pallet carefully, removing nails and selecting boards with minimal splits or damage. Sand each piece thoroughly to prevent splinters while maintaining the wood’s natural character.
To create your frame, cut four pieces at 45-degree angles using a miter saw. The length of each piece depends on your photo size, but remember to account for the rabbet – the groove that holds your glass and photo. You can create this groove using a table saw or router.
- Join the corners using wood glue and brad nails, reinforcing with corner brackets for stability
- Add a backing board cut slightly smaller than your frame’s outer dimensions
- Install glazing points or flexible tabs to secure your photo, glass, and backing in place
Apply your chosen finish – whether it’s clear polyurethane to showcase the wood’s natural grain, whitewash for a coastal look, or dark stain for a vintage appeal. Don’t forget to attach hanging hardware before displaying your newly crafted frame.
Hanging Porch Swing

While picture frames add charm to indoor spaces, a pallet wood porch swing brings comfort to your outdoor living area. To create this inviting piece, you’ll need three sturdy pallets, heavy-duty rope or chains, eye bolts, and weather-resistant cushions. Start by disassembling two pallets, saving the best boards for the seat and backrest. Use the third pallet intact as your base structure.
Sand all surfaces thoroughly to prevent splinters and create a smooth finish. Construct the seat frame using 2x4s for support, then attach the pallet boards horizontally with 2-inch screws. Build the backrest at a comfortable 110-degree angle, securing it firmly to the seat frame. Install four eye bolts – two in front and two in back – ensuring they’re anchored into the frame’s strongest points.
Apply multiple coats of exterior sealant to protect against weather damage. Hang your swing using marine-grade rope or rust-resistant chains, making sure to test weight capacity before use. Add weather-resistant cushions and pillows for comfort. You’ll need approximately 6 feet of clearance from your porch ceiling and 4 feet from any walls or railings for safe swinging.
Portable Bar Cart

A pallet’s versatility shines when transformed into a stylish bar cart for entertaining. You’ll need two pallets, heavy-duty casters, and weather-resistant stain to create this functional piece. The key to success lies in selecting pallets that are clean, sturdy, and free from chemical treatments or damage.
Start by disassembling one pallet while keeping the other intact for the cart’s base. Sand all surfaces thoroughly until smooth, paying extra attention to areas where glasses will rest. Install the casters on the bottom pallet’s corners, ensuring they’re securely bolted for stability when rolling.
Three essential features that make this bar cart stand out:
- Built-in wine rack created from pallet slats arranged in a diamond pattern
- Removable serving tray fashioned from reclaimed pallet boards
- Bottom shelf storage space for larger bottles and supplies
Add a handle by mounting a sturdy piece of wood or metal pipe to one end. Apply several coats of weather-resistant stain, letting each layer dry completely. You can customize the cart with additional features like a bottle opener, towel rack, or stemware holders mounted underneath the top surface.
Frequently Asked Questions
How Do I Safely Disassemble Pallets Without Damaging the Wood?
Like untangling a delicate necklace chain, you’ll need patience and the right approach to free pallet wood. Start by removing nails with a pry bar and hammer’s claw from the back, working systematically board by board. You’ll want to use a reciprocating saw to cut through stubborn nails between boards. Keep a flat pry bar handy to gently wiggle boards loose, preserving their integrity.
Which Tools Are Essential for Beginner Pallet Woodworking Projects?
You’ll need a basic set of tools to start working with pallet wood: a pry bar for disassembly, hammer, safety goggles, work gloves, and dust mask. A cordless drill with various bits is essential for assembly. Add a measuring tape, carpenter’s square, and level for accurate cuts and alignment. For cutting, you’ll want both a hand saw and an electric circular saw to handle different project needs.
What Type of Pallets Are Safe to Use for Indoor Furniture?
You’ll want to use heat-treated (HT) pallets marked with “IPPC” or “EPAL” stamps for indoor furniture. Avoid chemically-treated (MB) pallets, which contain harmful methyl bromide. Look for clean, newer pallets with “EUR” or “EPAL” markings from Europe or America. Check that your pallets are free from oil stains, mold, or deep-set dirt. If you’re unsure about markings, contact the pallet’s manufacturer for verification.
How Long Should Pallet Wood Dry Before Starting a Project?
You’ll save yourself a million headaches by properly drying your pallet wood! Let your pallets dry for at least 2-3 weeks in a covered, well-ventilated area. If you’re using freshly dismantled pallets, you’ll need 6-8 weeks of drying time. Test the wood’s moisture content with a meter – you’re aiming for 12-14% moisture level. Stack the boards with spacers between them to allow proper airflow during drying.
What’s the Best Way to Remove Rusty Nails From Pallet Boards?
You’ll need a claw hammer, pry bar, and nail punch to safely remove rusty nails from pallet boards. Start by using the claw hammer’s back to pull out visible nails. For stubborn or broken nails, slide the pry bar under the nail head and leverage it out. If the nail head’s missing, use a nail punch to drive it through from the opposite side. Don’t forget to wear safety glasses and work gloves.

