This website contains affiliate links. Some products are gifted by the brand to test. As an Amazon Associate, I earn from qualifying purchases. The content on this website was created with the help of AI.
You’ll transform your wedding into a budget-friendly celebration with these seven DIY projects under $100 each. Start with digital invitations ($20/100 invites), craft paper flower centerpieces ($15-20 each), and create a stunning photo booth backdrop ($50-100). Add character with rustic table numbers using wine bottles or wood slices ($25-35), illuminate your space with Mason jar lighting ($3-5 per jar), and personalize handmade gifts like embroidered clutches ($8 each). Complete your decor with repurposed wine bottle arrangements ($3-10 each). These creative touches will elevate your special day while keeping costs manageable, with plenty of ideas to explore.
Key Takeaways
- Create digital wedding invitations using online templates for $20 per 100 invites, saving on printing and postage costs.
- Design paper flower centerpieces at $15-20 each using crepe paper, floral wire, and tape for long-lasting table decorations.
- Build a photo booth backdrop with PVC frame, metallic curtains, and string lights for $50-100 total.
- Transform wine bottles into table numbers and centerpieces using chalkboard paint and fairy lights for under $10 per piece.
- Craft personalized wedding favors like embroidered clutches or wooden bottle openers for $5-10 per guest.
Digital Wedding Invitations

Digital wedding invitations have revolutionized how couples announce their special day, offering a modern, eco-friendly alternative to traditional paper cards. You’ll save considerably on printing and postage costs while maintaining full creative control over your design. Popular platforms like Paperless Post, Greenvelope, and Canva offer customizable templates starting at just $20 for 100 invitations.
To create stunning digital invites, start by selecting a design that matches your wedding theme. You’ll want to include essential details like date, time, venue, dress code, and RSVP instructions. Consider adding interactive elements such as digital RSVP tracking, meal preference selection, and plus-one management features. These tools automatically organize guest responses in spreadsheets, saving you hours of manual work.
For best results, test your invitation‘s appearance across different devices before sending. You’ll need to collect guests’ email addresses well in advance and consider sending a test invitation to yourself first. Don’t forget to include a personalized message and clear instructions for older guests who might be less tech-savvy. Setting up a wedding website link within your digital invitation can provide additional details about accommodations, registry, and directions.
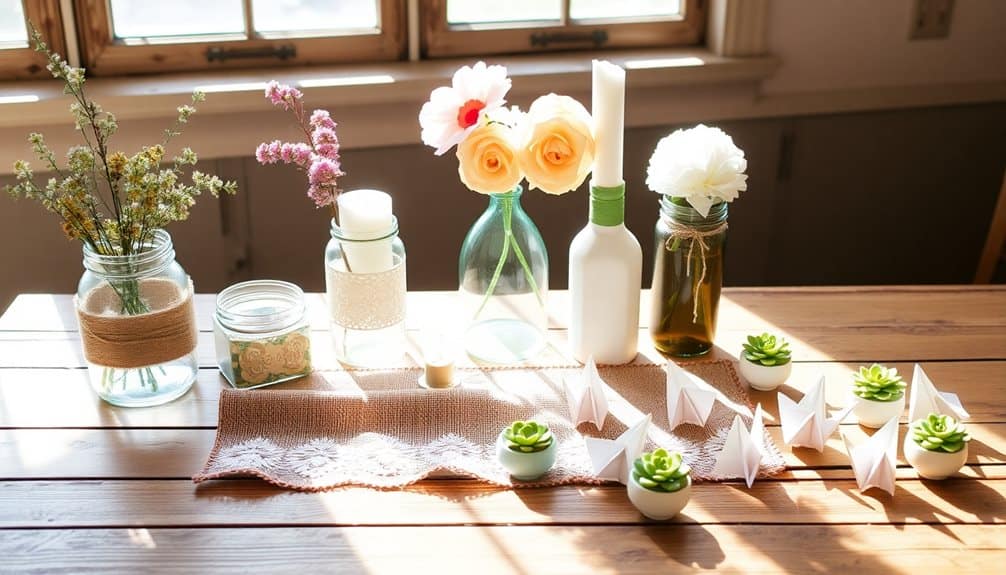
Paper Flower Centerpieces
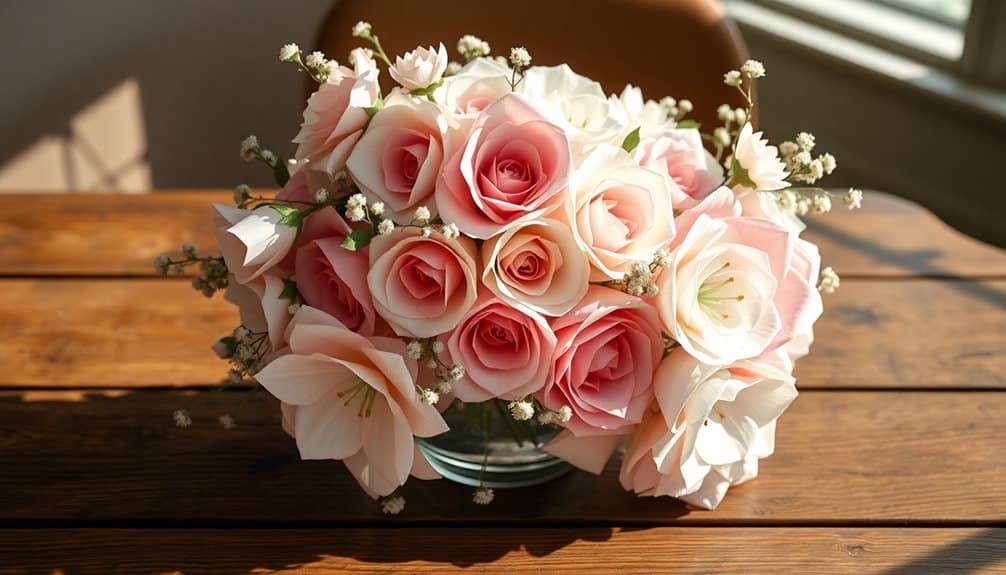
The elegance of paper flower centerpieces combined with their cost-effectiveness makes them an attractive DIY option for budget-conscious couples. You’ll need high-quality crepe paper, floral wire, floral tape, scissors, and a hot glue gun to create stunning arrangements that’ll cost roughly $15-20 per centerpiece.
Start by selecting a color palette that matches your wedding theme. Cut your crepe paper into petal shapes using templates you can download online. Each flower typically requires 5-7 petals, and you’ll want 3-5 large blooms per centerpiece. Shape the petals by gently stretching the paper’s edges, then attach them to floral wire using hot glue. Wrap the stems with floral tape for a polished look.
Mix different flower sizes and styles – roses, peonies, and dahlias work particularly well in paper form. Add texture with paper leaves and smaller filler flowers. Arrange your completed blooms in inexpensive glass vases or mason jars, securing them with floral foam at the base. You can create these centerpieces weeks in advance, and they’ll serve as lasting keepsakes for your guests. To maximize the longevity of your centerpieces, consider applying a UV-resistant clear coat to protect the paper flowers from fading in direct sunlight.
Wedding Photo Booth Backdrop
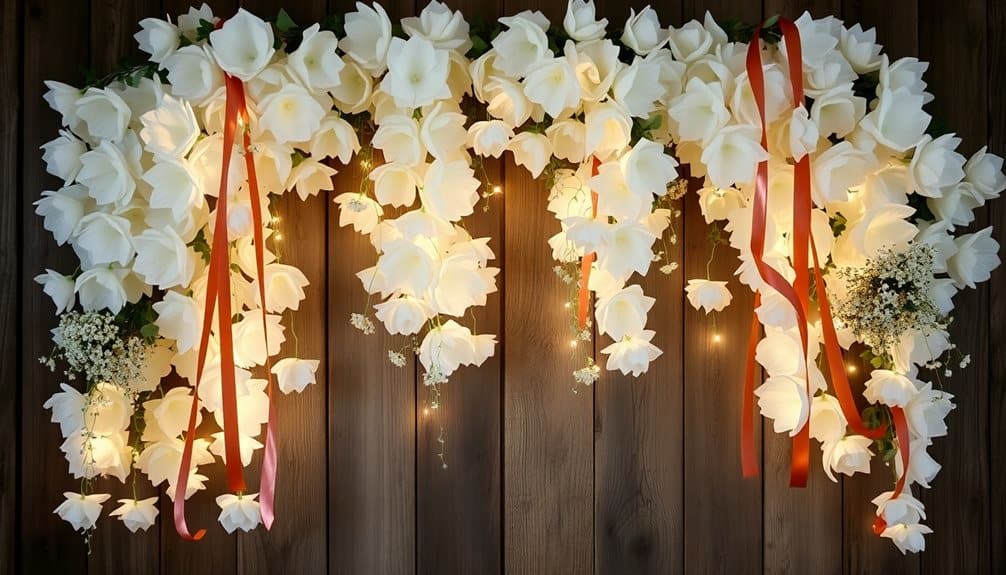
Creating a striking photo booth backdrop typically requires just $50-100 in materials while delivering endless entertainment value at your reception. You’ll need a sturdy frame structure, which you can build using PVC pipes and connectors for around $30. Choose pipes that extend 7-8 feet high and 6-7 feet wide to accommodate group photos.
For the backdrop itself, you’ve got several budget-friendly options. A shimmery metallic curtain runs about $15 and creates an instant festive atmosphere. Alternatively, you can hang strips of crepe paper, ribbon, or tulle in your wedding colors for a softer look. Secure these materials to your frame using clear fishing line or discrete clips.
Add depth and visual interest by incorporating string lights ($10-15) behind semi-sheer fabrics. You’ll want to position them 6-12 inches behind your main backdrop material for the best effect. Don’t forget to create a prop station using a small side table and basket. Stock it with affordable items like paper mustaches, speech bubbles, and funny signs that you can print at home and attach to wooden dowels ($5-10 total). Consider using LED bulbs rated 4000K for your string lights to achieve natural-looking illumination while saving up to 90% on energy costs.
Rustic Table Number Displays
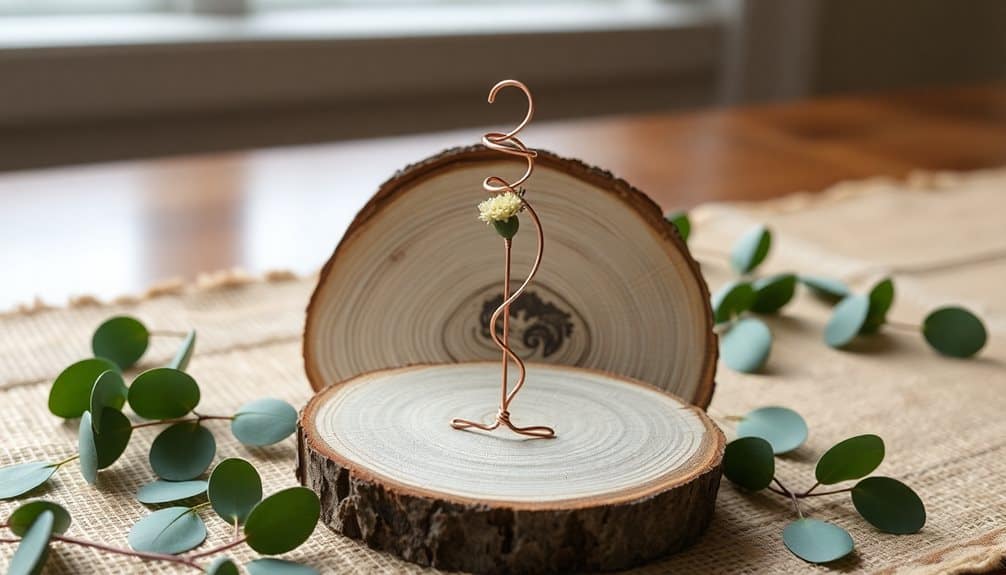
Moving from photo booth memories to guest seating arrangements, rustic table number displays offer a charming way to guide attendees to their tables while enhancing your wedding’s aesthetic appeal. You’ll find that creating these displays doesn’t require expensive materials or professional crafting skills. Using items like reclaimed wood, wine corks, or vintage picture frames, you can craft unique table markers that perfectly complement your wedding’s theme. Just like adjustable hive stands, proper spacing of 3-4 feet between table displays ensures smooth guest flow and comfortable navigation throughout your venue.
Here are three budget-friendly rustic table number ideas you can create at home:
- Wine Bottle Displays: Collect empty wine bottles, clean thoroughly, and paint with chalk paint. Write table numbers with a paint marker, and add twine or burlap ribbons around the neck for a rustic touch ($15 for supplies).
- Wood Slice Stands: Purchase pre-cut wood slices from a craft store, stain them, and use stencils to paint numbers. Add small easel backs for standing display ($25 for 15 displays).
- Mason Jar Luminaries: Transform basic mason jars into glowing number displays by adding battery-operated tea lights and vinyl number decals. Wrap with twine and dried flowers for extra charm ($35 for complete set).
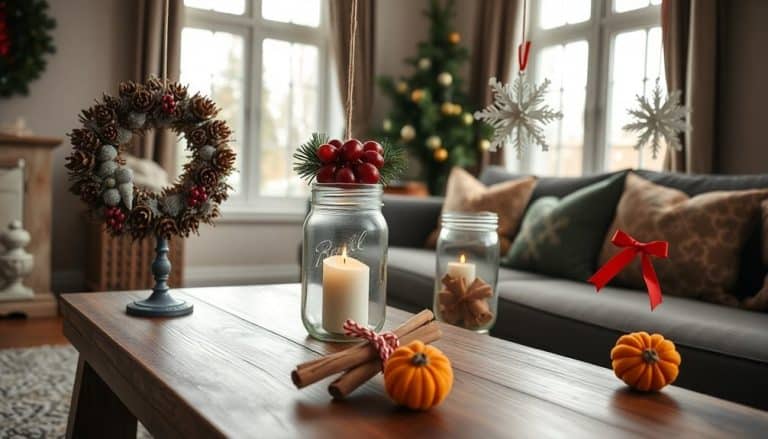
Mason Jar Lighting Ideas
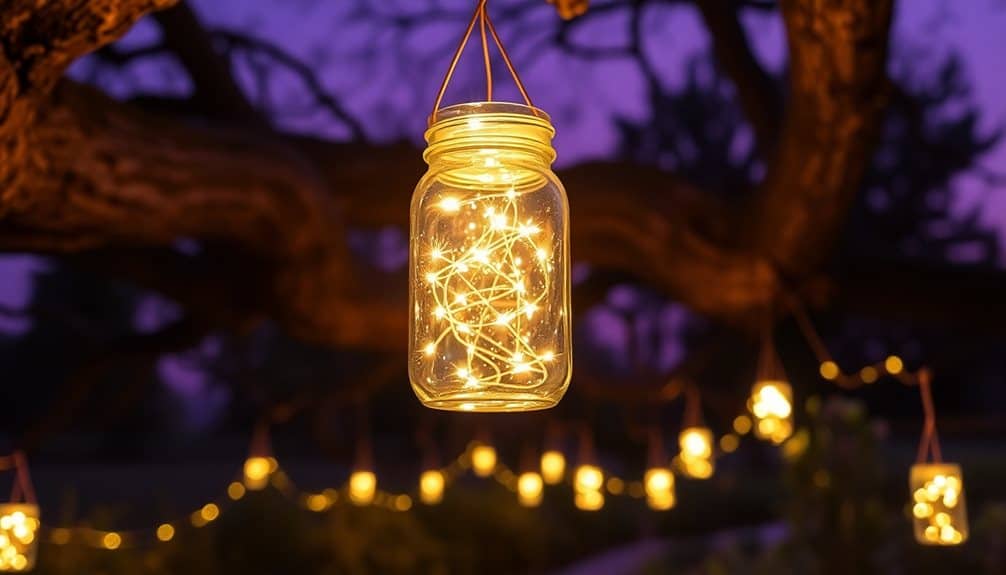
With Mason jar lighting fixtures gaining popularity in DIY weddings, you’ll find countless ways to illuminate your venue using these versatile containers. Transform basic Mason jars into stunning luminaries by adding battery-operated fairy lights, LED candles, or traditional tea lights. For outdoor settings, hang them from shepherd’s hooks along pathways or suspend them from tree branches using sturdy twine or wire.
To create a basic Mason jar light, you’ll need clear jars, wire for hanging, and your choice of lighting. Start by thoroughly cleaning the jars and removing labels. If you’re using fairy lights, wrap them inside the jar in a spiral pattern. For hanging installations, create a wire handle by wrapping strong gauge wire around the jar’s neck and fashioning a loop at the top.
You can enhance your Mason jar lights by adding decorative elements like lace trim, twine wrapping, or frosted glass effects using specialty spray paint. For added sparkle, fill the bottom third with clear or colored glass beads. When planning placement, cluster jars at varying heights or create linear arrangements above reception tables for maximum impact. Remember to test your lighting setup before the wedding to guarantee proper illumination levels. If you have leftover Mason jar lights after the wedding, they make excellent storage solutions for organizing small craft supplies or creating decorative displays like stuffed animal hammocks.
Handmade Wedding Party Gifts
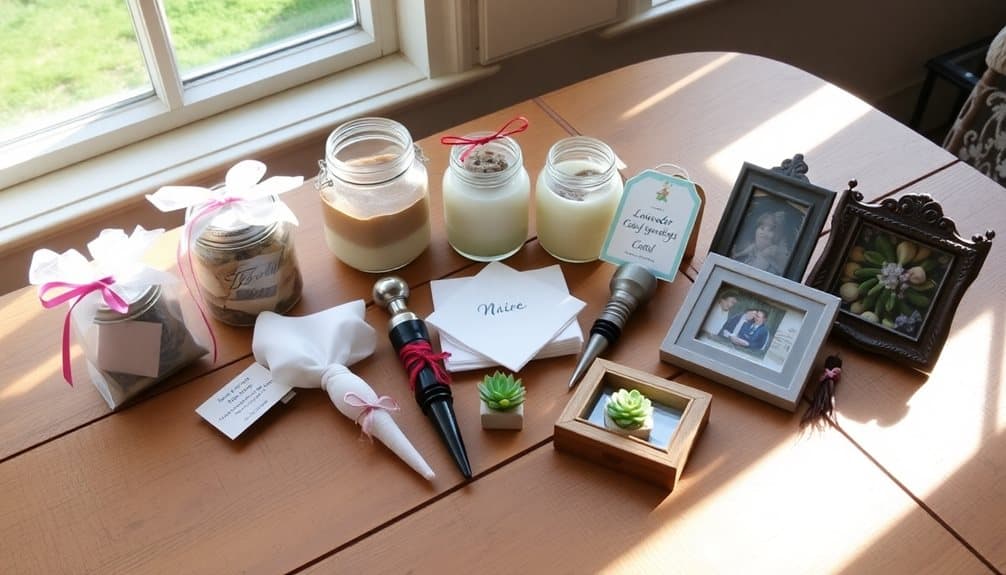
Thoughtfully selected handmade gifts show your wedding party how much you value their support throughout your special day. With basic crafting supplies and a personal touch, you can create meaningful presents that won’t break your budget. Consider materials like fabric, wood, or even favorite photos to design custom keepsakes that reflect each person’s personality and your relationship with them.
Your bridesmaids and groomsmen will appreciate the time and effort you’ve invested in creating something unique. Set aside a weekend about two months before the wedding to complete these projects, allowing time for any adjustments or do-overs if needed.
Here are three budget-friendly handmade gift ideas:
- Personalized photo memory boxes: Paint wooden boxes ($8 each), line with velvet ($3), and fill with curated photos and small mementos
- Custom embroidered clutches: Purchase plain canvas pouches ($5 each), add embroidered initials and wedding date, then include practical items like lip gloss and tissues
- Handcrafted wooden bottle openers: Sand and stain wooden handles ($4 each), attach metal opener components ($2), and engrave or wood-burn names
Remember to package your DIY gifts thoughtfully using kraft paper and twine for a polished presentation.
Wine Bottle Wedding Decor
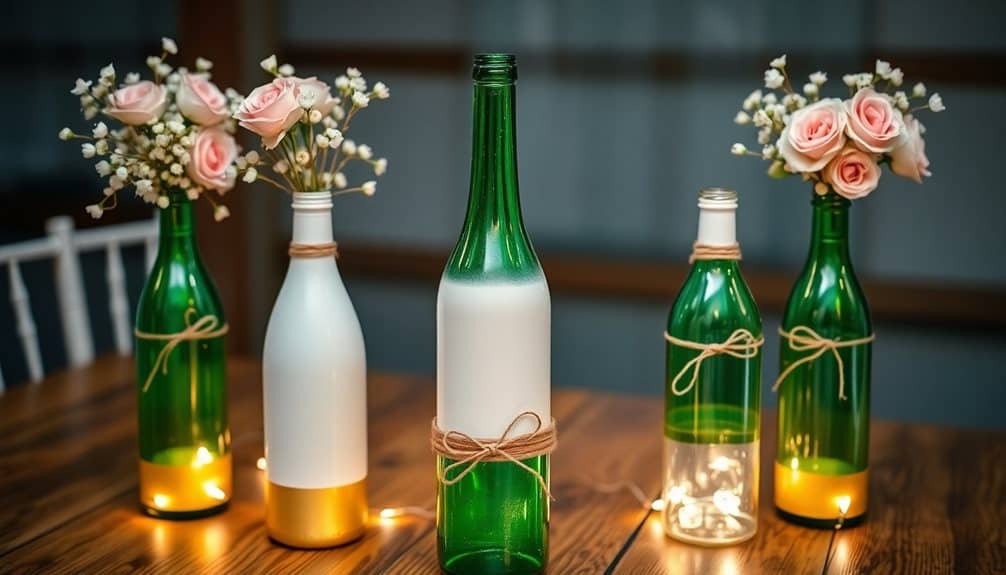
Repurposed wine bottles offer endless possibilities for creating elegant wedding decorations that won’t strain your budget. You’ll need to collect empty wine bottles months before your wedding and remove labels by soaking them in warm, soapy water for 30 minutes. Once clean, you can transform them into stunning centerpieces, table numbers, or candle holders.
To create illuminated centerpieces, insert battery-operated fairy lights through the bottle’s opening and arrange them inside. For a romantic glow, spray paint the bottles with frosted glass paint ($8) to diffuse the light. You can also fill bottles with water and fresh flowers, creating instant vases for under $5 each.
Turn bottles into table numbers by painting them with chalkboard paint ($12) or attaching custom vinyl numbers ($15 for a complete set). For a more sophisticated look, wrap copper wire lights around the outside of clear bottles, securing them with clear adhesive dots.
Don’t forget the bottle necks – wrap them with twine, lace, or burlap ribbon ($3-6 per roll). Add personalized tags or small floral sprigs for extra detail. Each finished piece typically costs between $3-10, depending on your chosen materials. Transform your reception space by incorporating wedding decor accents that complement your wine bottle arrangements.
Frequently Asked Questions
How Early Should I Start DIY Wedding Projects Before the Big Day?
Don’t let time be your kryptonite – start your DIY wedding projects at least 6-8 months before your wedding date. You’ll need to factor in trial runs, ordering supplies, and potential do-overs. Begin with time-consuming items like centerpieces and invitations first, then tackle smaller projects like favors and signage. Create a project timeline, scheduling 1-2 projects per month to avoid last-minute stress.
What Basic Craft Supplies Should I Have on Hand for Wedding DIYS?
Stock your craft station with essential supplies: scissors (both regular and precision), hot glue gun with extra glue sticks, craft knife, cutting mat, ruler, pencils, and erasers. You’ll need strong adhesives like E6000 and double-sided tape, plus white craft glue. Don’t forget floral wire, wire cutters, ribbon, twine, and clear fishing line. Keep basic tools like pliers, safety pins, and a stapler nearby.
Can I Mix DIY Elements With Professional Wedding Services?
You can absolutely blend DIY elements with professional services to achieve your ideal wedding vision while managing costs. Consider tackling simple projects like centerpieces, favors, or signage yourself, while leaving complex tasks to professionals. Focus your DIY efforts on decorative elements that don’t require specialized skills or time-sensitive execution. This hybrid approach lets you maintain quality in vital areas while adding personal touches where they’ll have the most impact.
Where Can I Find Reliable Step-By-Step Tutorials for Wedding DIY Projects?
Did you know that 60% of DIY brides find their project tutorials through social media? You’ll discover reliable step-by-step wedding tutorials on Pinterest’s verified creator pins, YouTube channels like “DIY Wedding Academy,” and Etsy’s downloadable guides. Instagram’s wedding hashtags lead to certified wedding planners sharing free tutorials. Don’t forget specialized wedding websites like TheKnot and WeddingWire, which offer curated DIY sections with detailed instructions and supply lists.
How Do I Calculate the True Cost of DIY Versus Buying Ready-Made?
To calculate true DIY vs. ready-made costs, you’ll need to list every single supply, tool, and material needed for your project. Don’t forget hidden expenses like shipping, storage, and equipment rentals. Track your time investment at an hourly rate, factor in practice runs, and add 15% for mistakes or waste. Compare this total against retail prices from at least three vendors, including delivery and setup fees.